
A bit of experimenting, mainly last weekend, with machine embroidery and glue film.
The glue film was inspired by Richard Sewell who came along to the latest online DoES Liverpool Wearable Tech meetup, and as well as showing us his amazing inflatable robots, also showed us some fabric folding techniques, using a stiffer fabric ironed on with glue film to provide structure. I’m quite interested in folded structures e.g. this tree, so ordered some of the glue film to try out.
At the same time, we’ve got a new embroidery machine, Fred at DoESLiverpool, and it seemed worth looking at whether that had any potential as a way to stiffen fabric for folding.
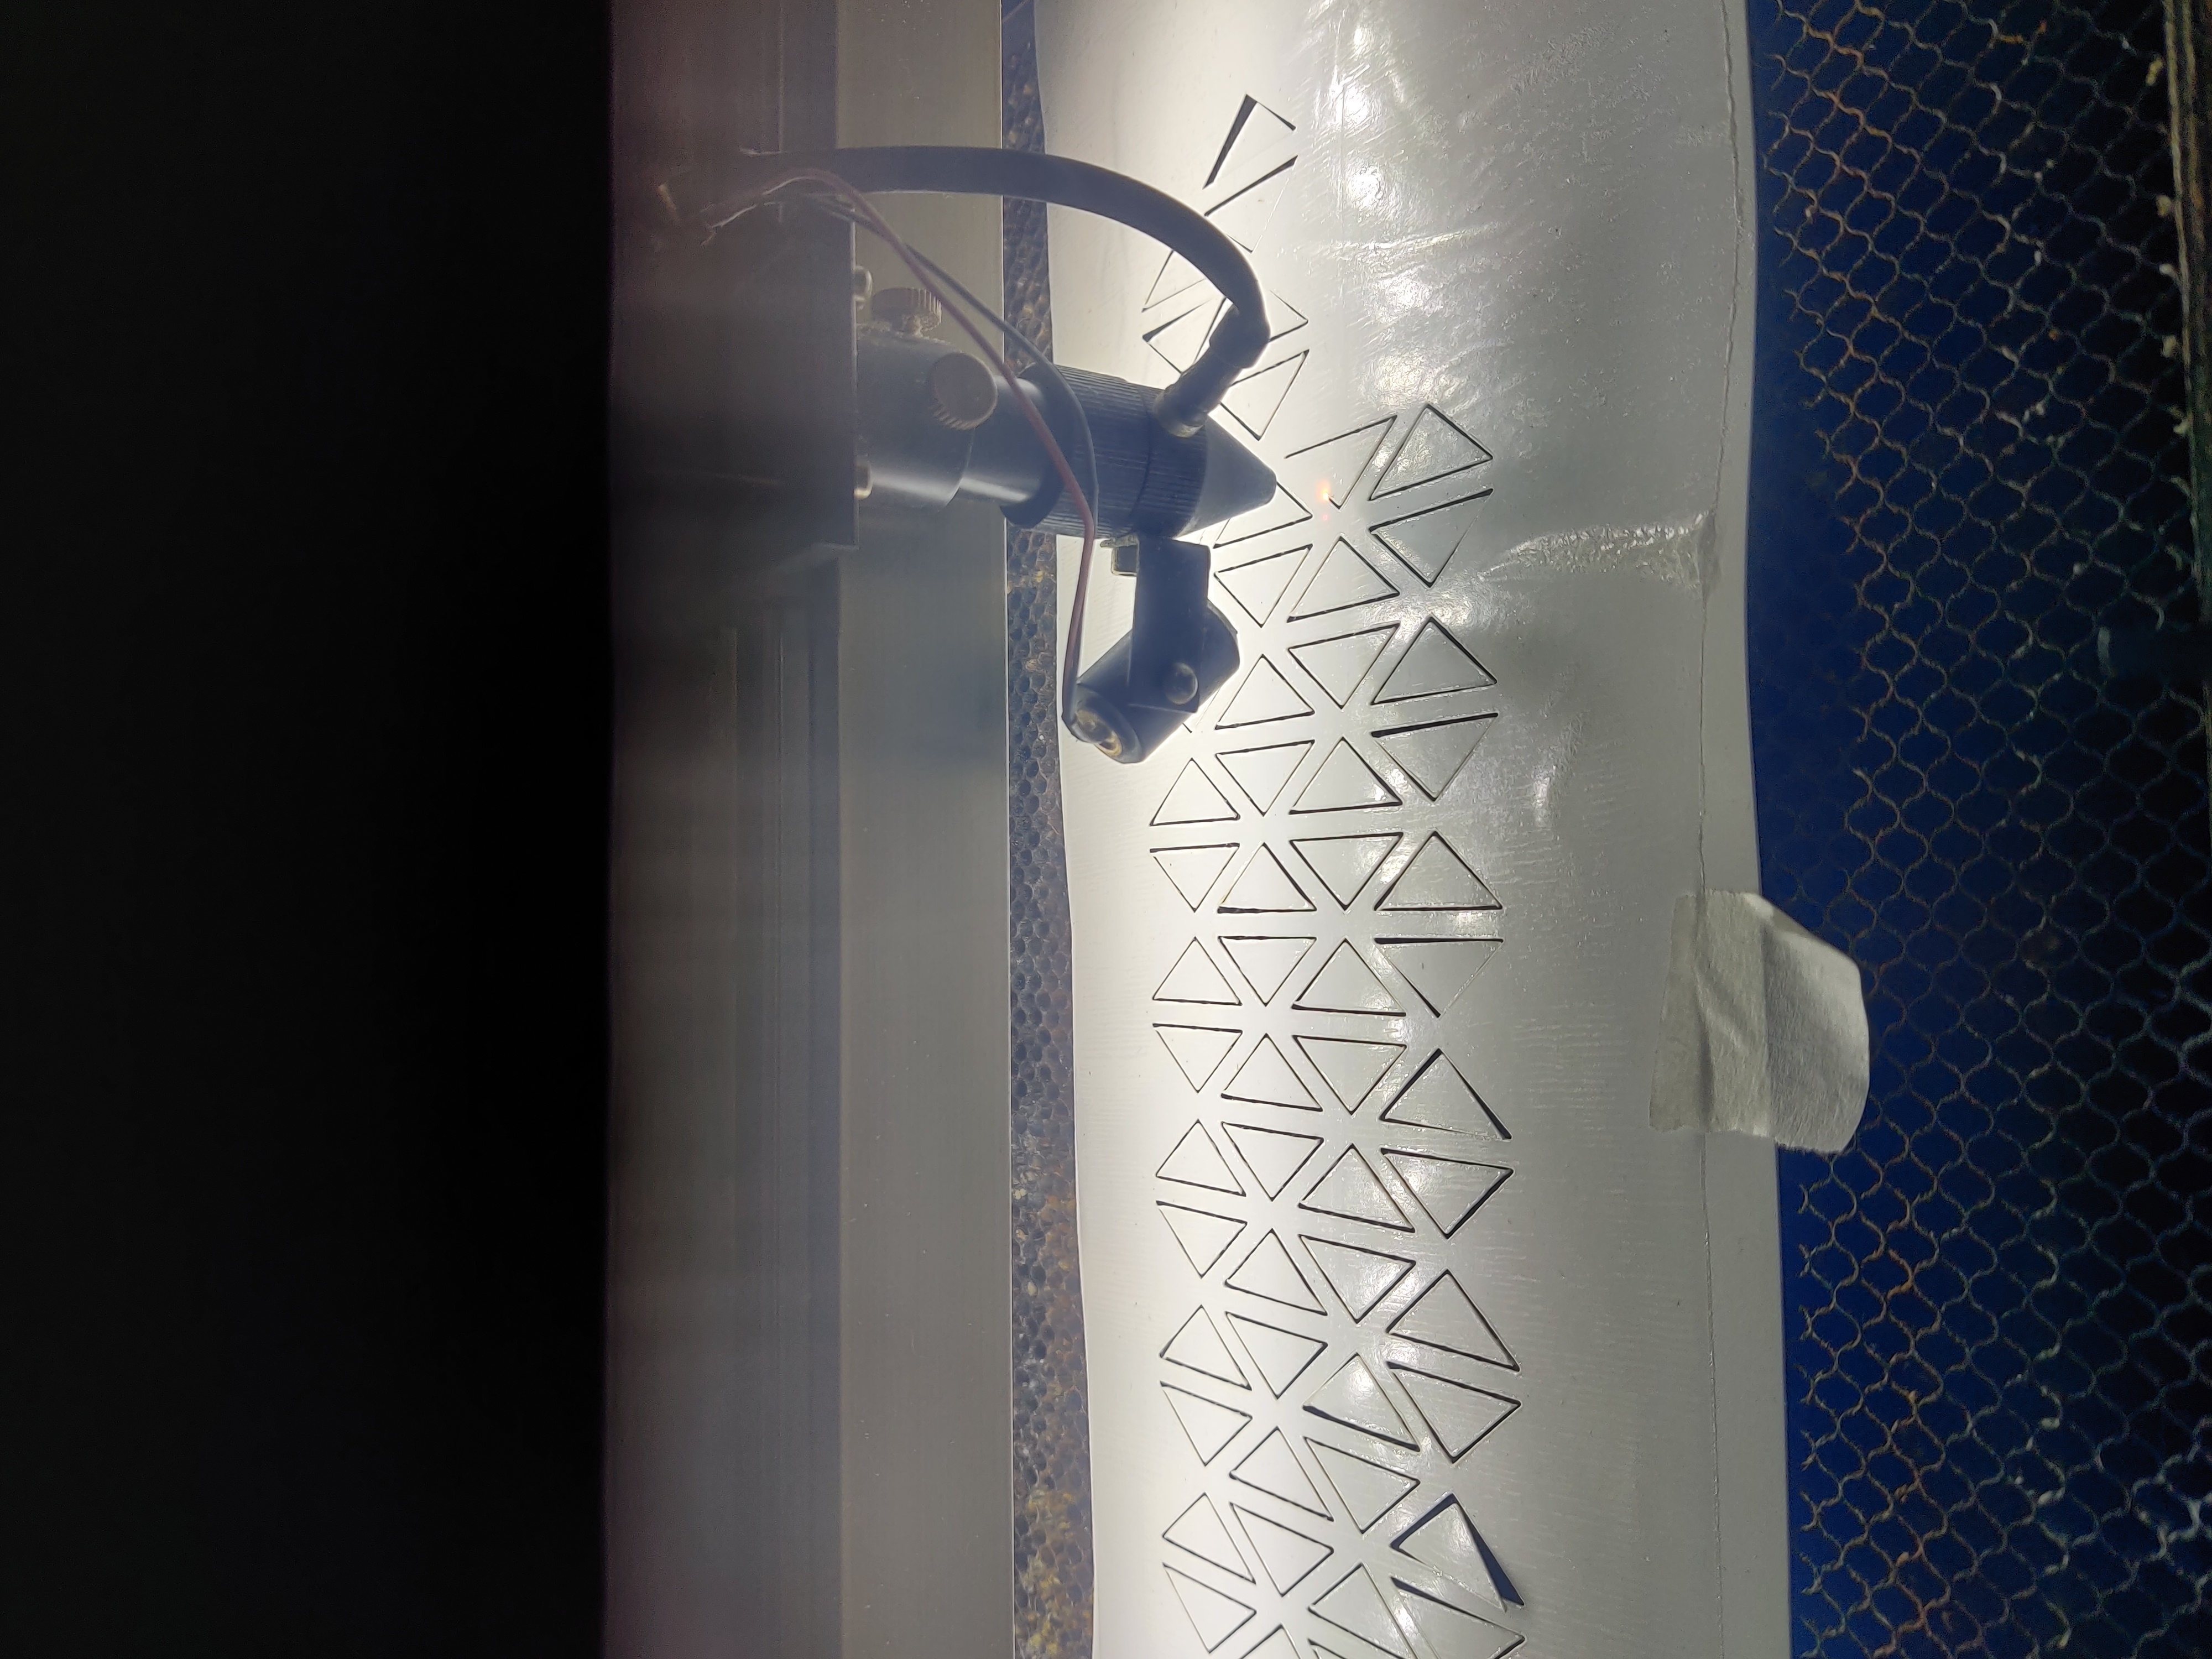
I used my current favourite tool, p5js to create an svg file (similar to the one I’d used for the tree). Admittedly this took me a lot longer than it would have taken with a CAD package, but it meant that I could easily change the number of rows and columns. I imported the file into Inkscape and used the Ink/Stitch extension to create the .pes file used by the embroidery machine. I also exported it as as a dxf for use in the laser cutter - I love that you can the same base file with so many different CNC machines!
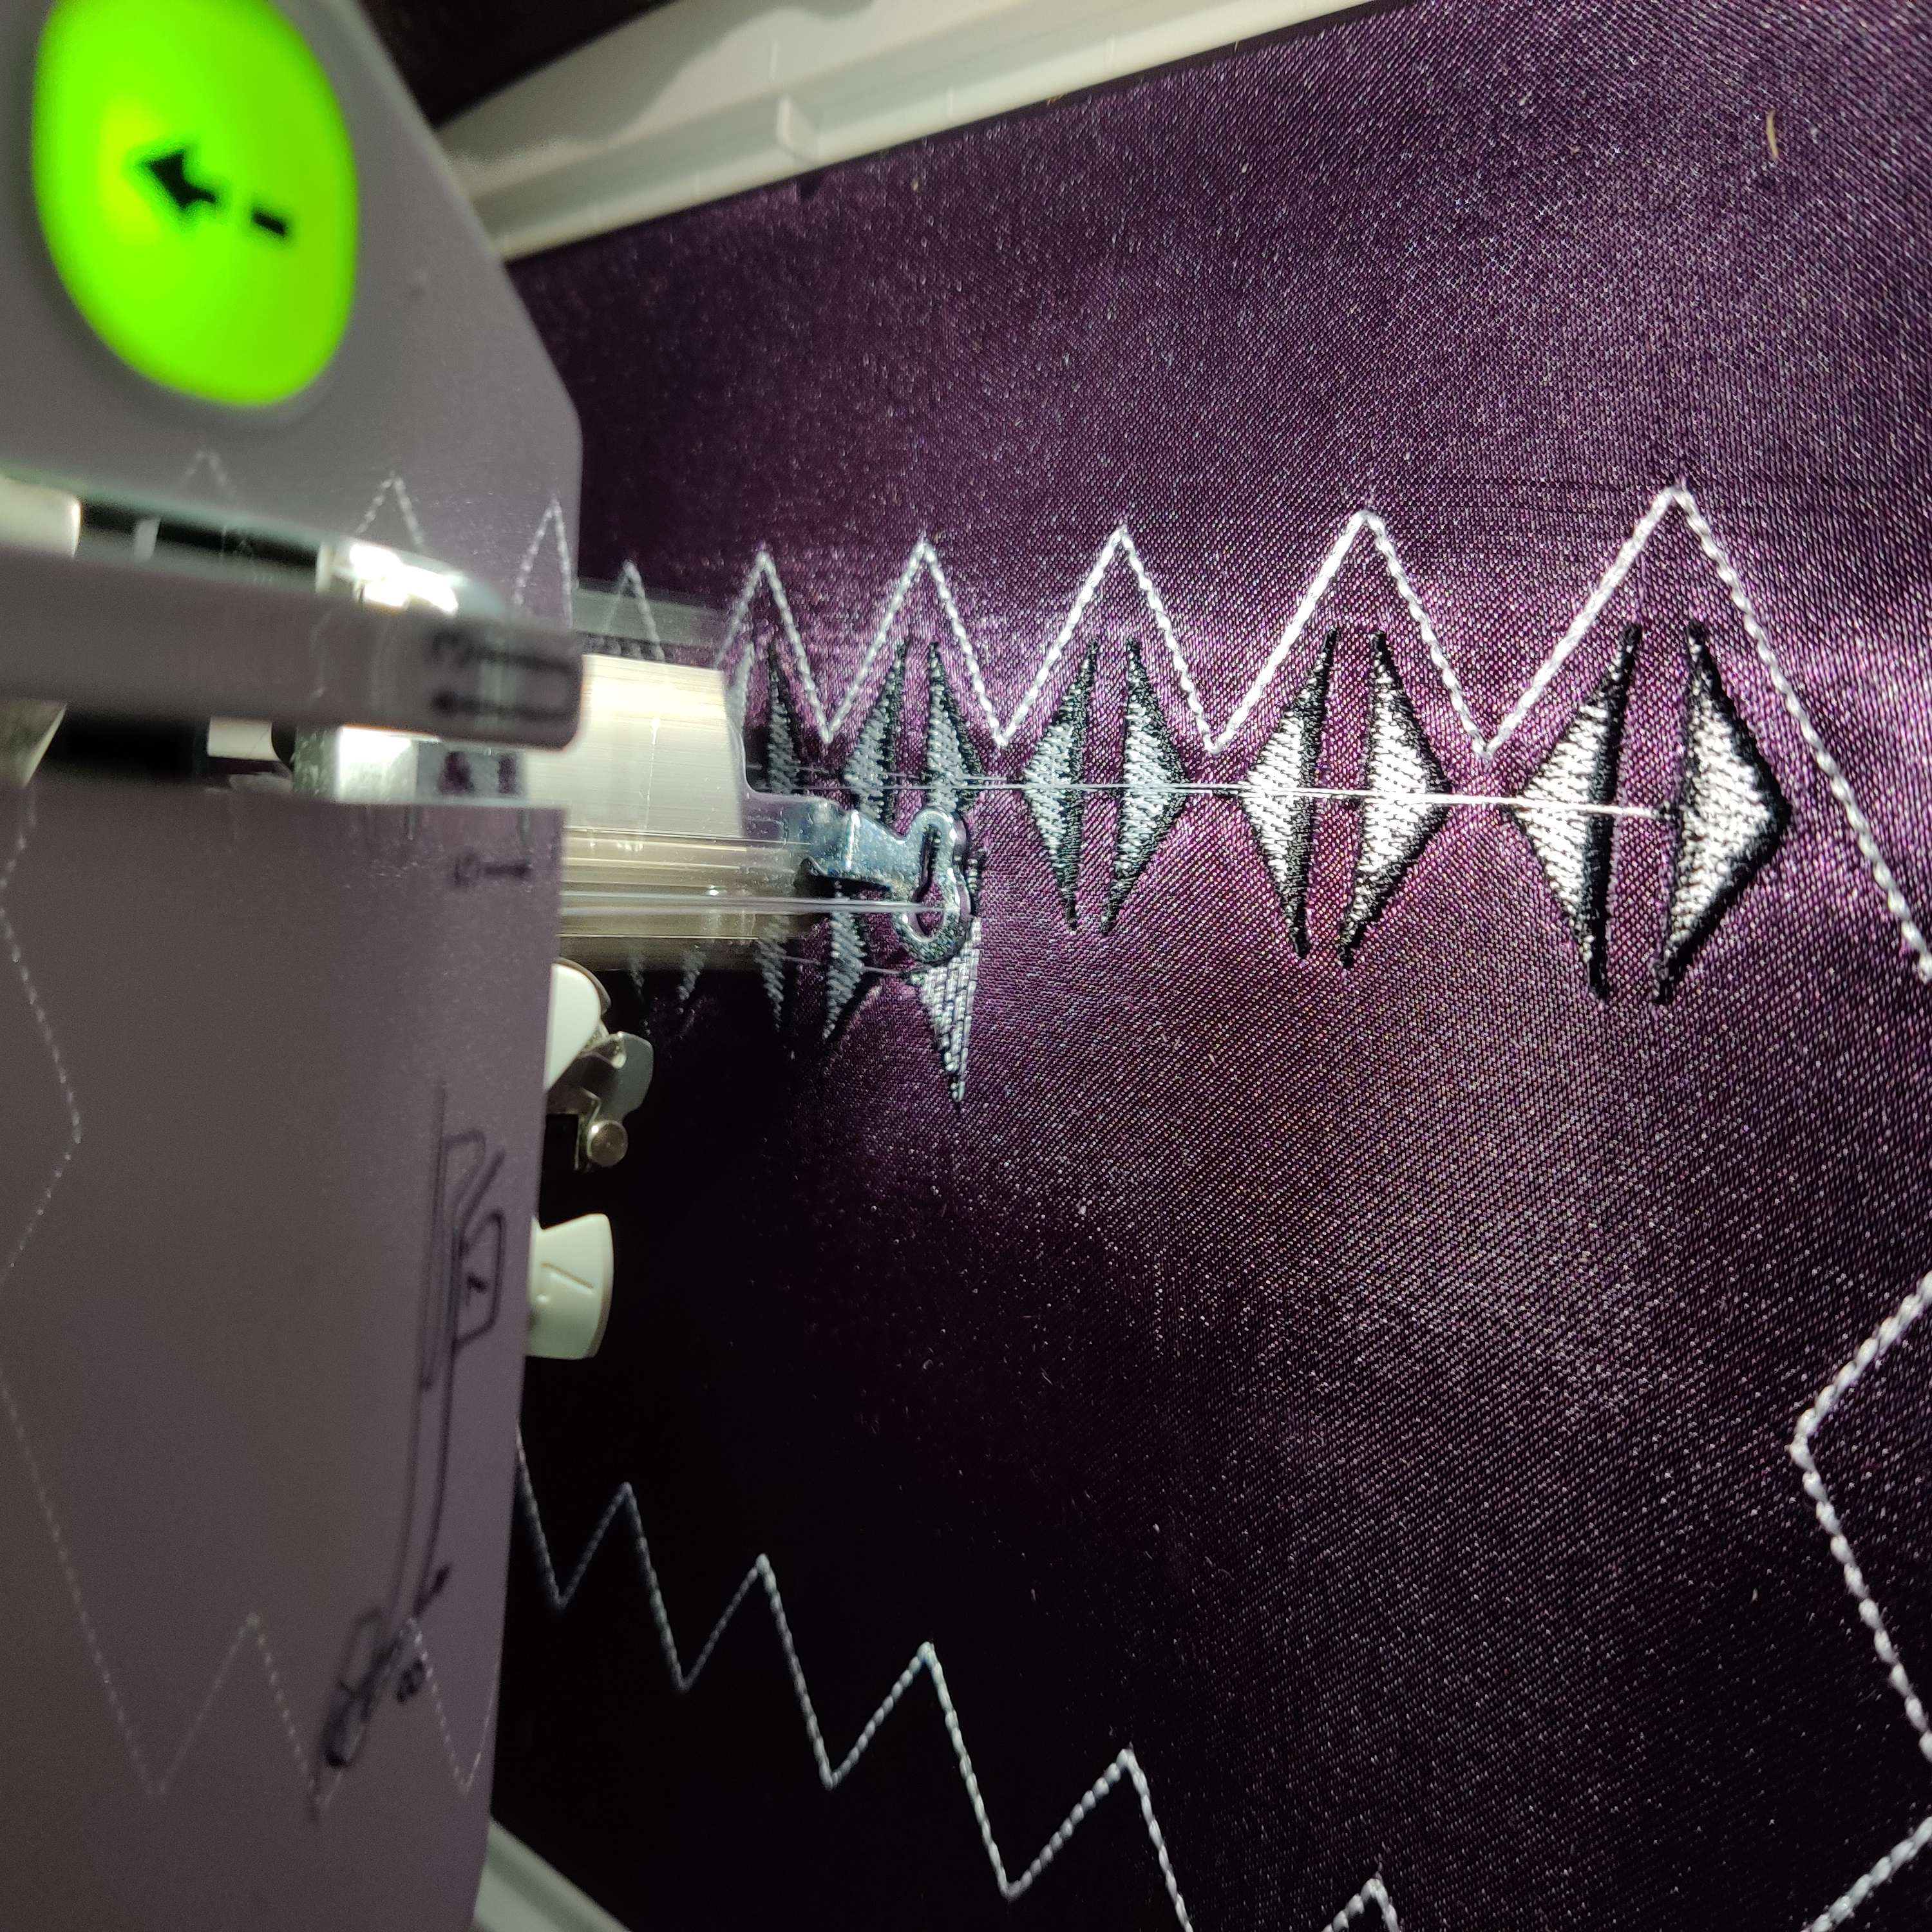
For my first attempt, I started with 2 layers of scrap non-woven polypropylene and a layer of stabiliser. I was impressed by the way the embroidery looked, but I found it too difficult to keep the folds in position, and having lots of rows made it extra complicated:
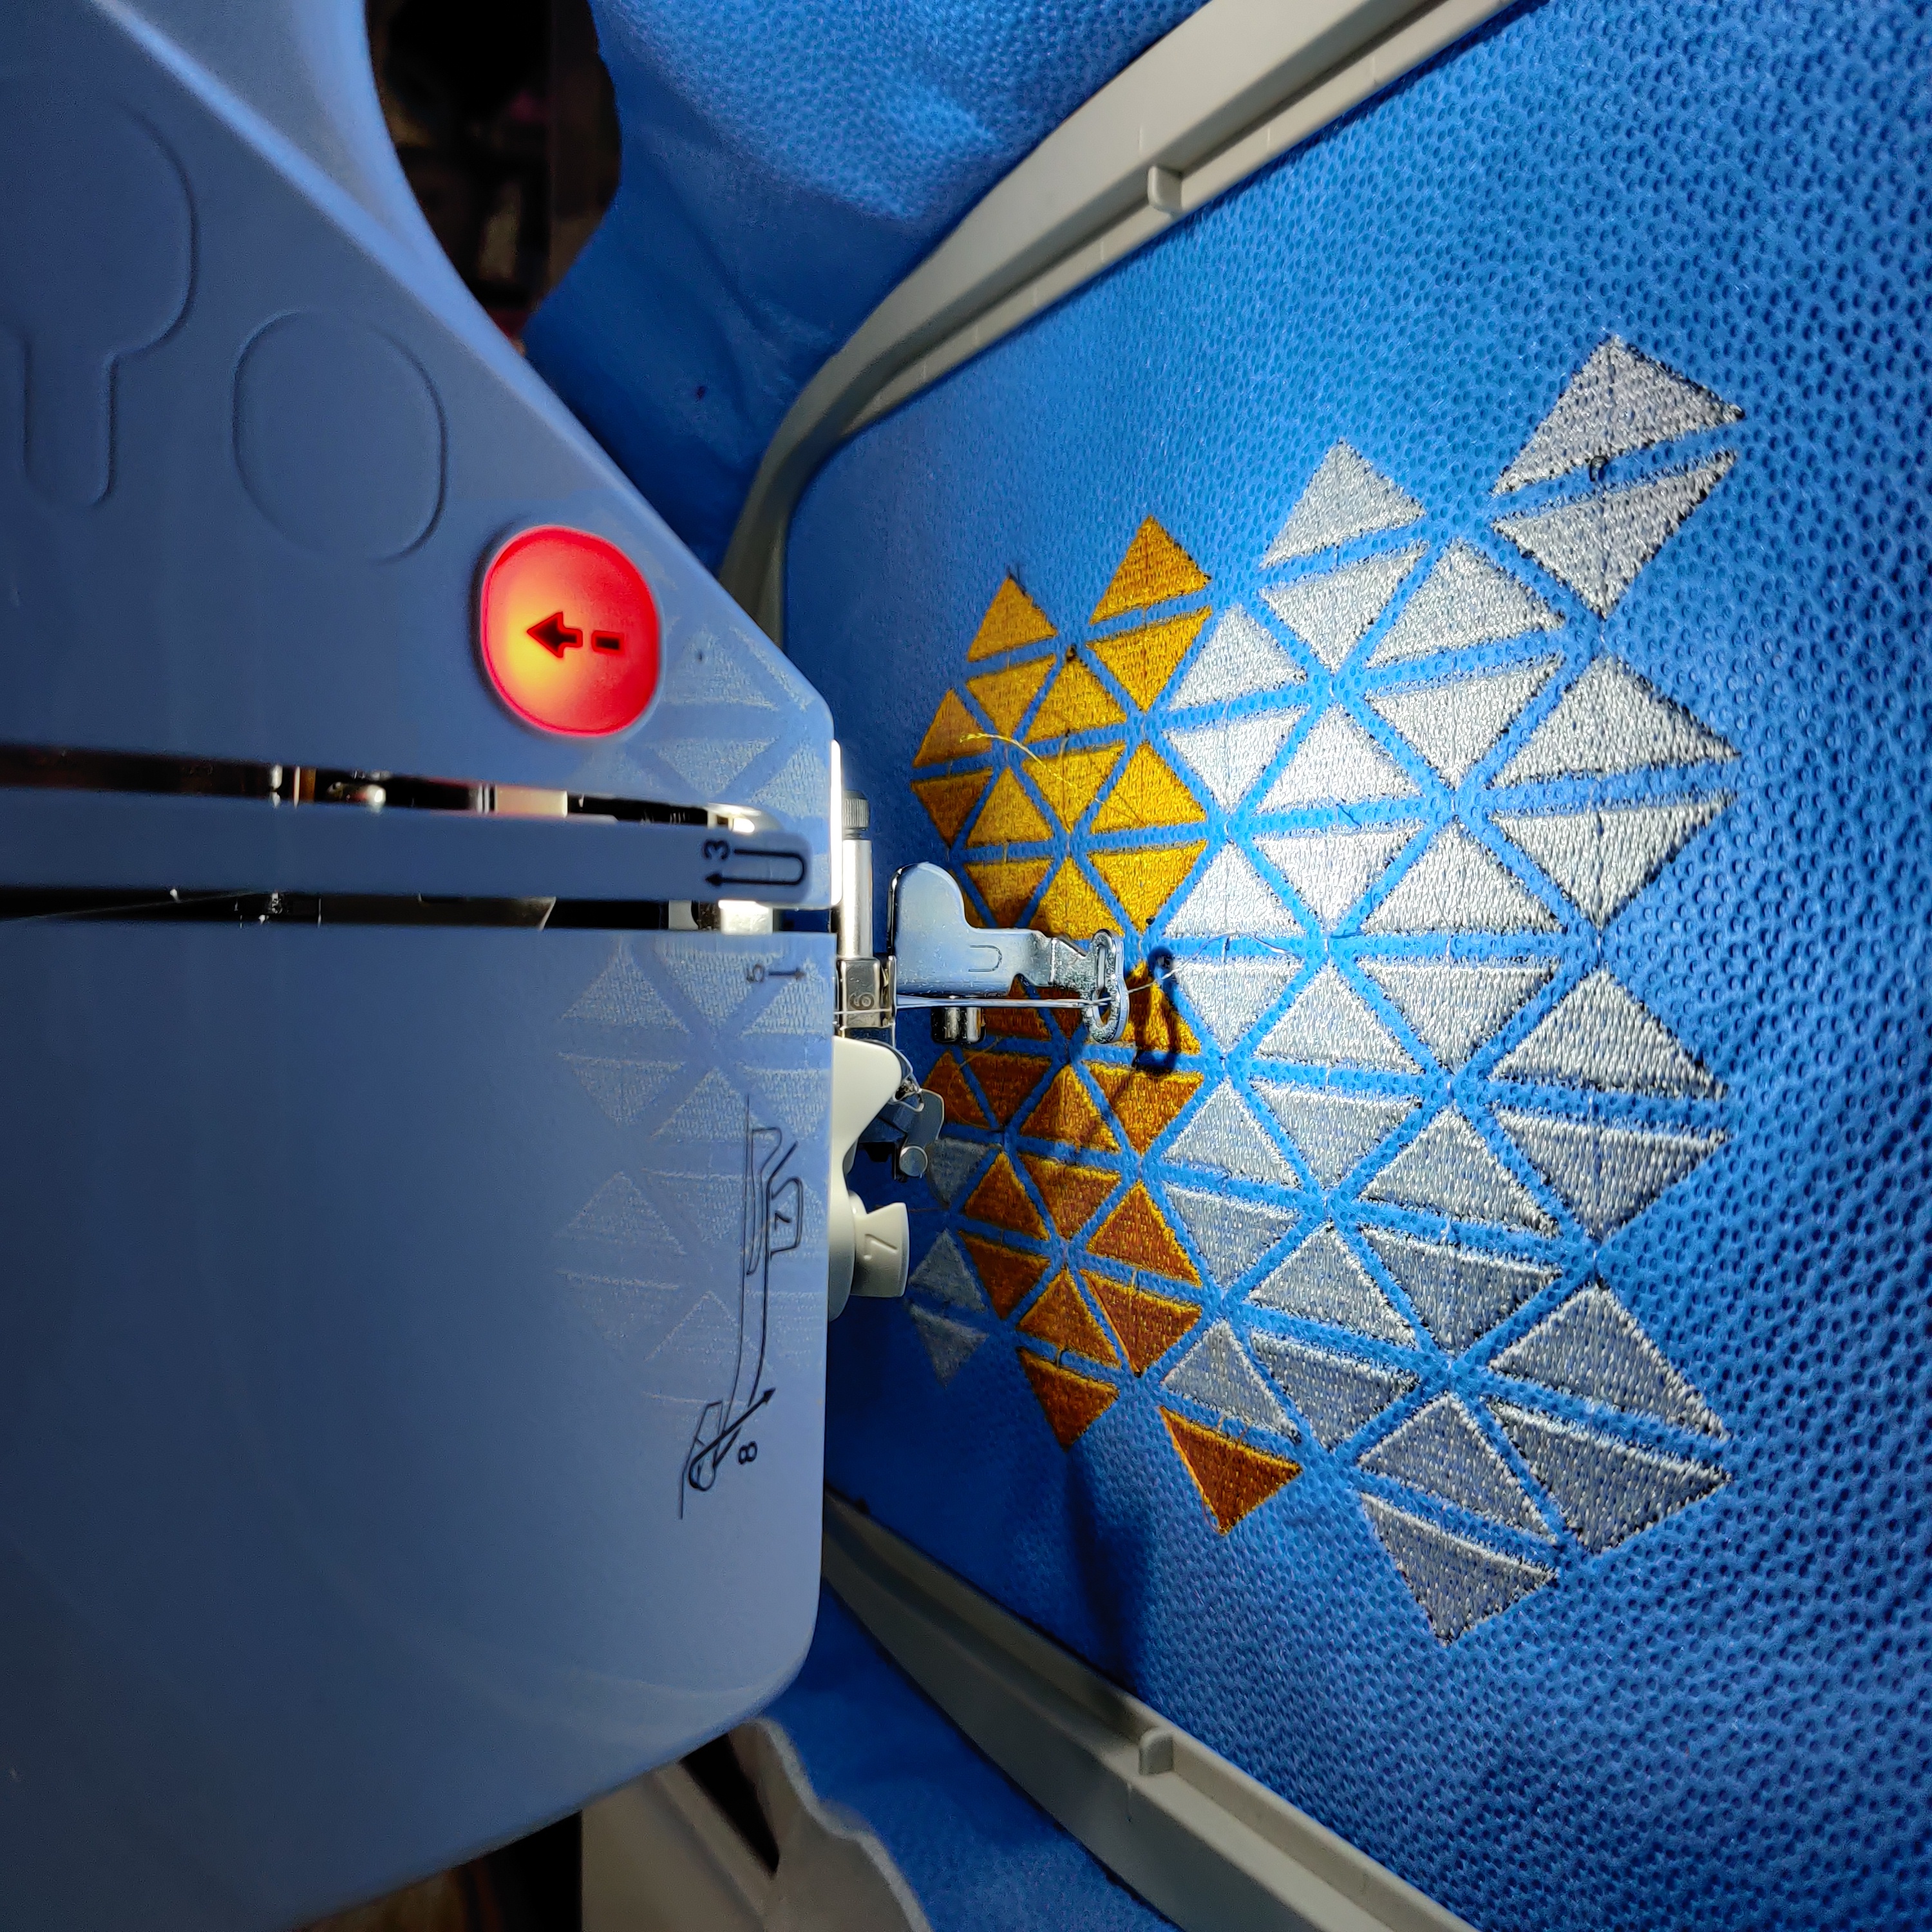
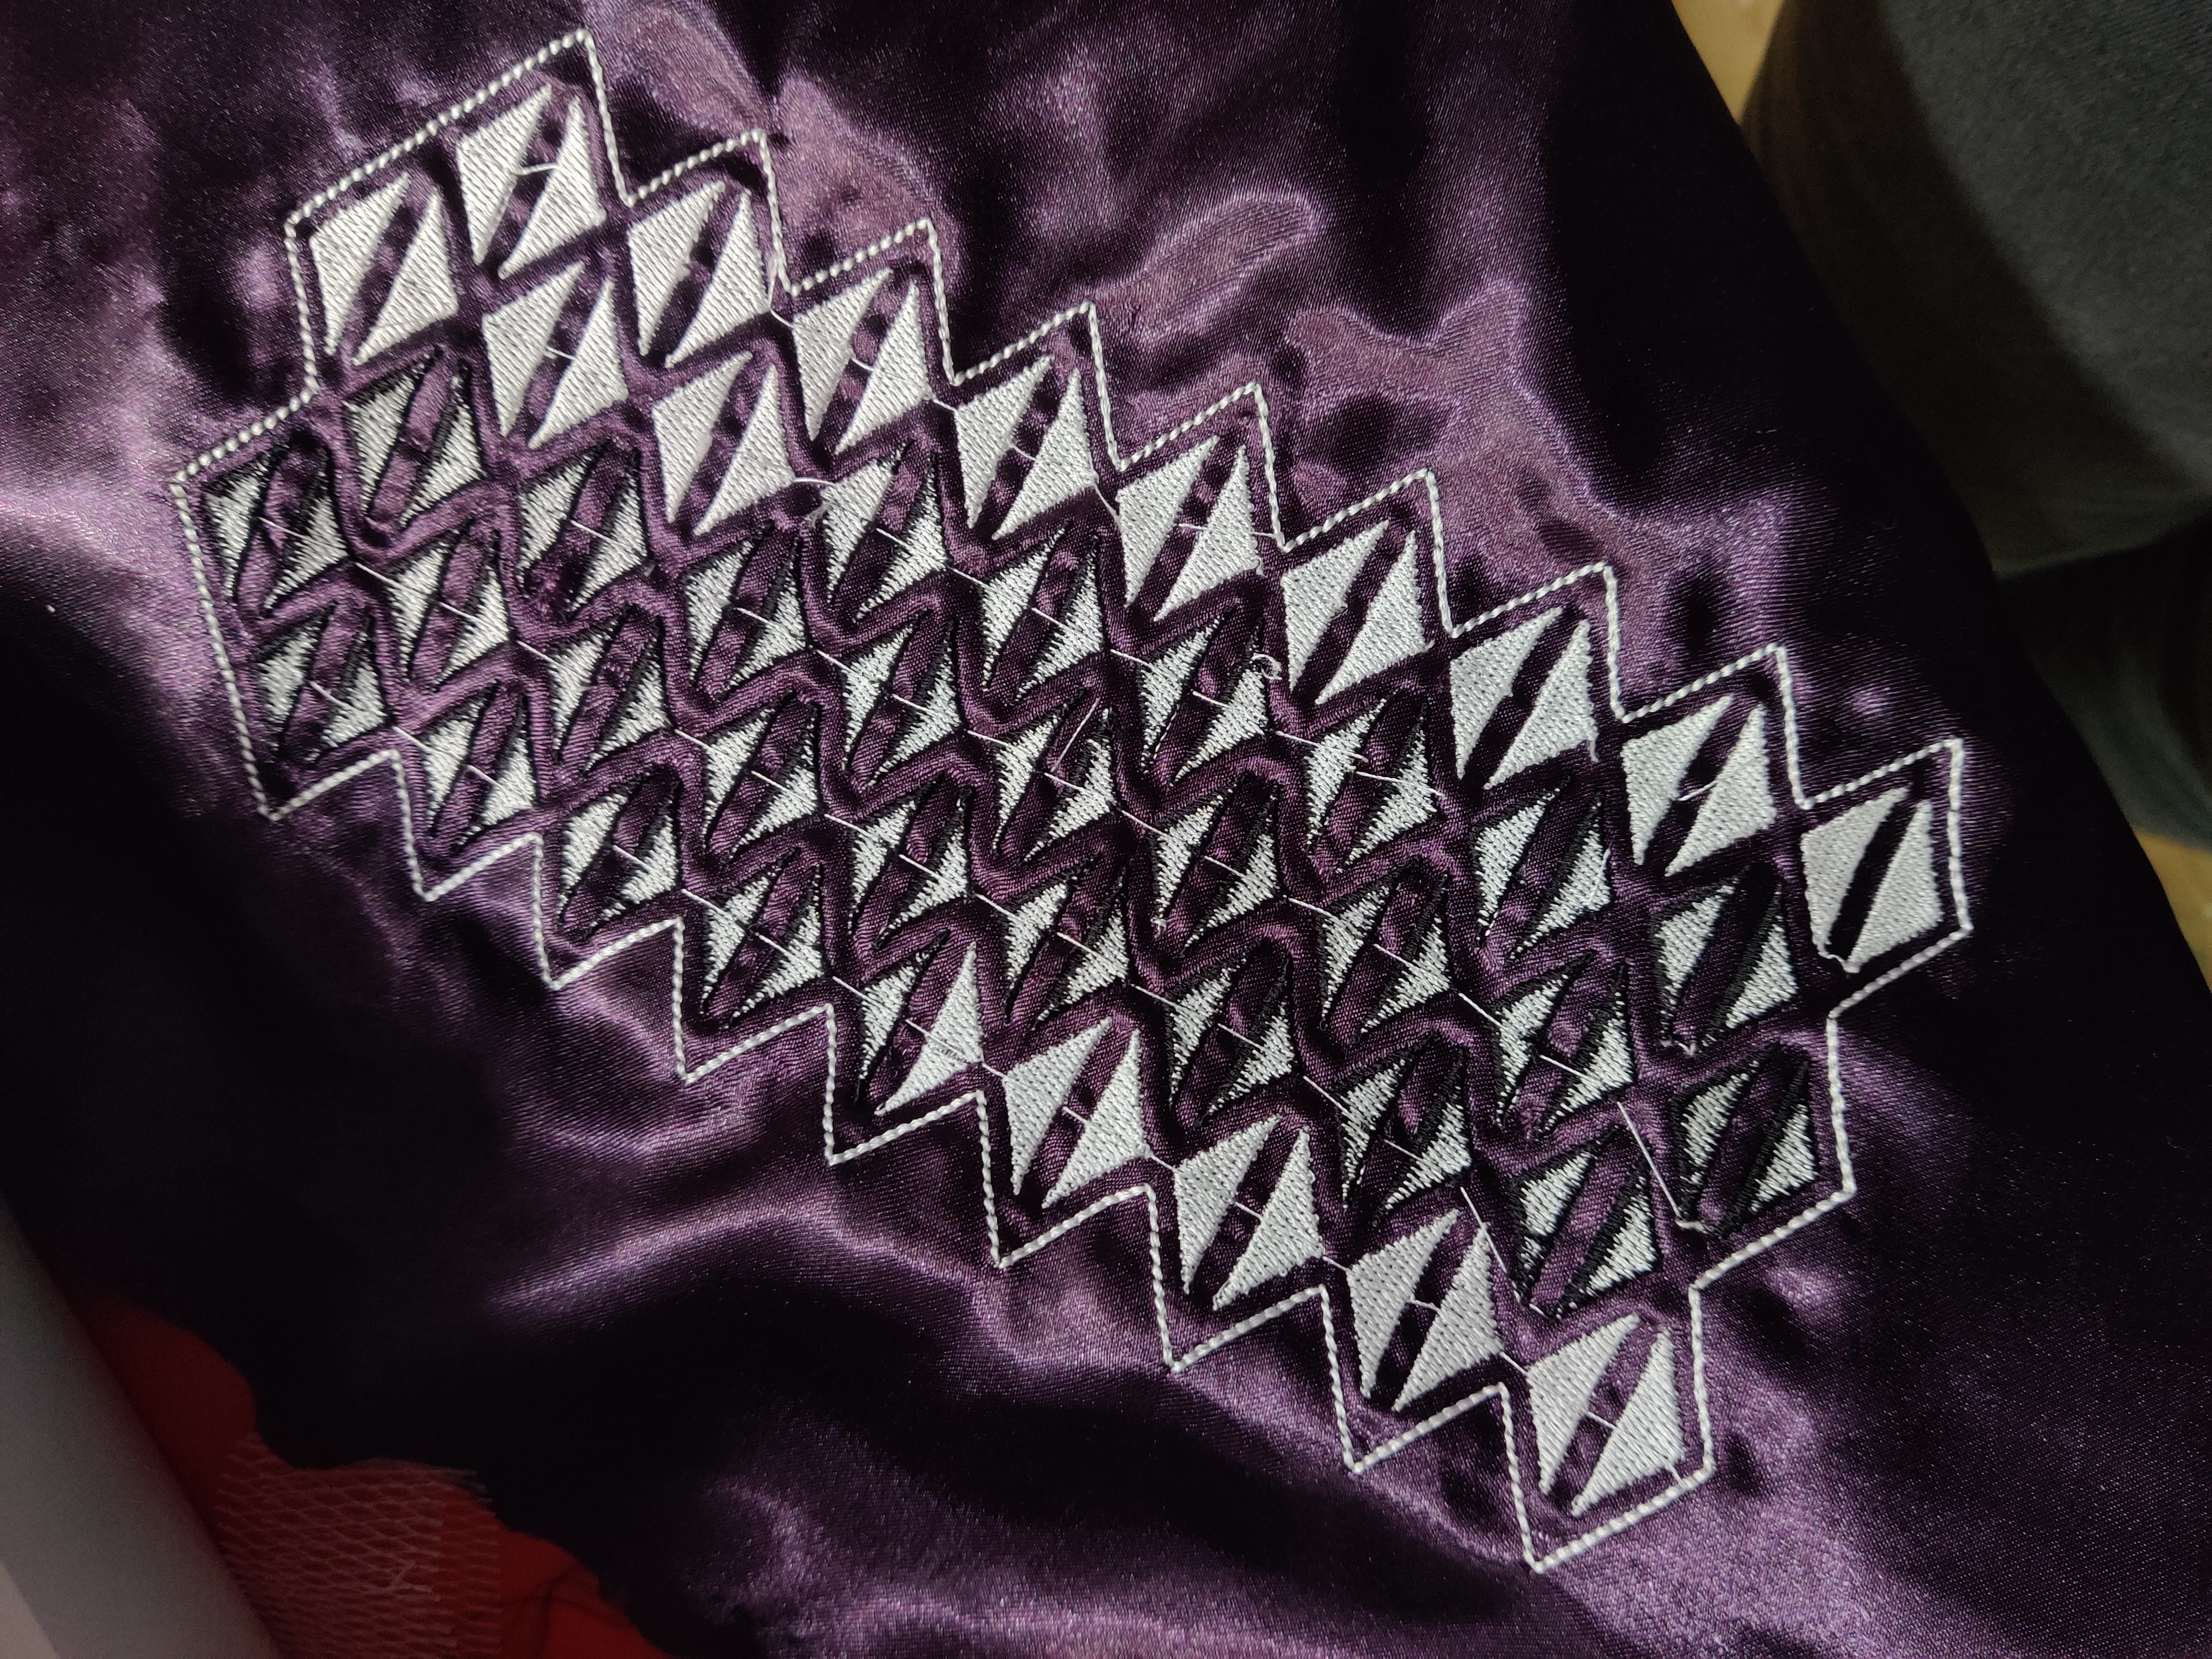
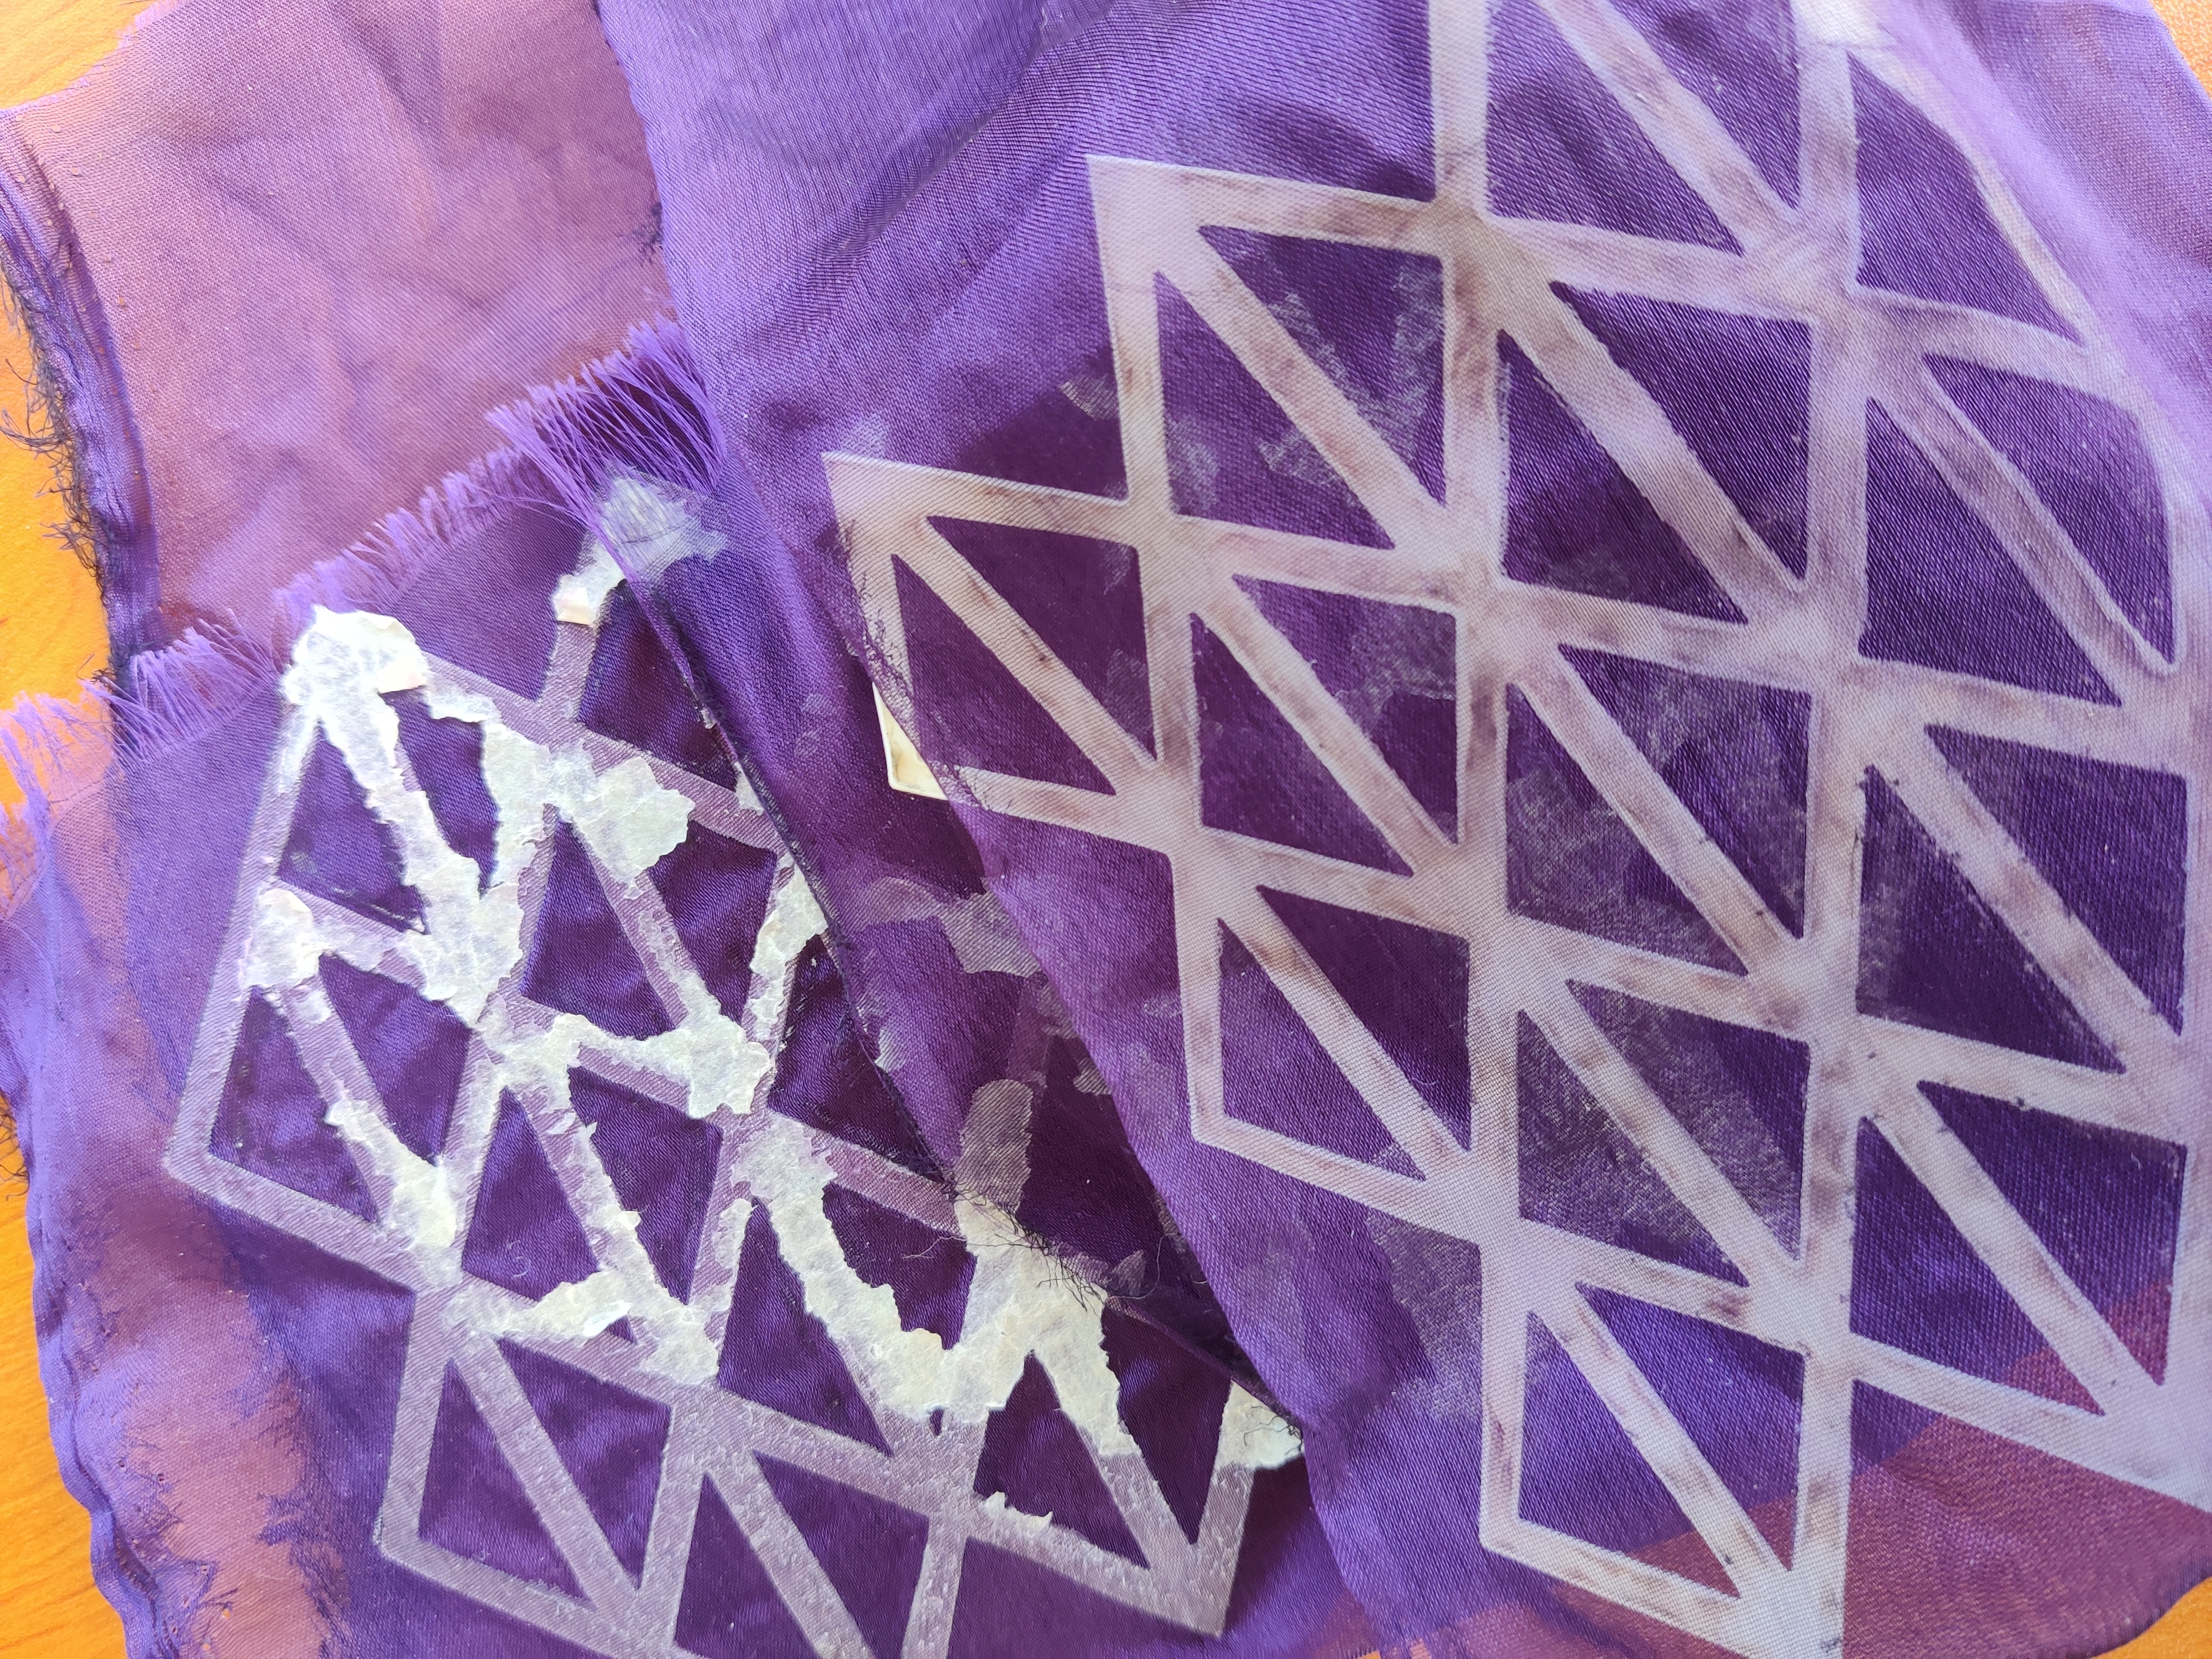
I gave up and tried again with a softer fabric, fewer rows and more columns. This also looked great just flat. The interesting black and white effect isn’t intentional - the bobbin hadn’t been threaded properly, so the tension was wrong and the bobbin thread showed on the front (something to try to recreate by blending colours though!):
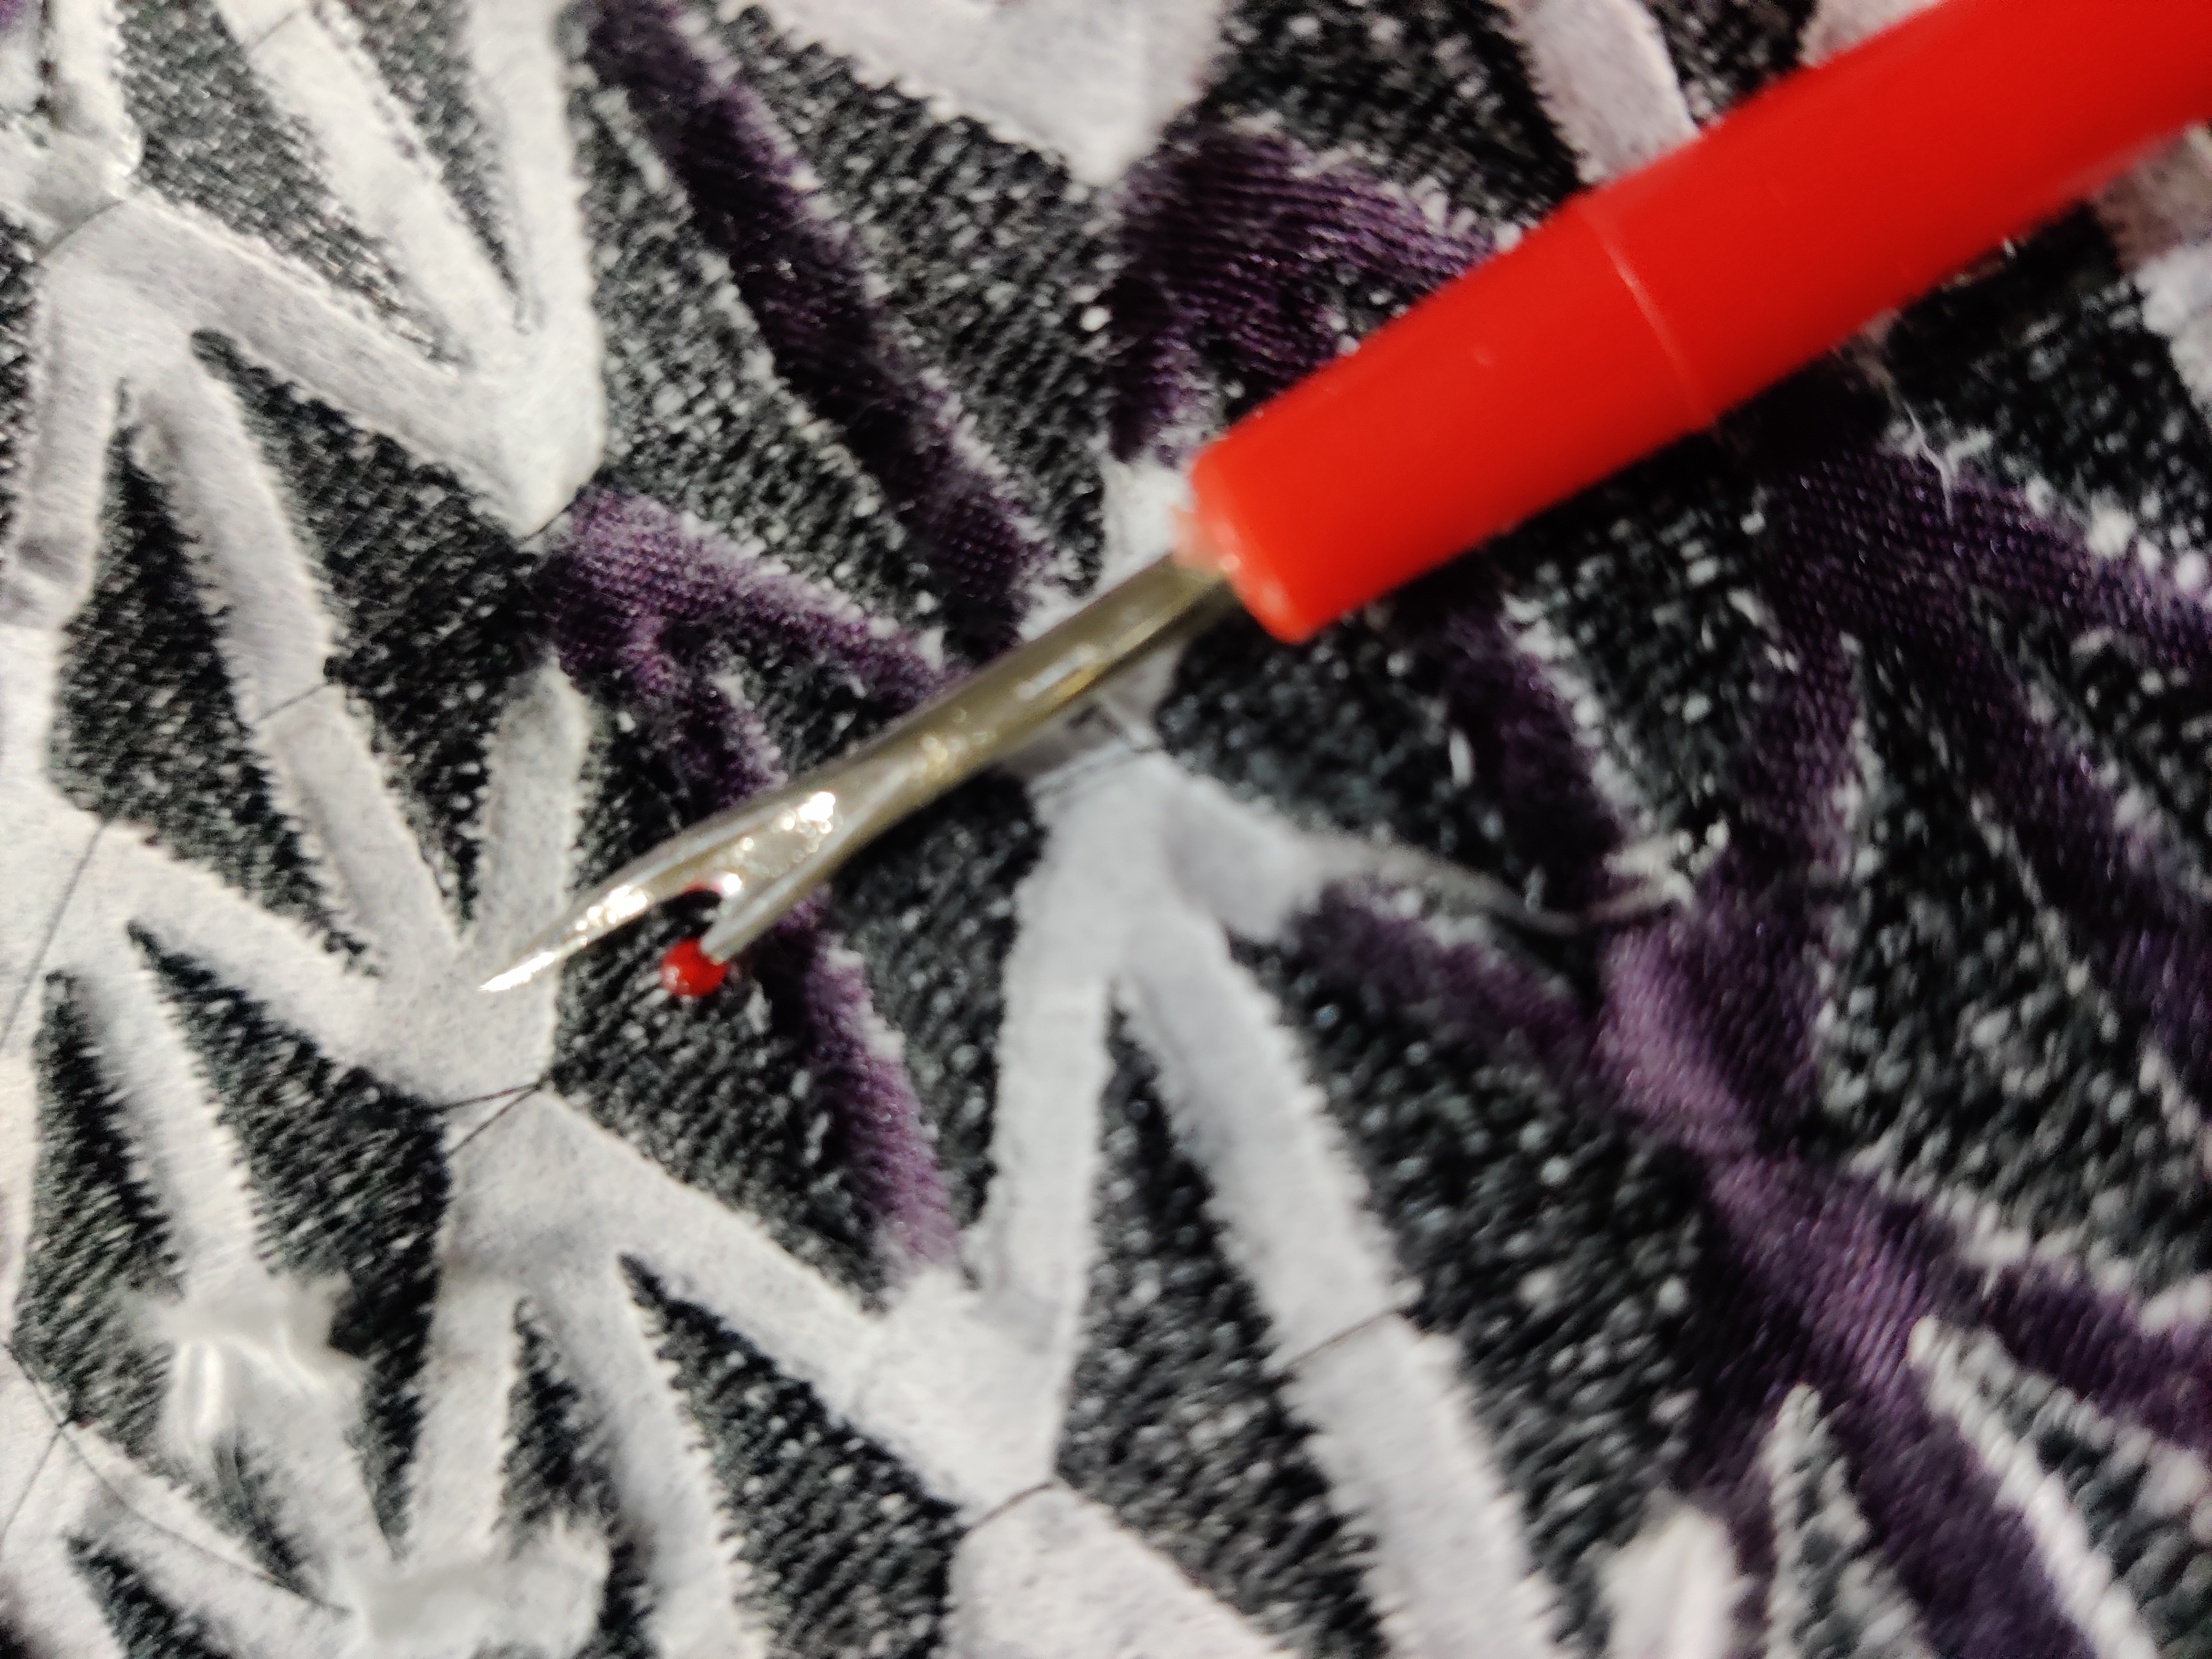
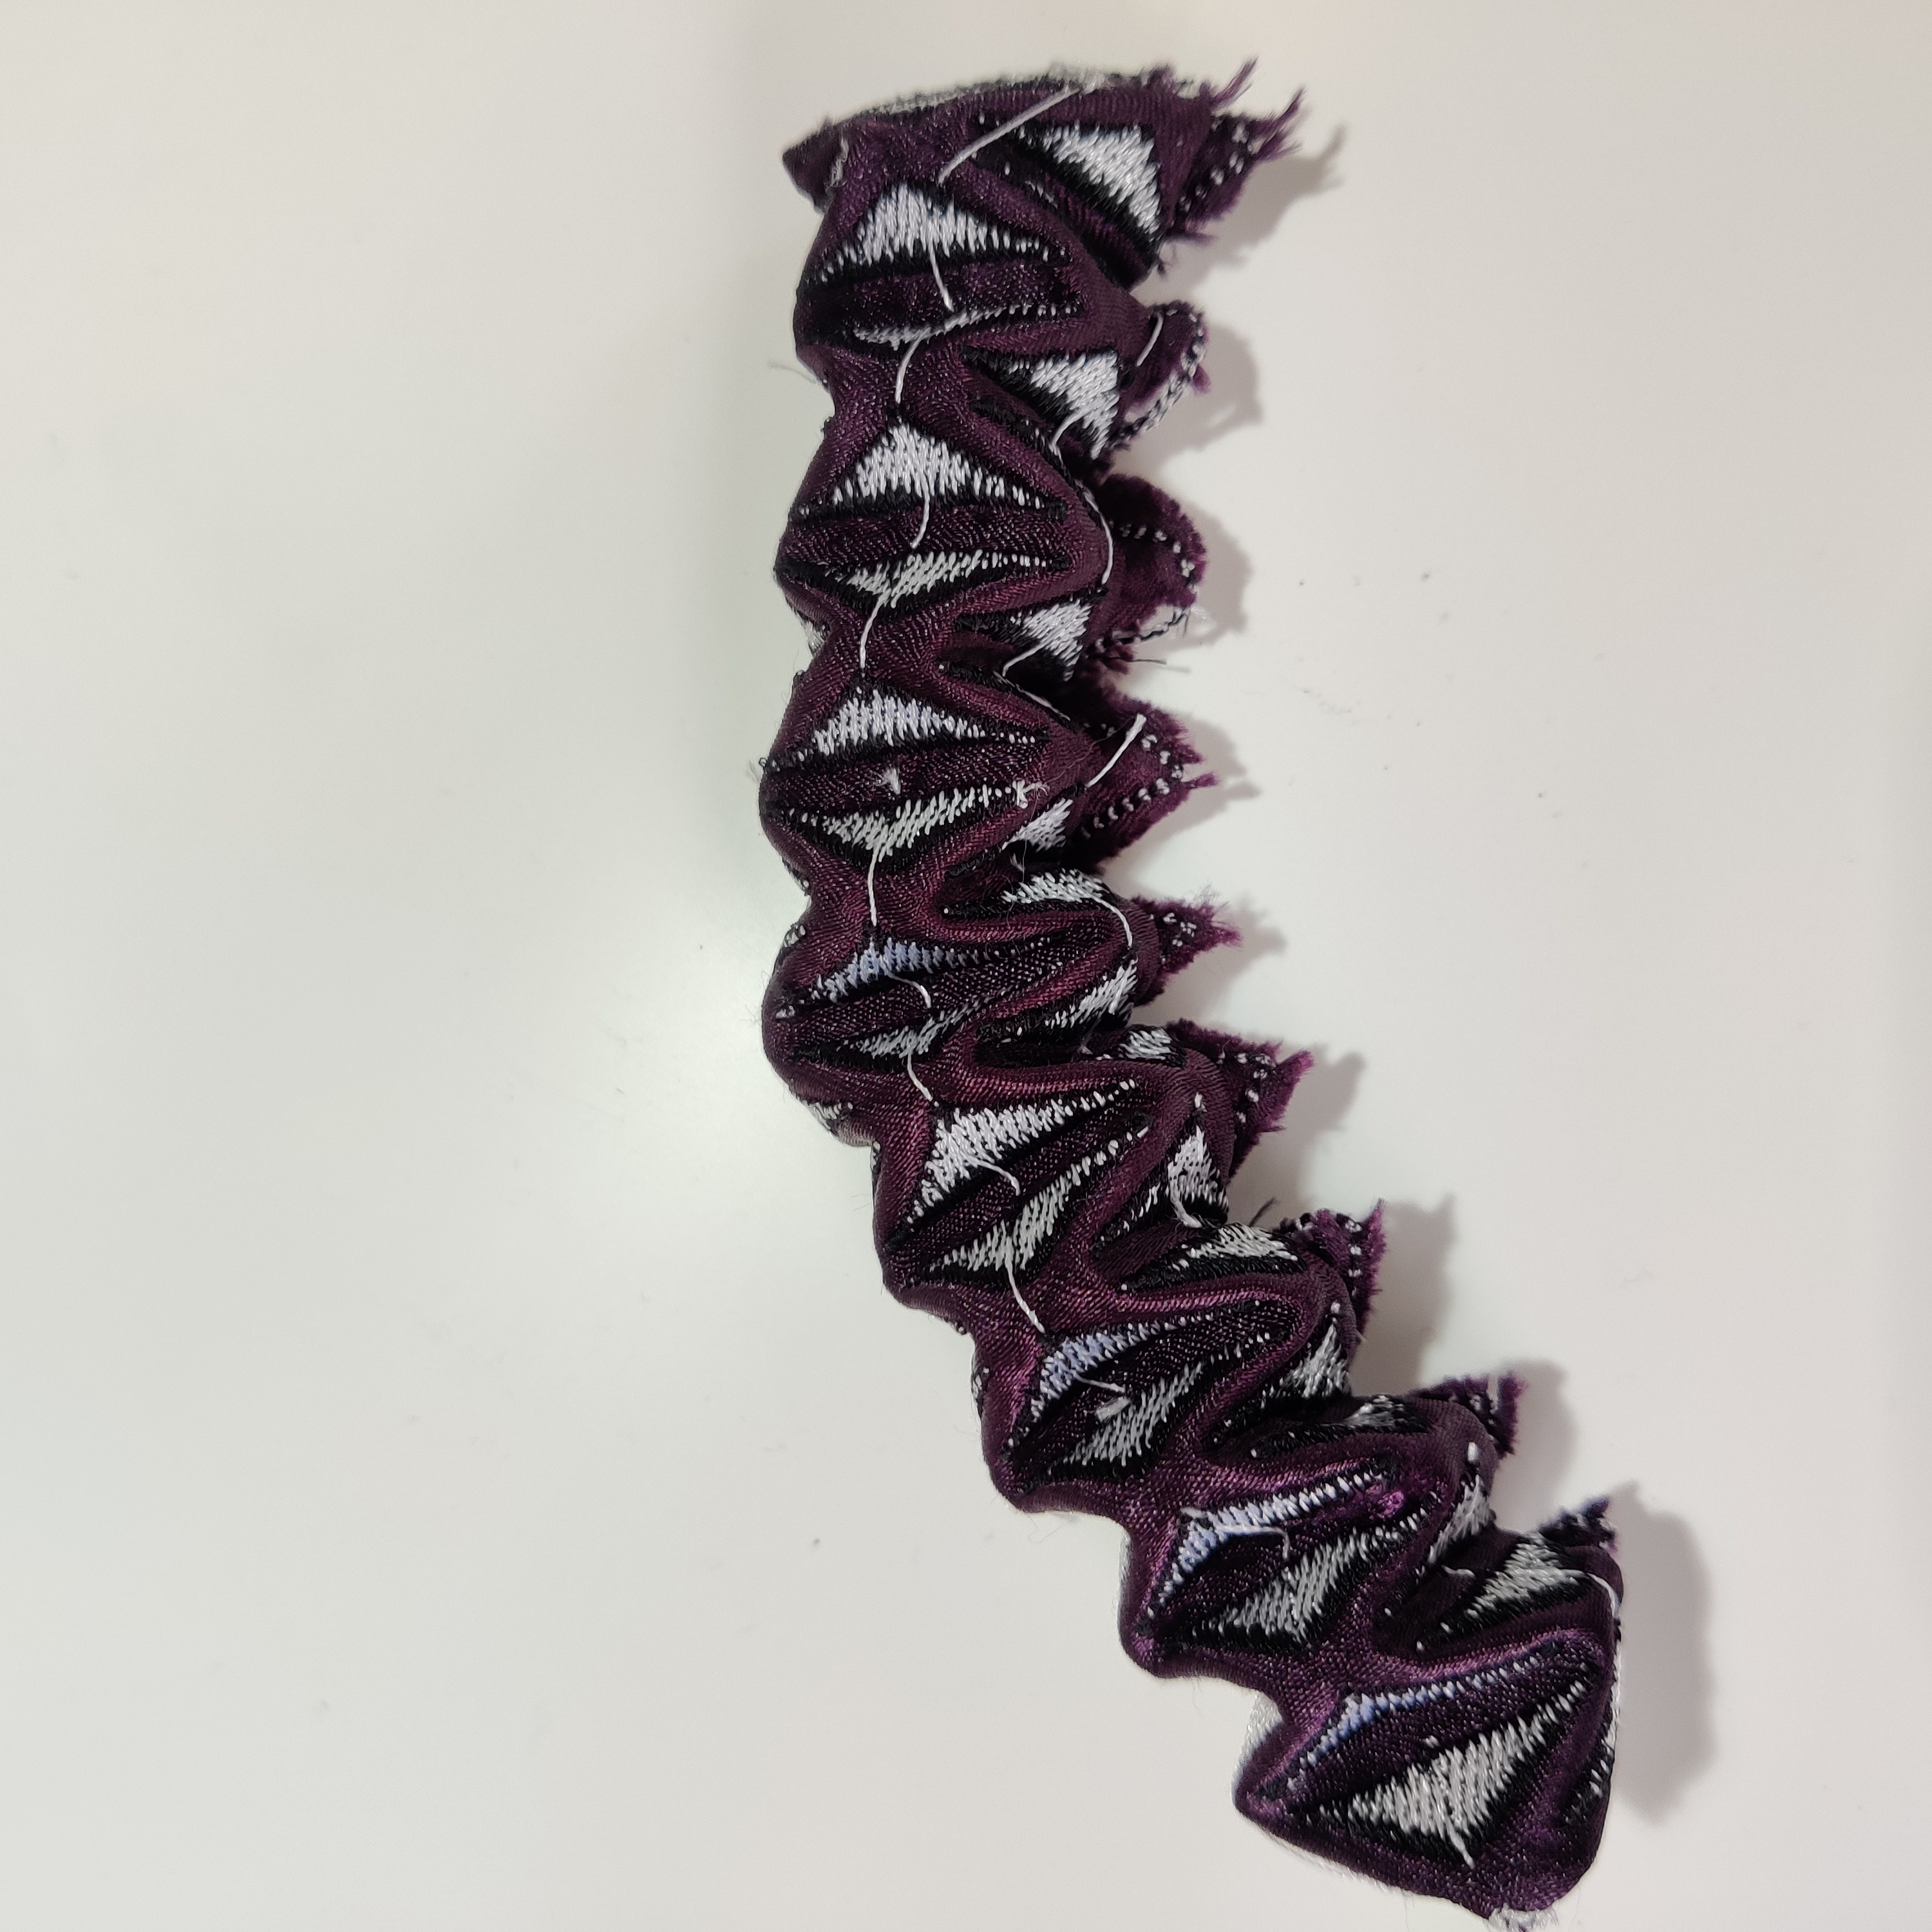
This time I removed the stabliser between the triangles, hoping this would give more flexibility. It was very difficult to get get the triangles to stay in position once folded, but after sticking the edges together to make a tube shape, it did eventually work (someone said this looked like a caterpillar, so that might be something to work on - I’d like to try adding servos…):
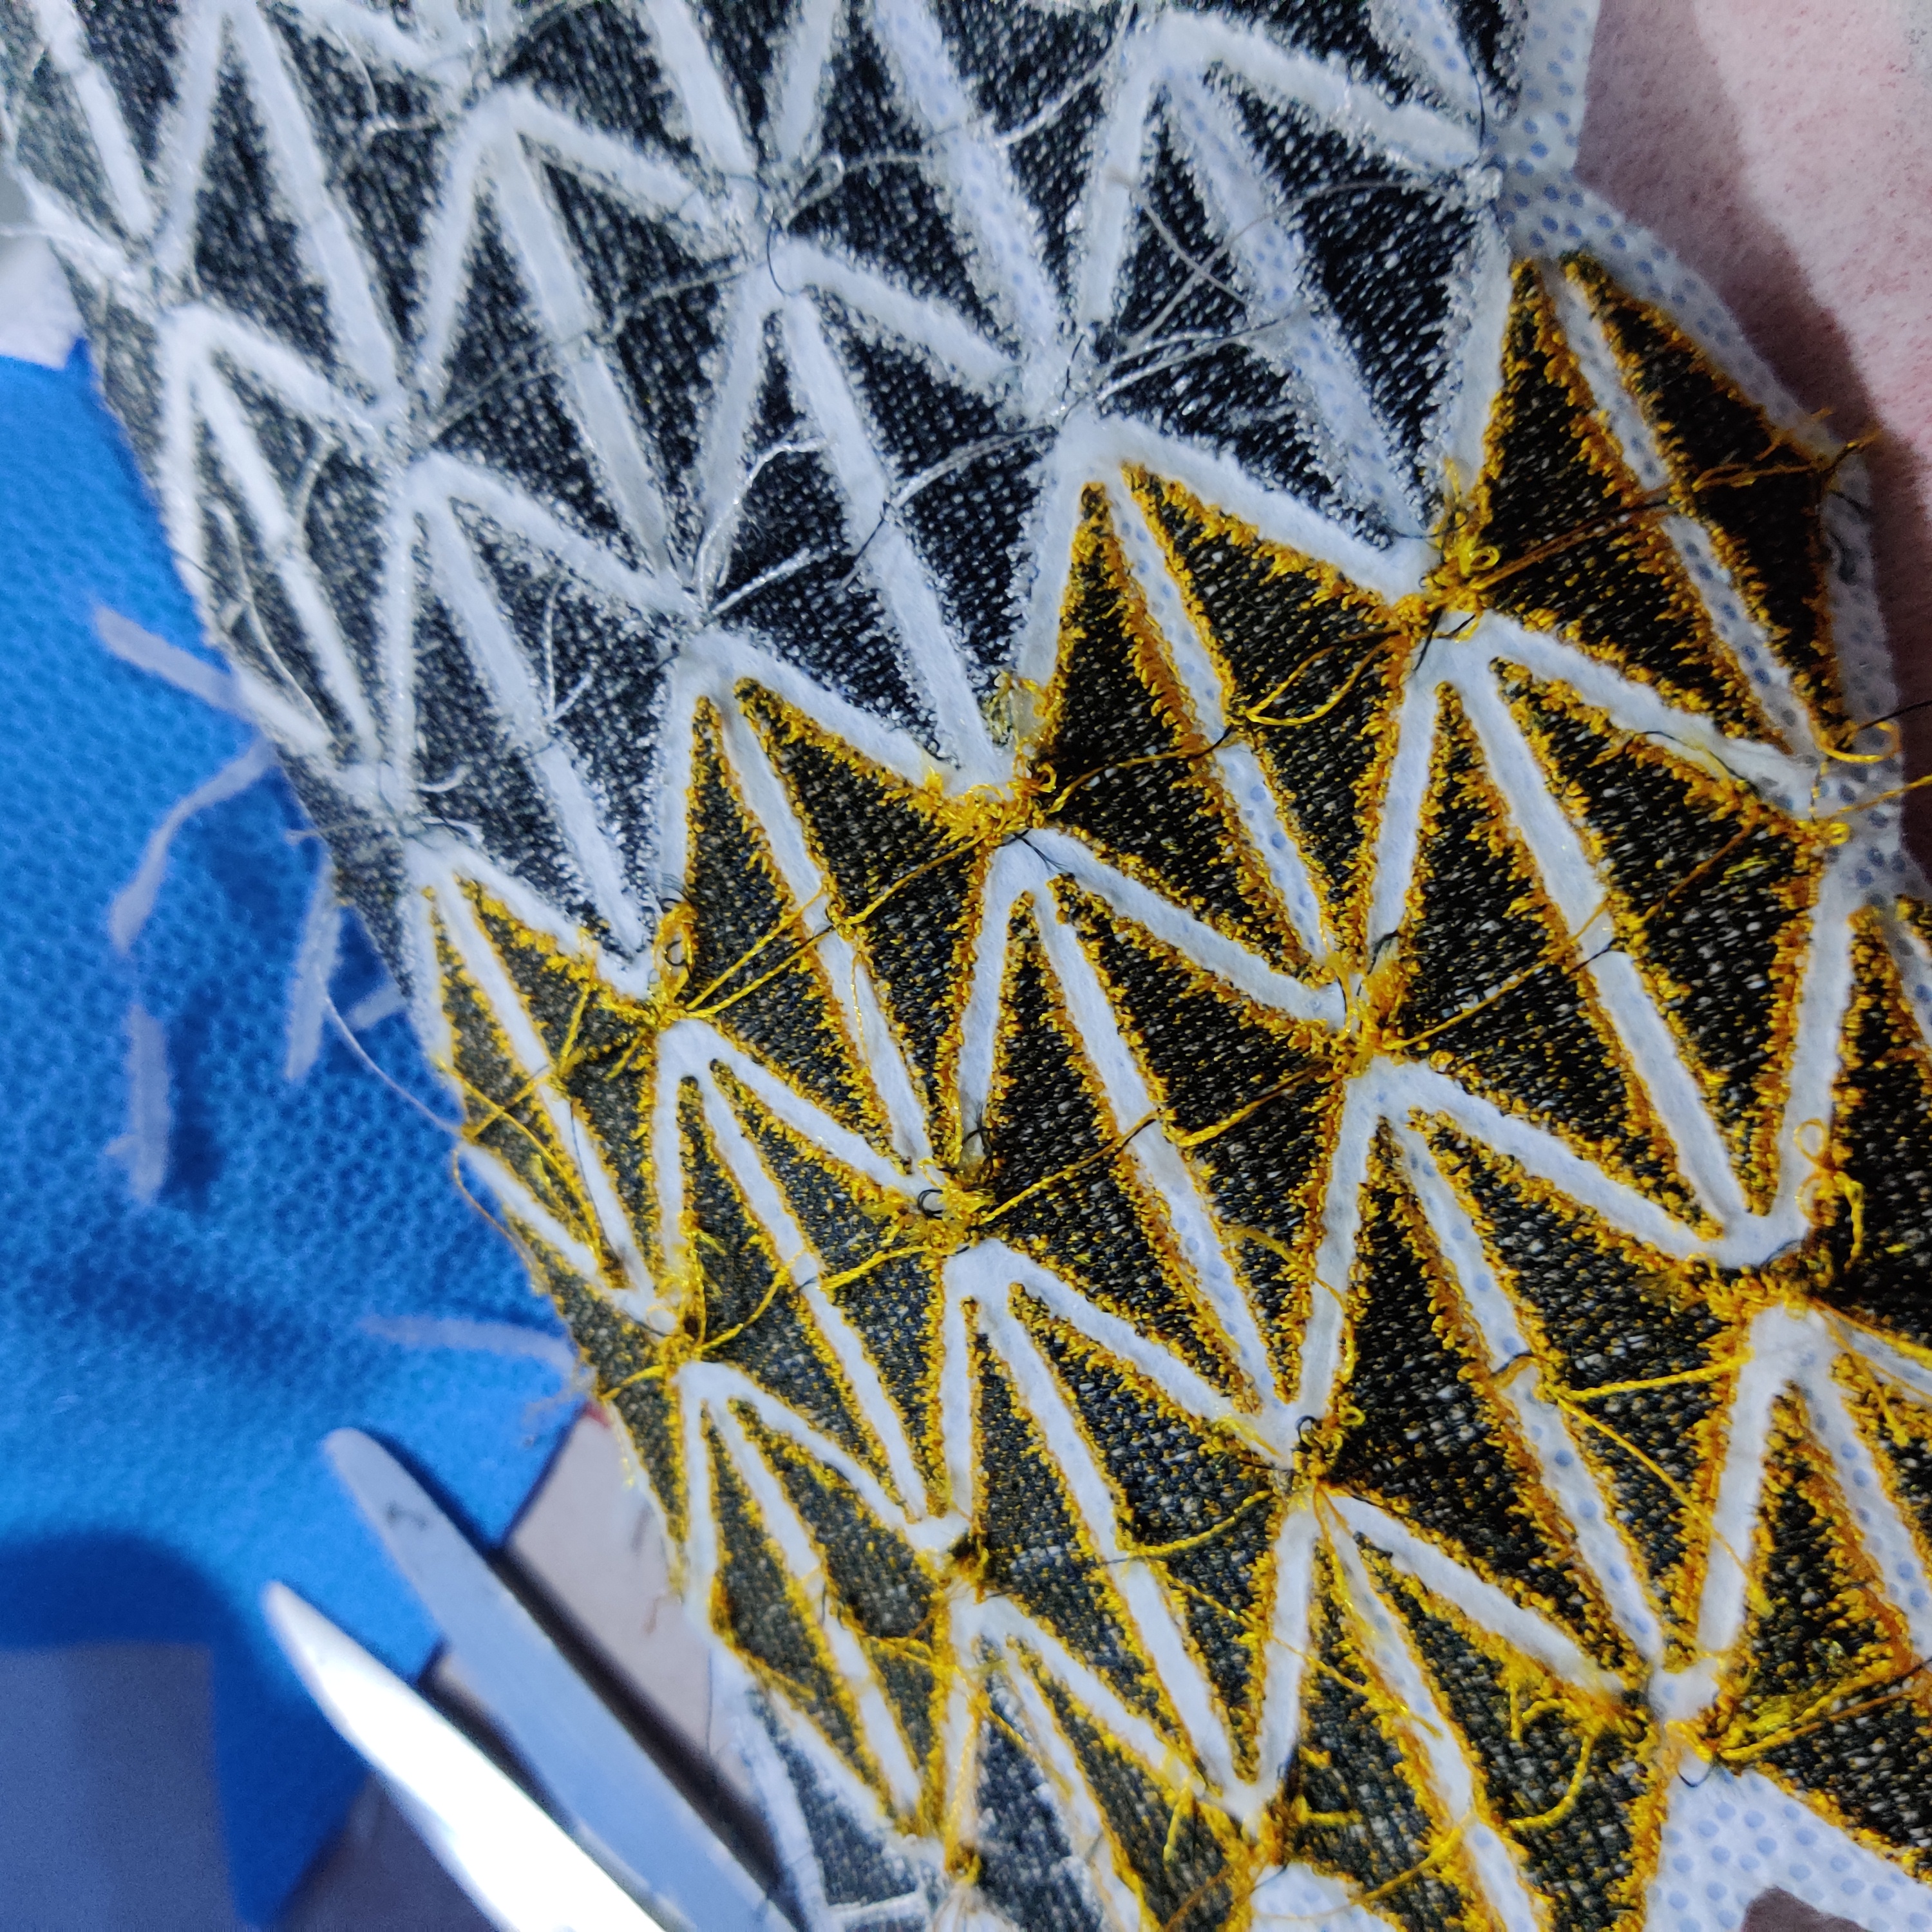
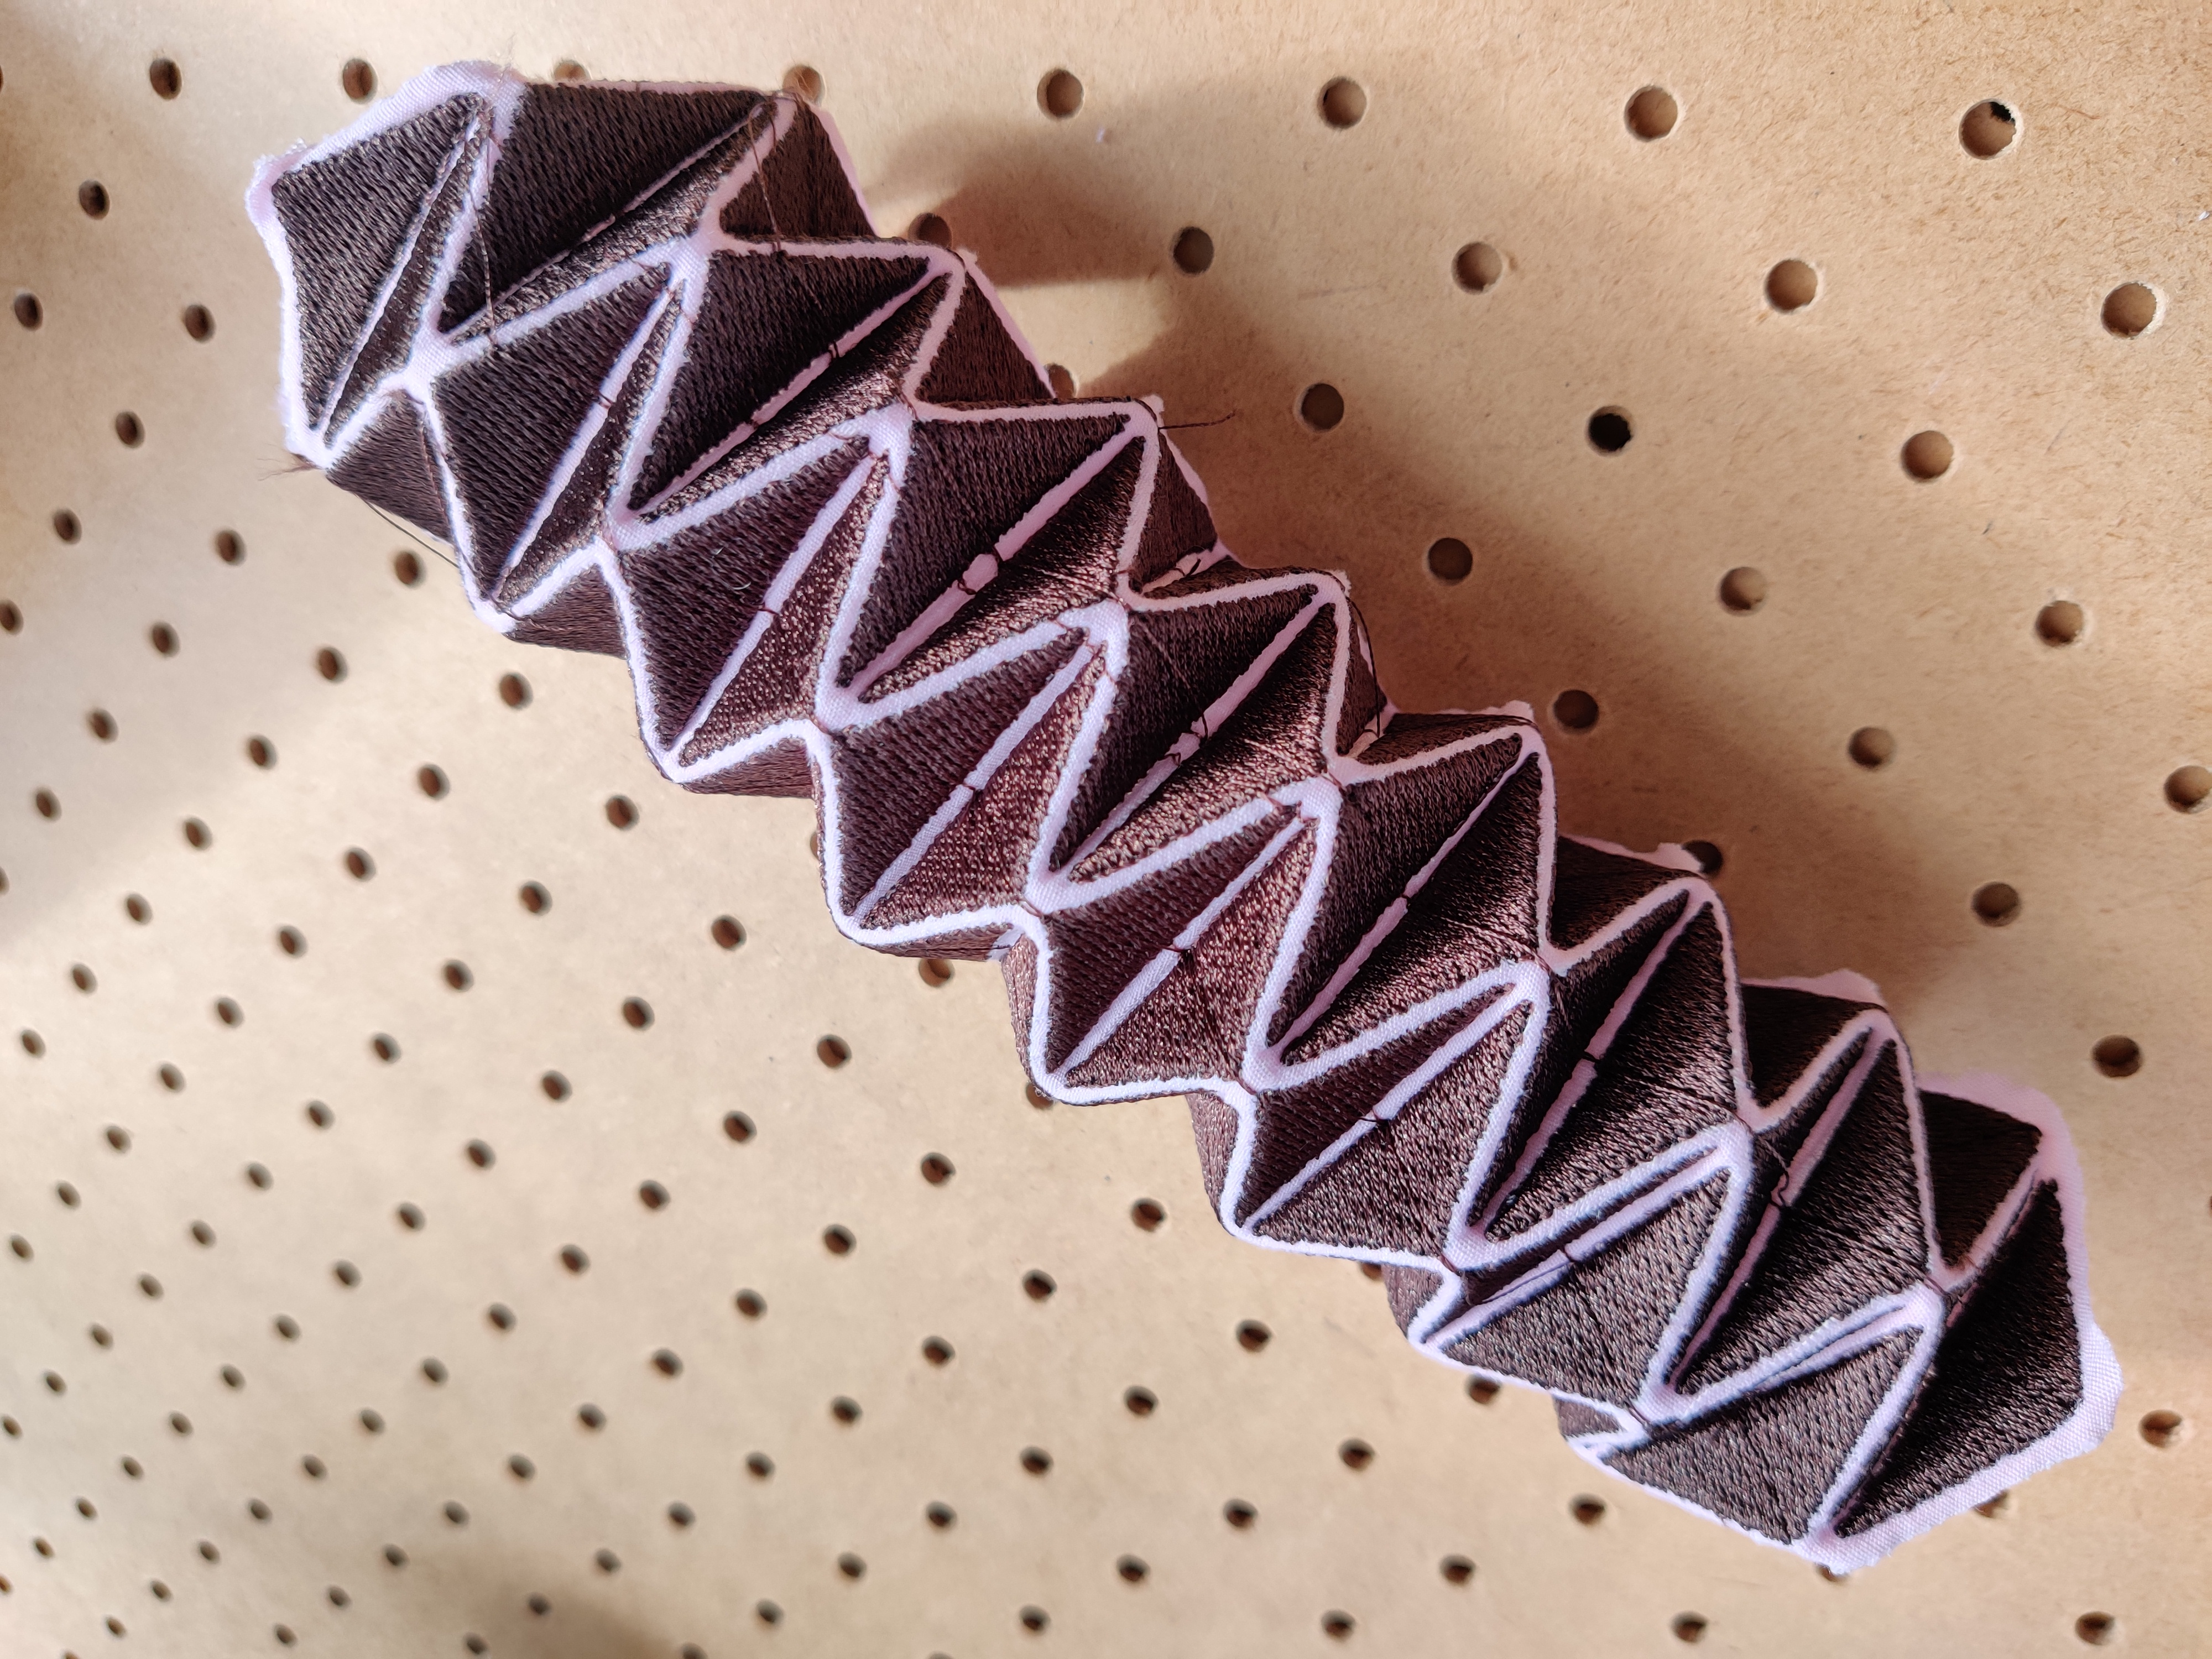
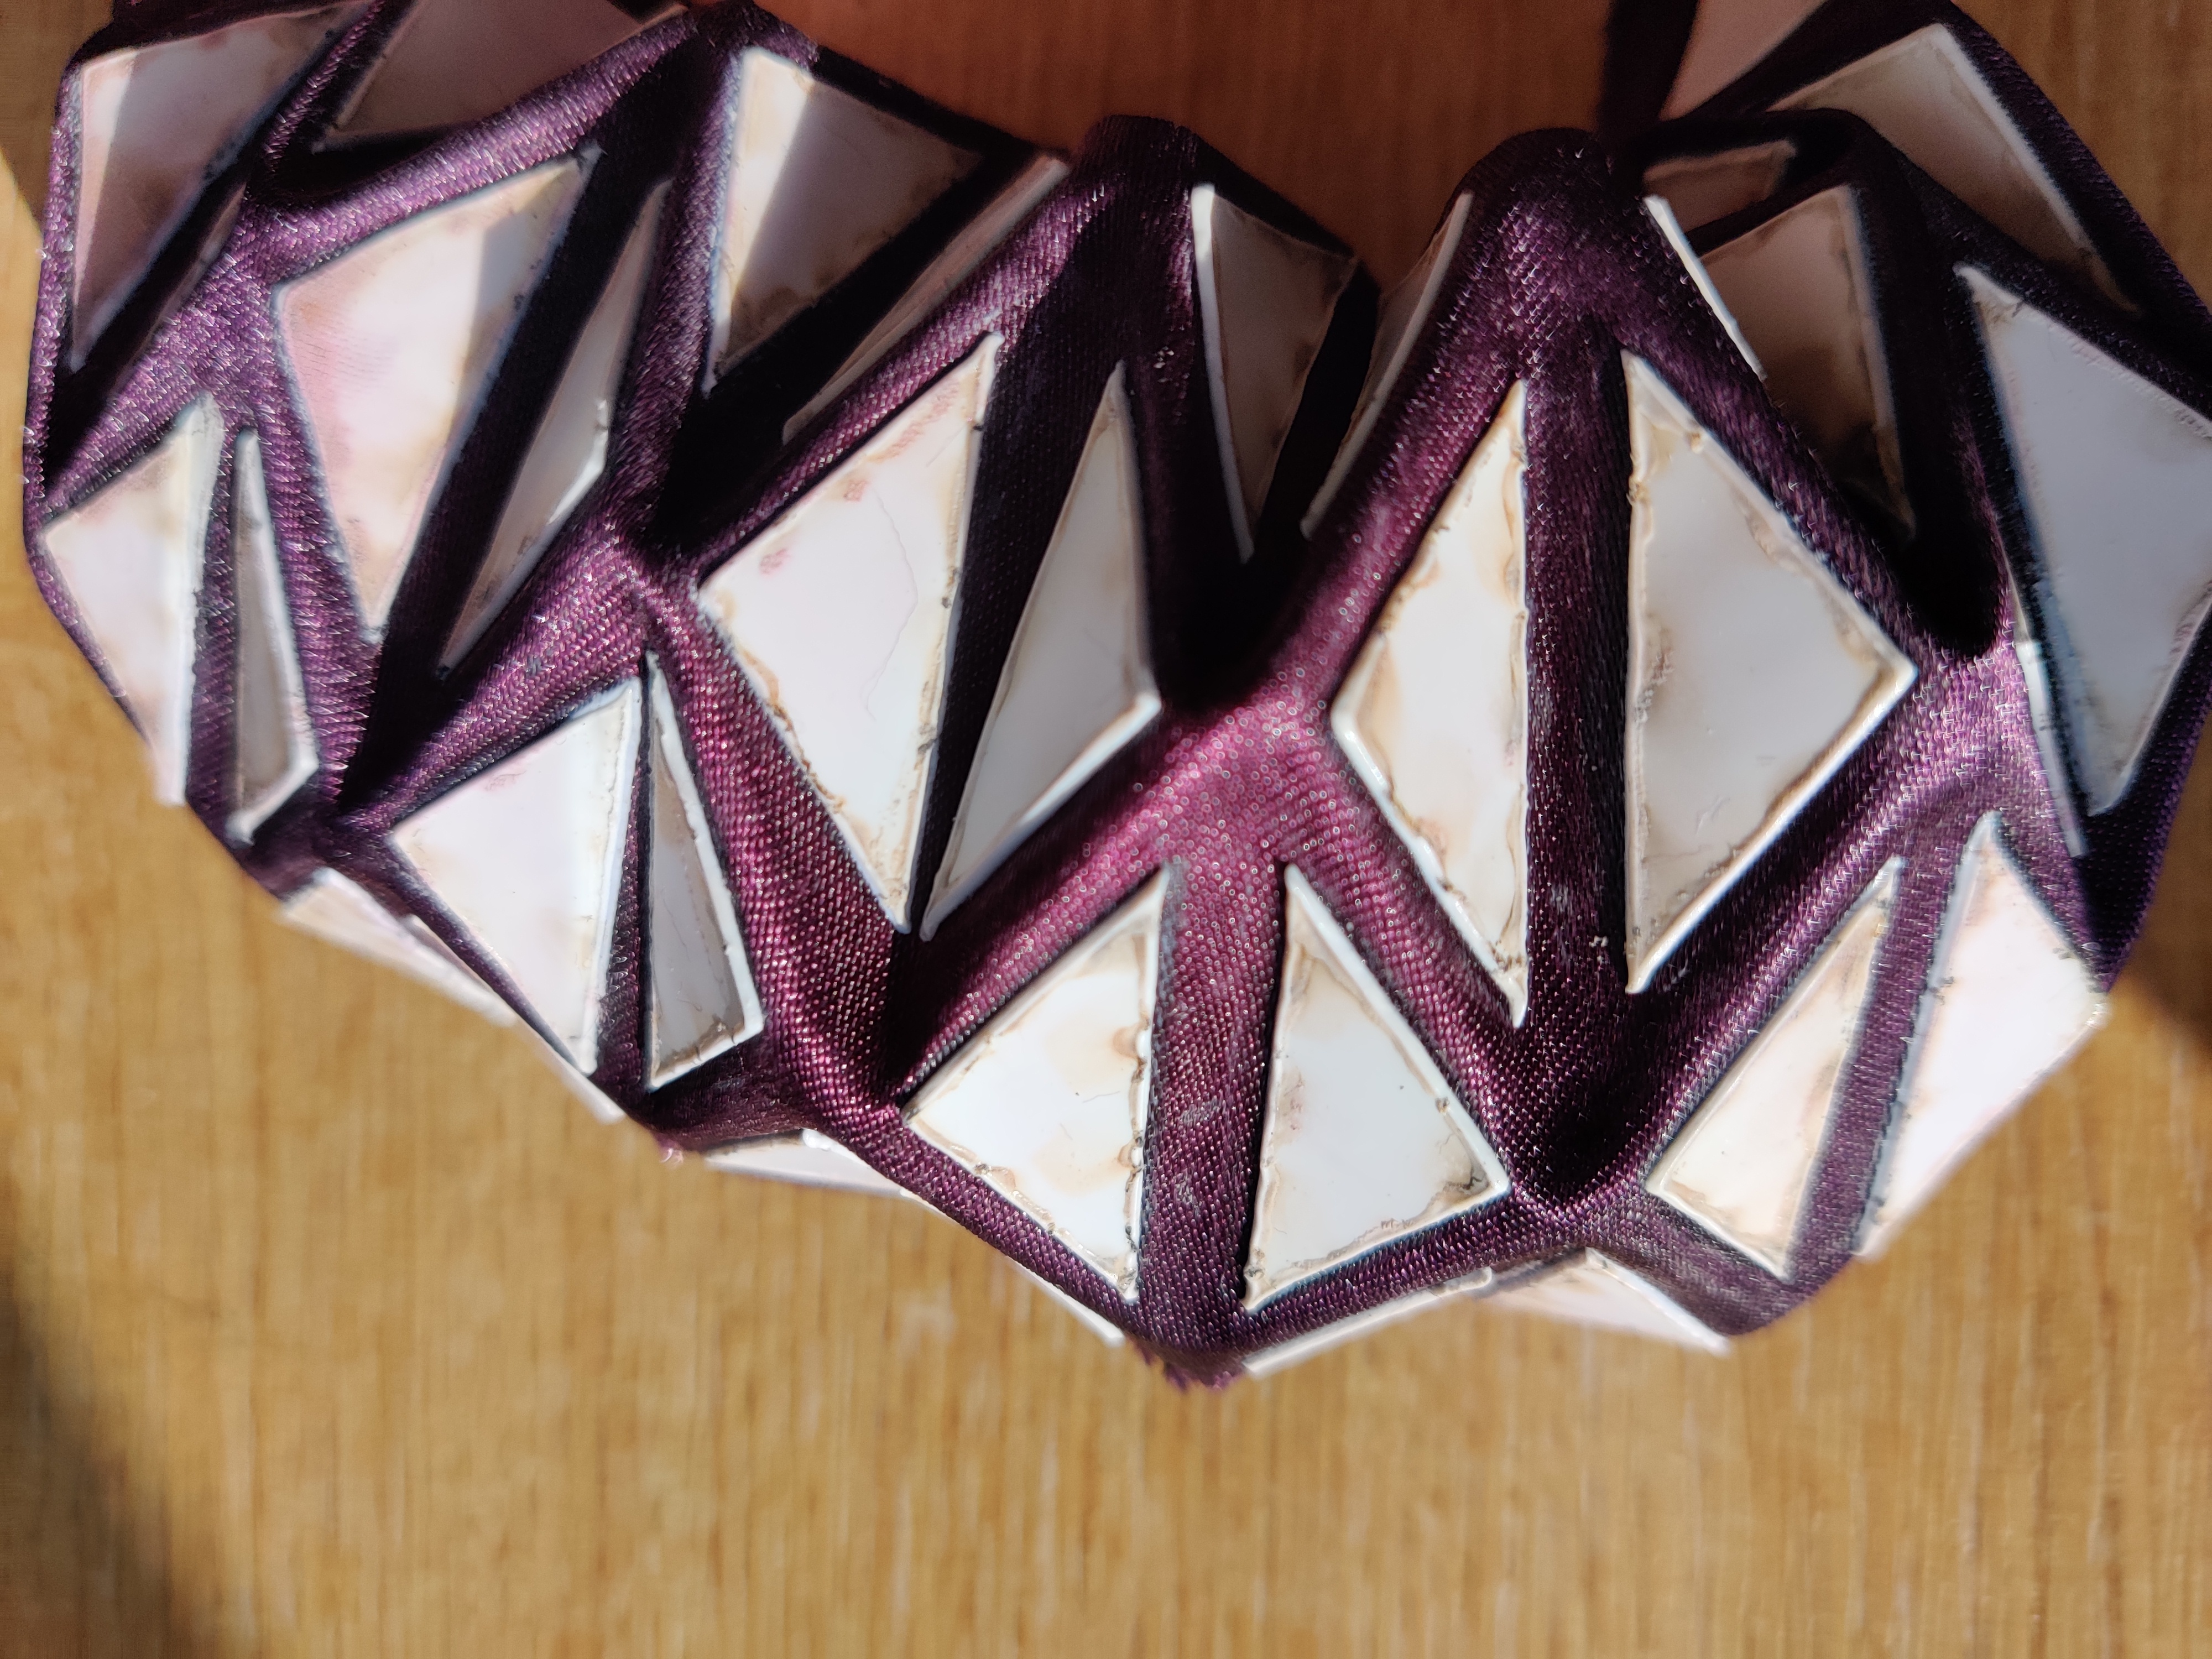
For the 3rd attempt I decided to use 2 layers of embroidery (actually 2 layers of fill stitch + 2 backing layers), made the triangles a bit bigger for easier folding and reduced the space between triangles. Disadvantages, not enough triangles round to make a column shape (this was the most that would fit in the hoop - there is a way to piece bigger embroideries together, so I’ll be looking into that), plus it uses lots of thread and is hard work for the machine. It did fold really easily and is quite a nice object to hold:
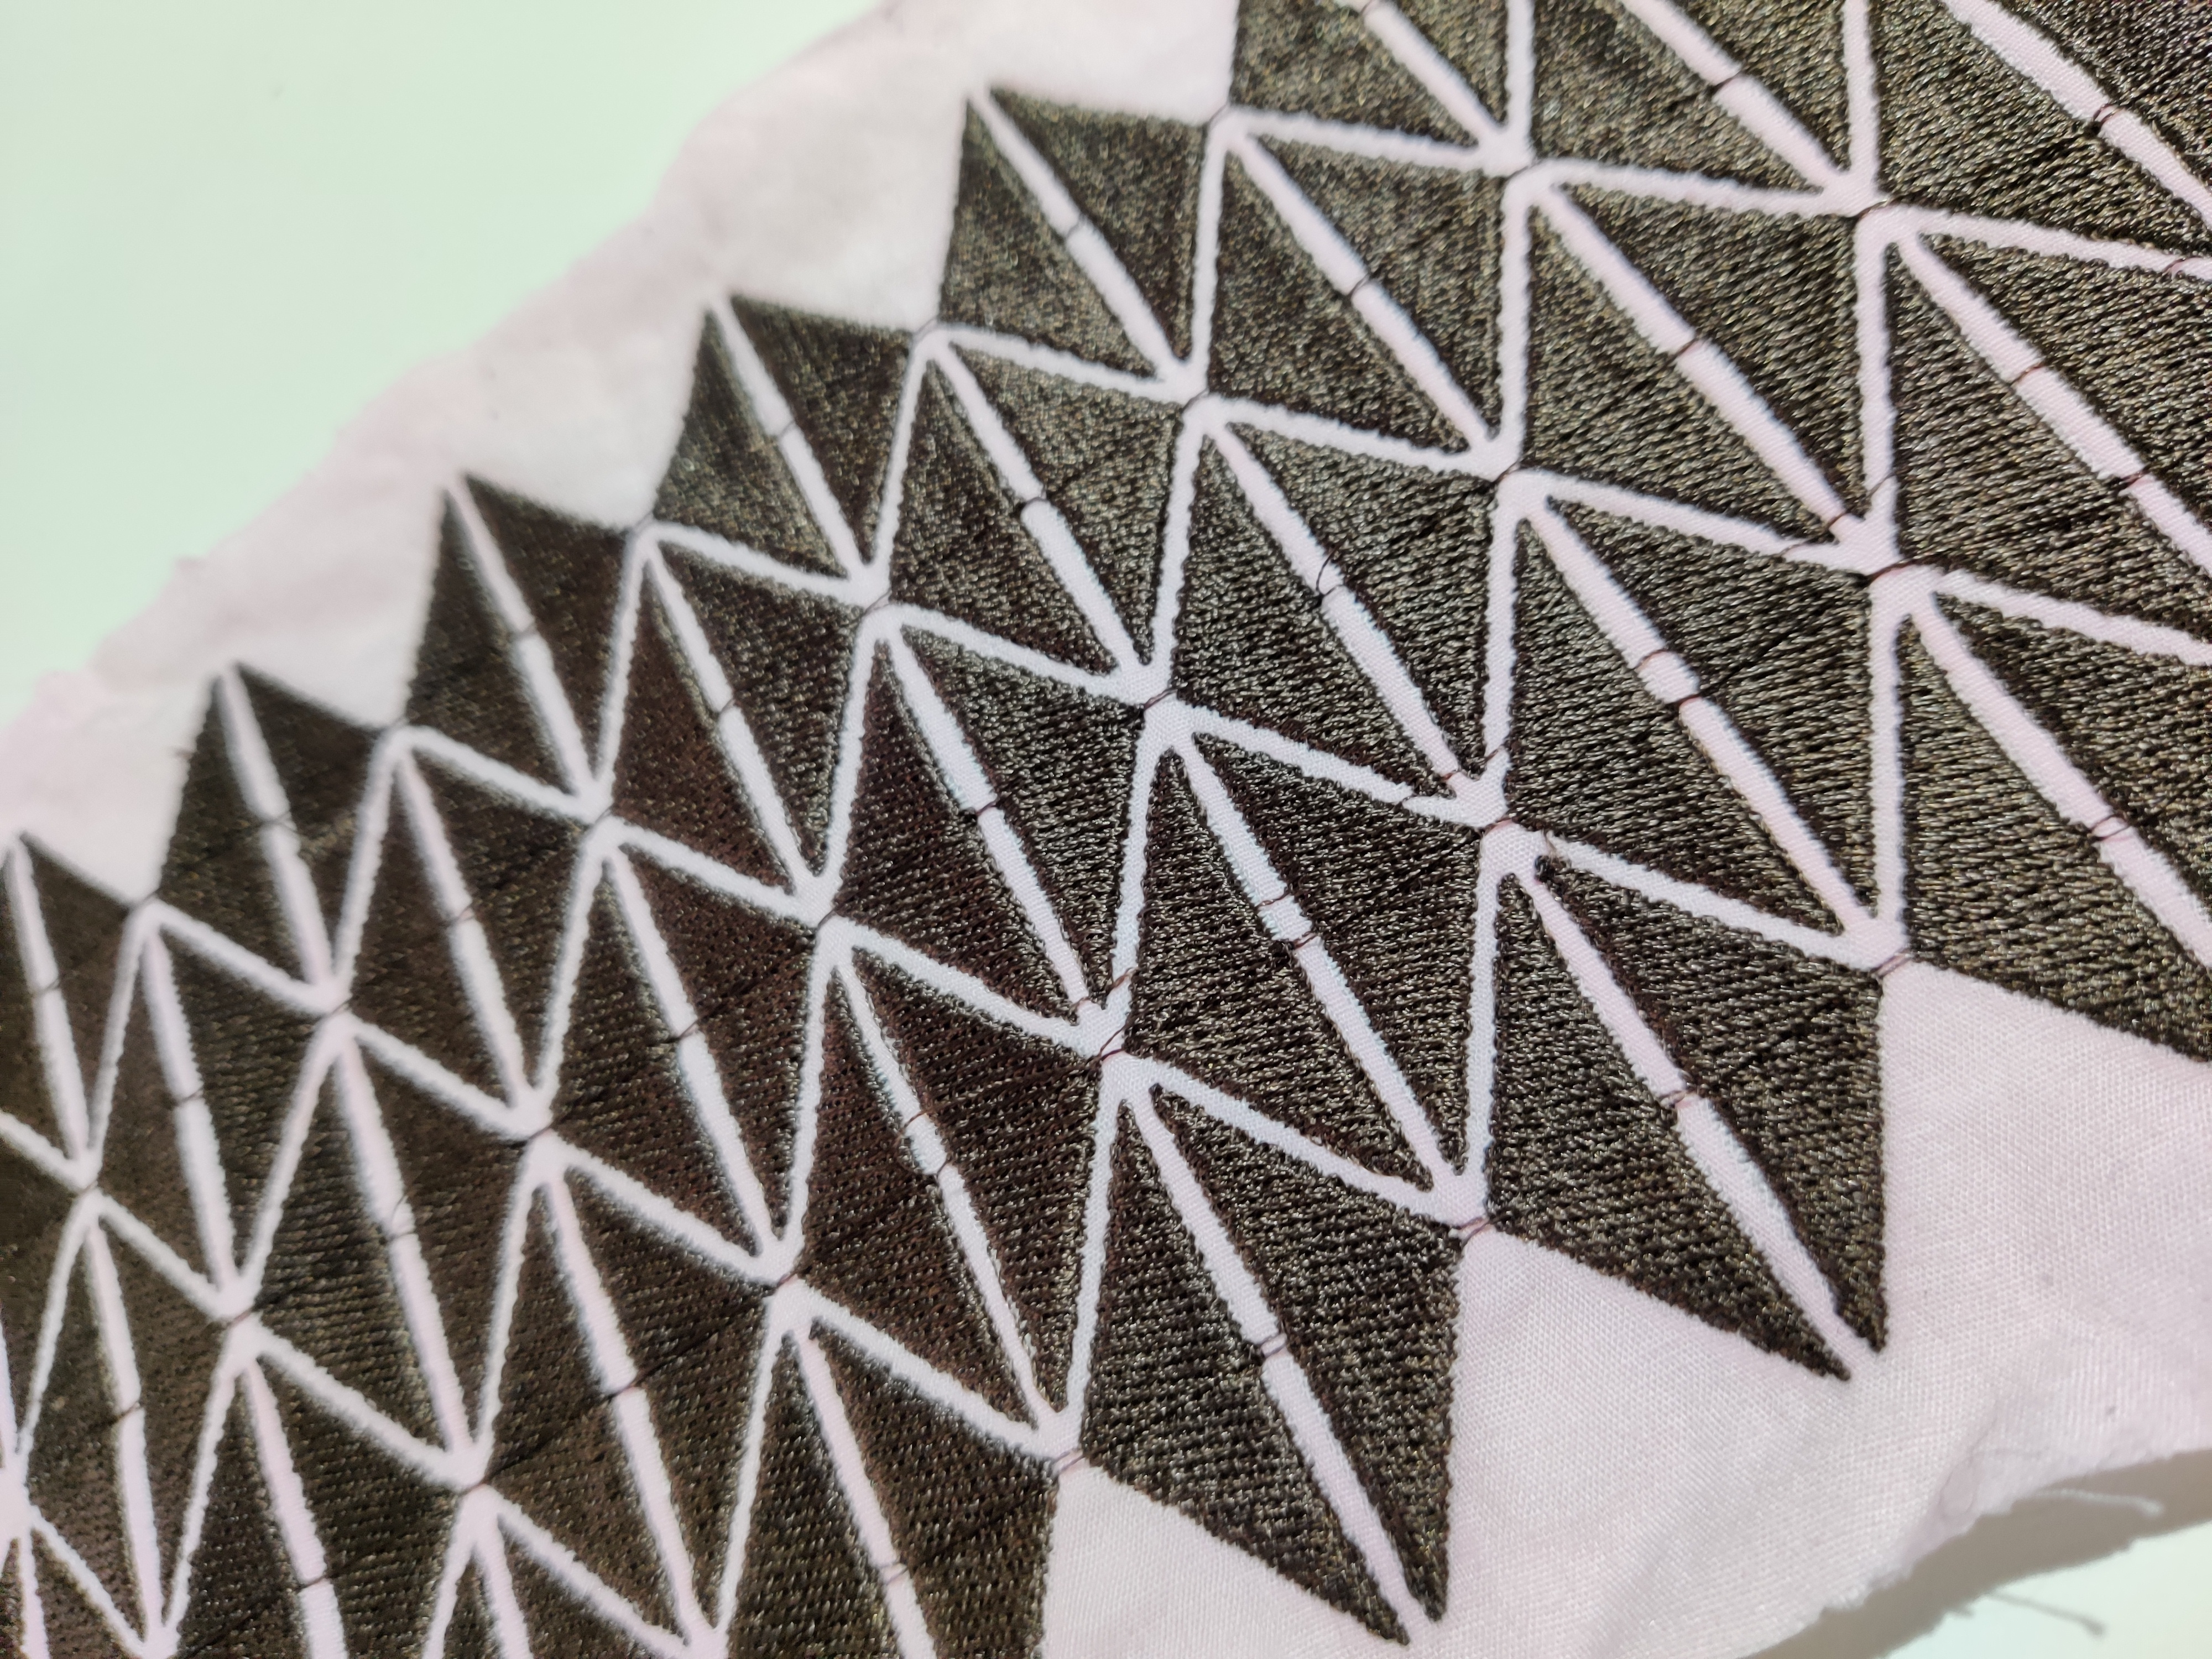
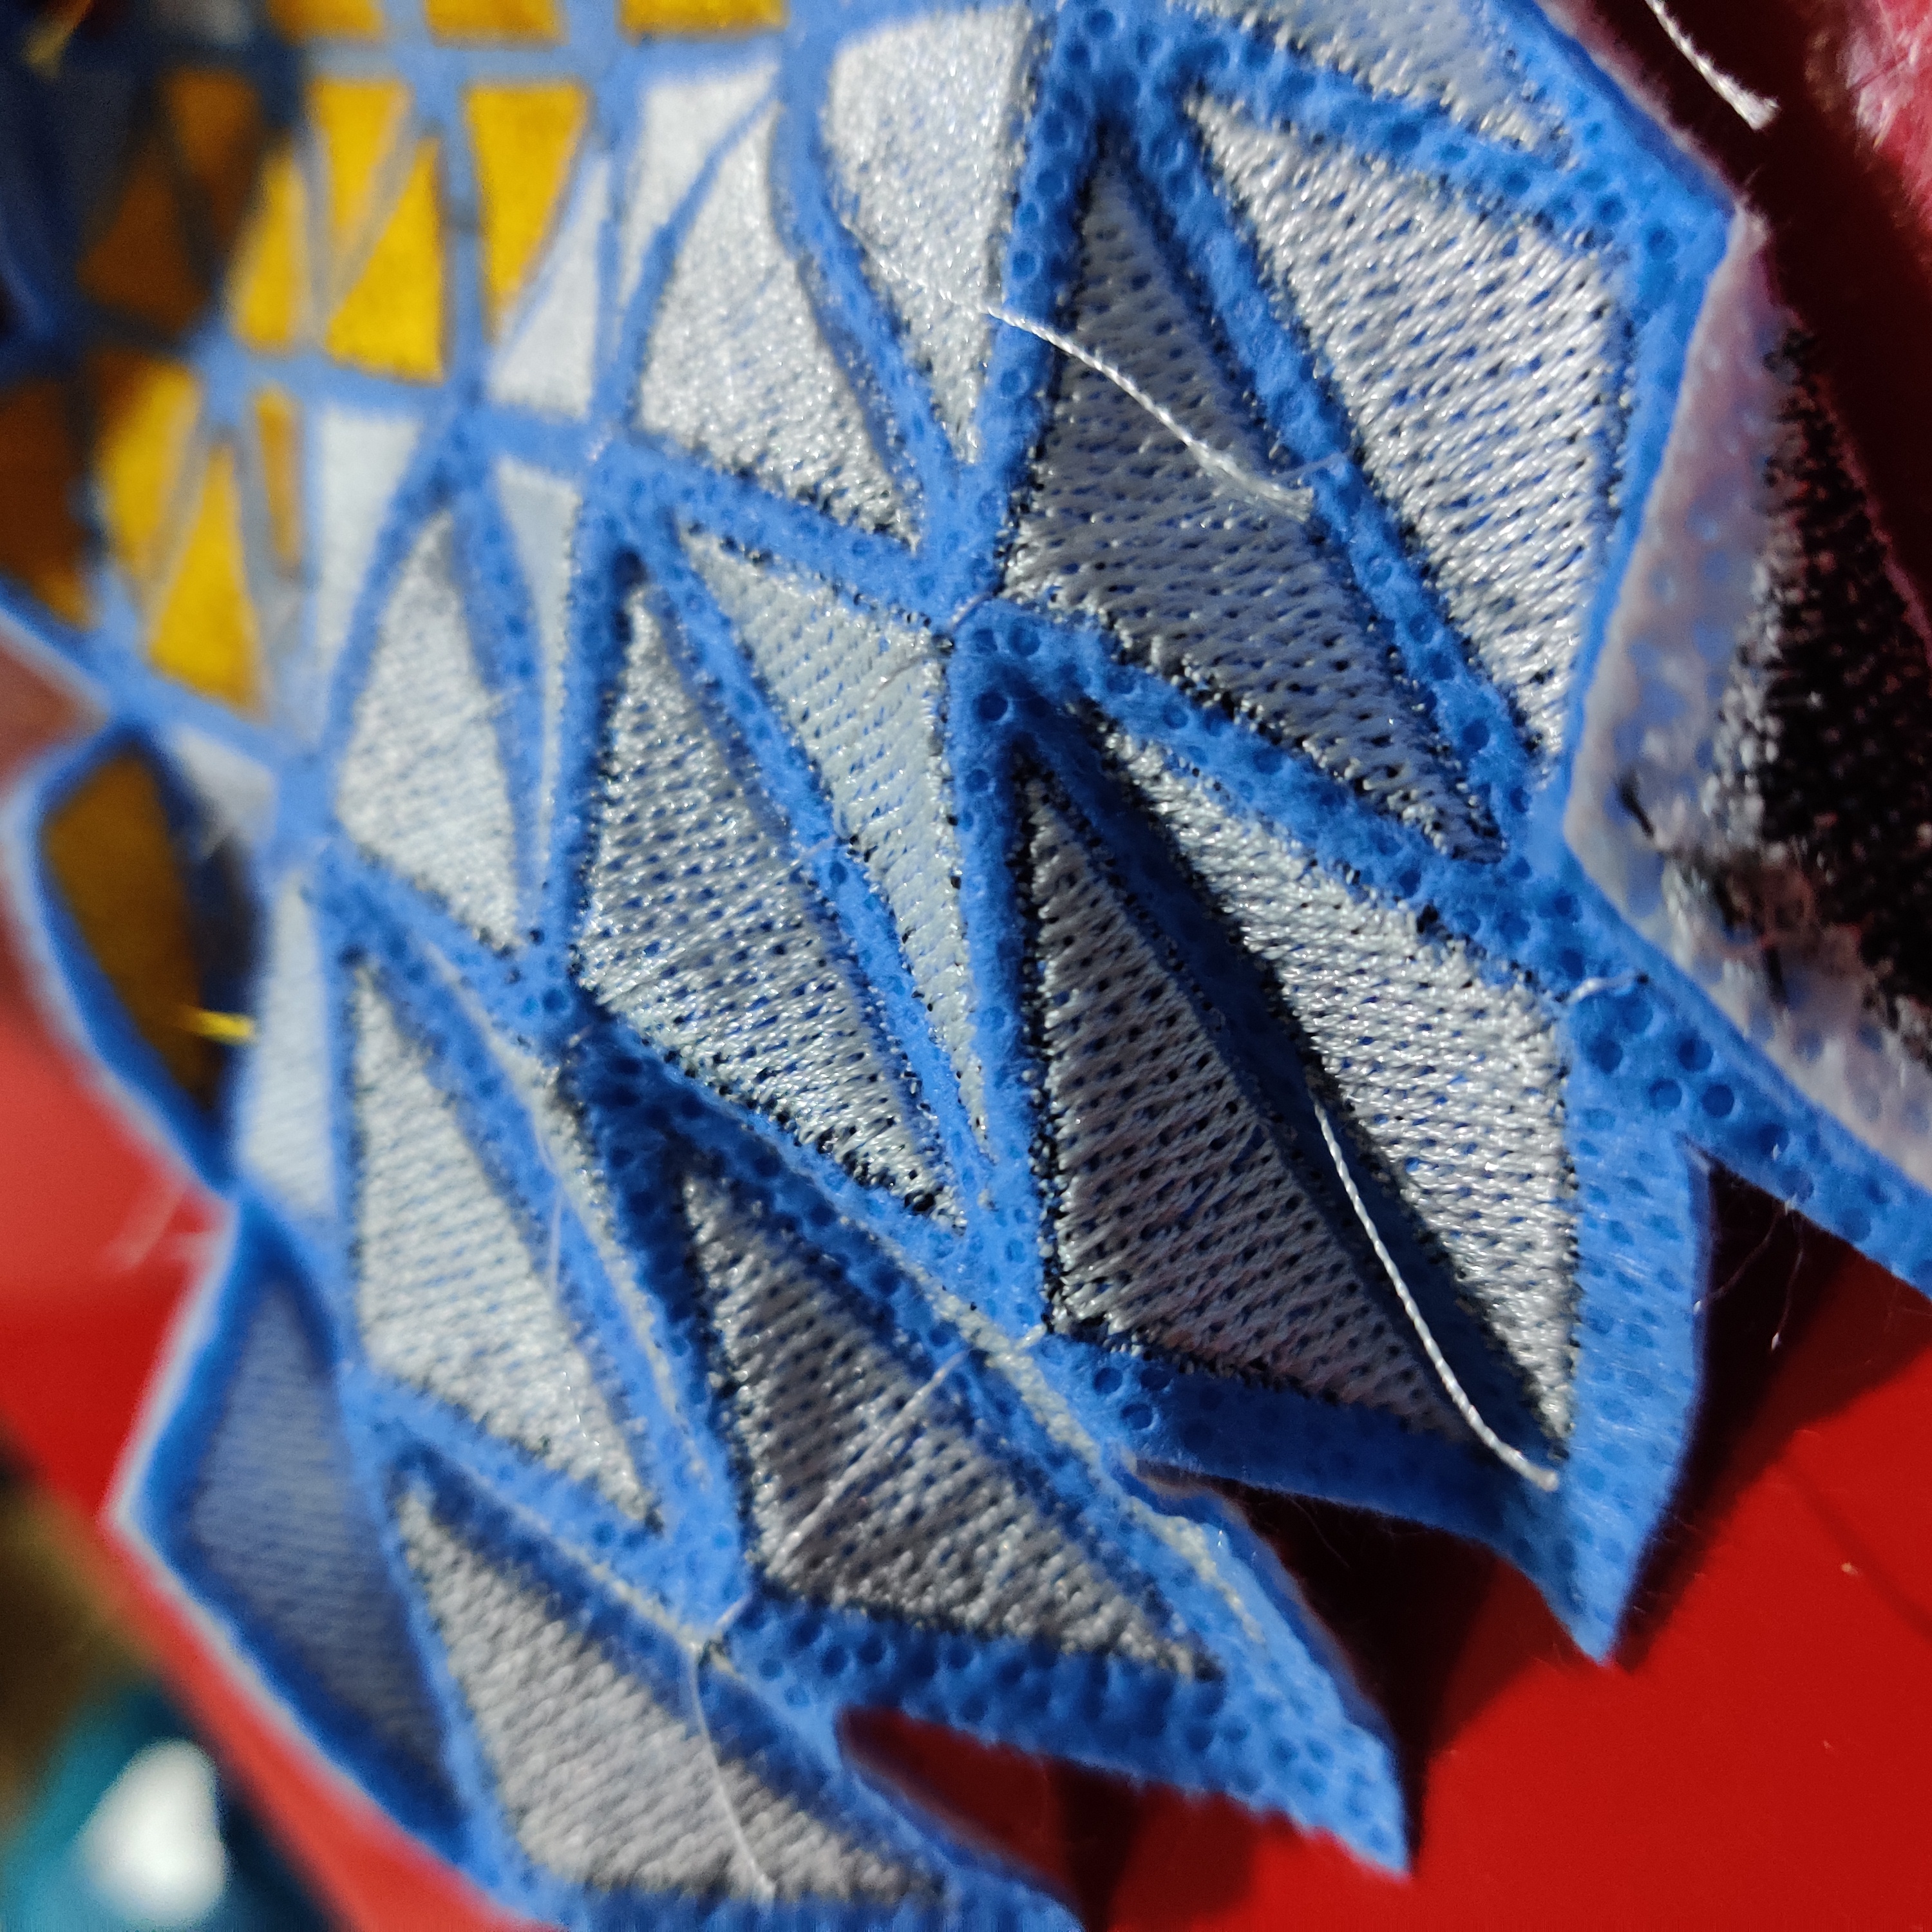
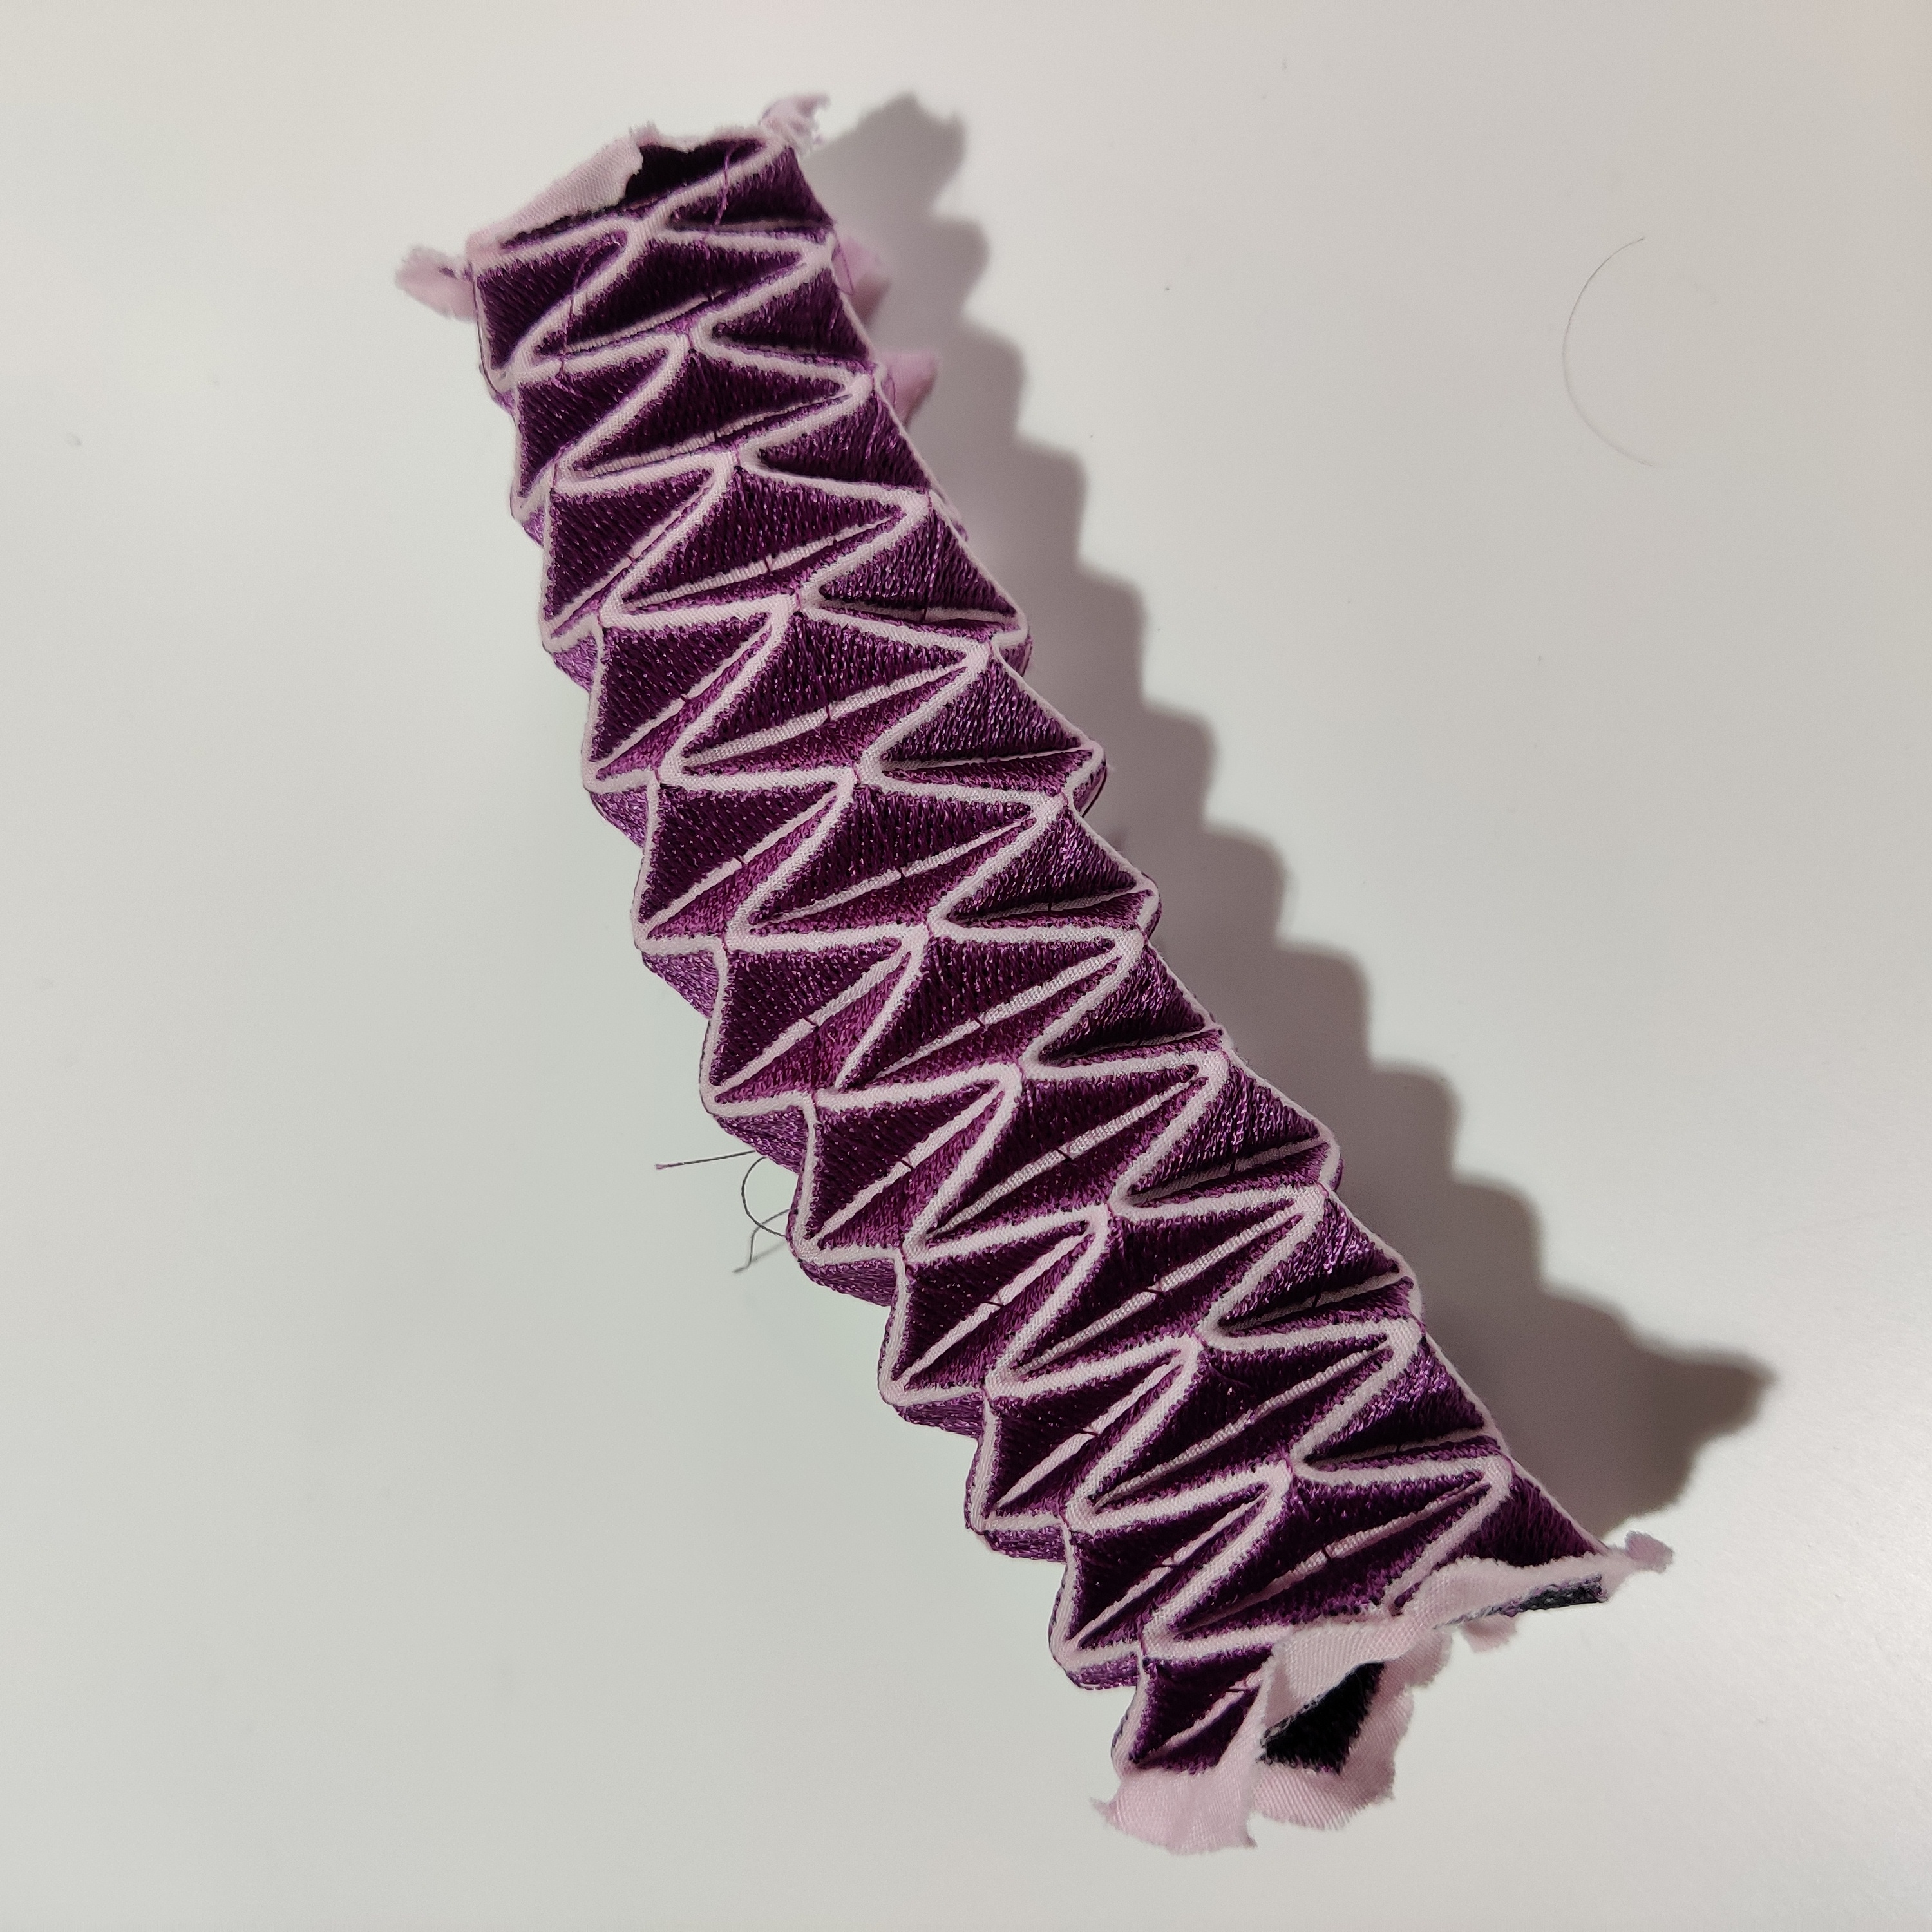
One more go, with smaller triangles and only 1 layer of embroidery - this took a lot of manual folding before the folds fell into place, but once it did, the structure seemed pretty stable:

Whie waiting for the embroidery machine (it does take a while), I tried out the glue sheets:
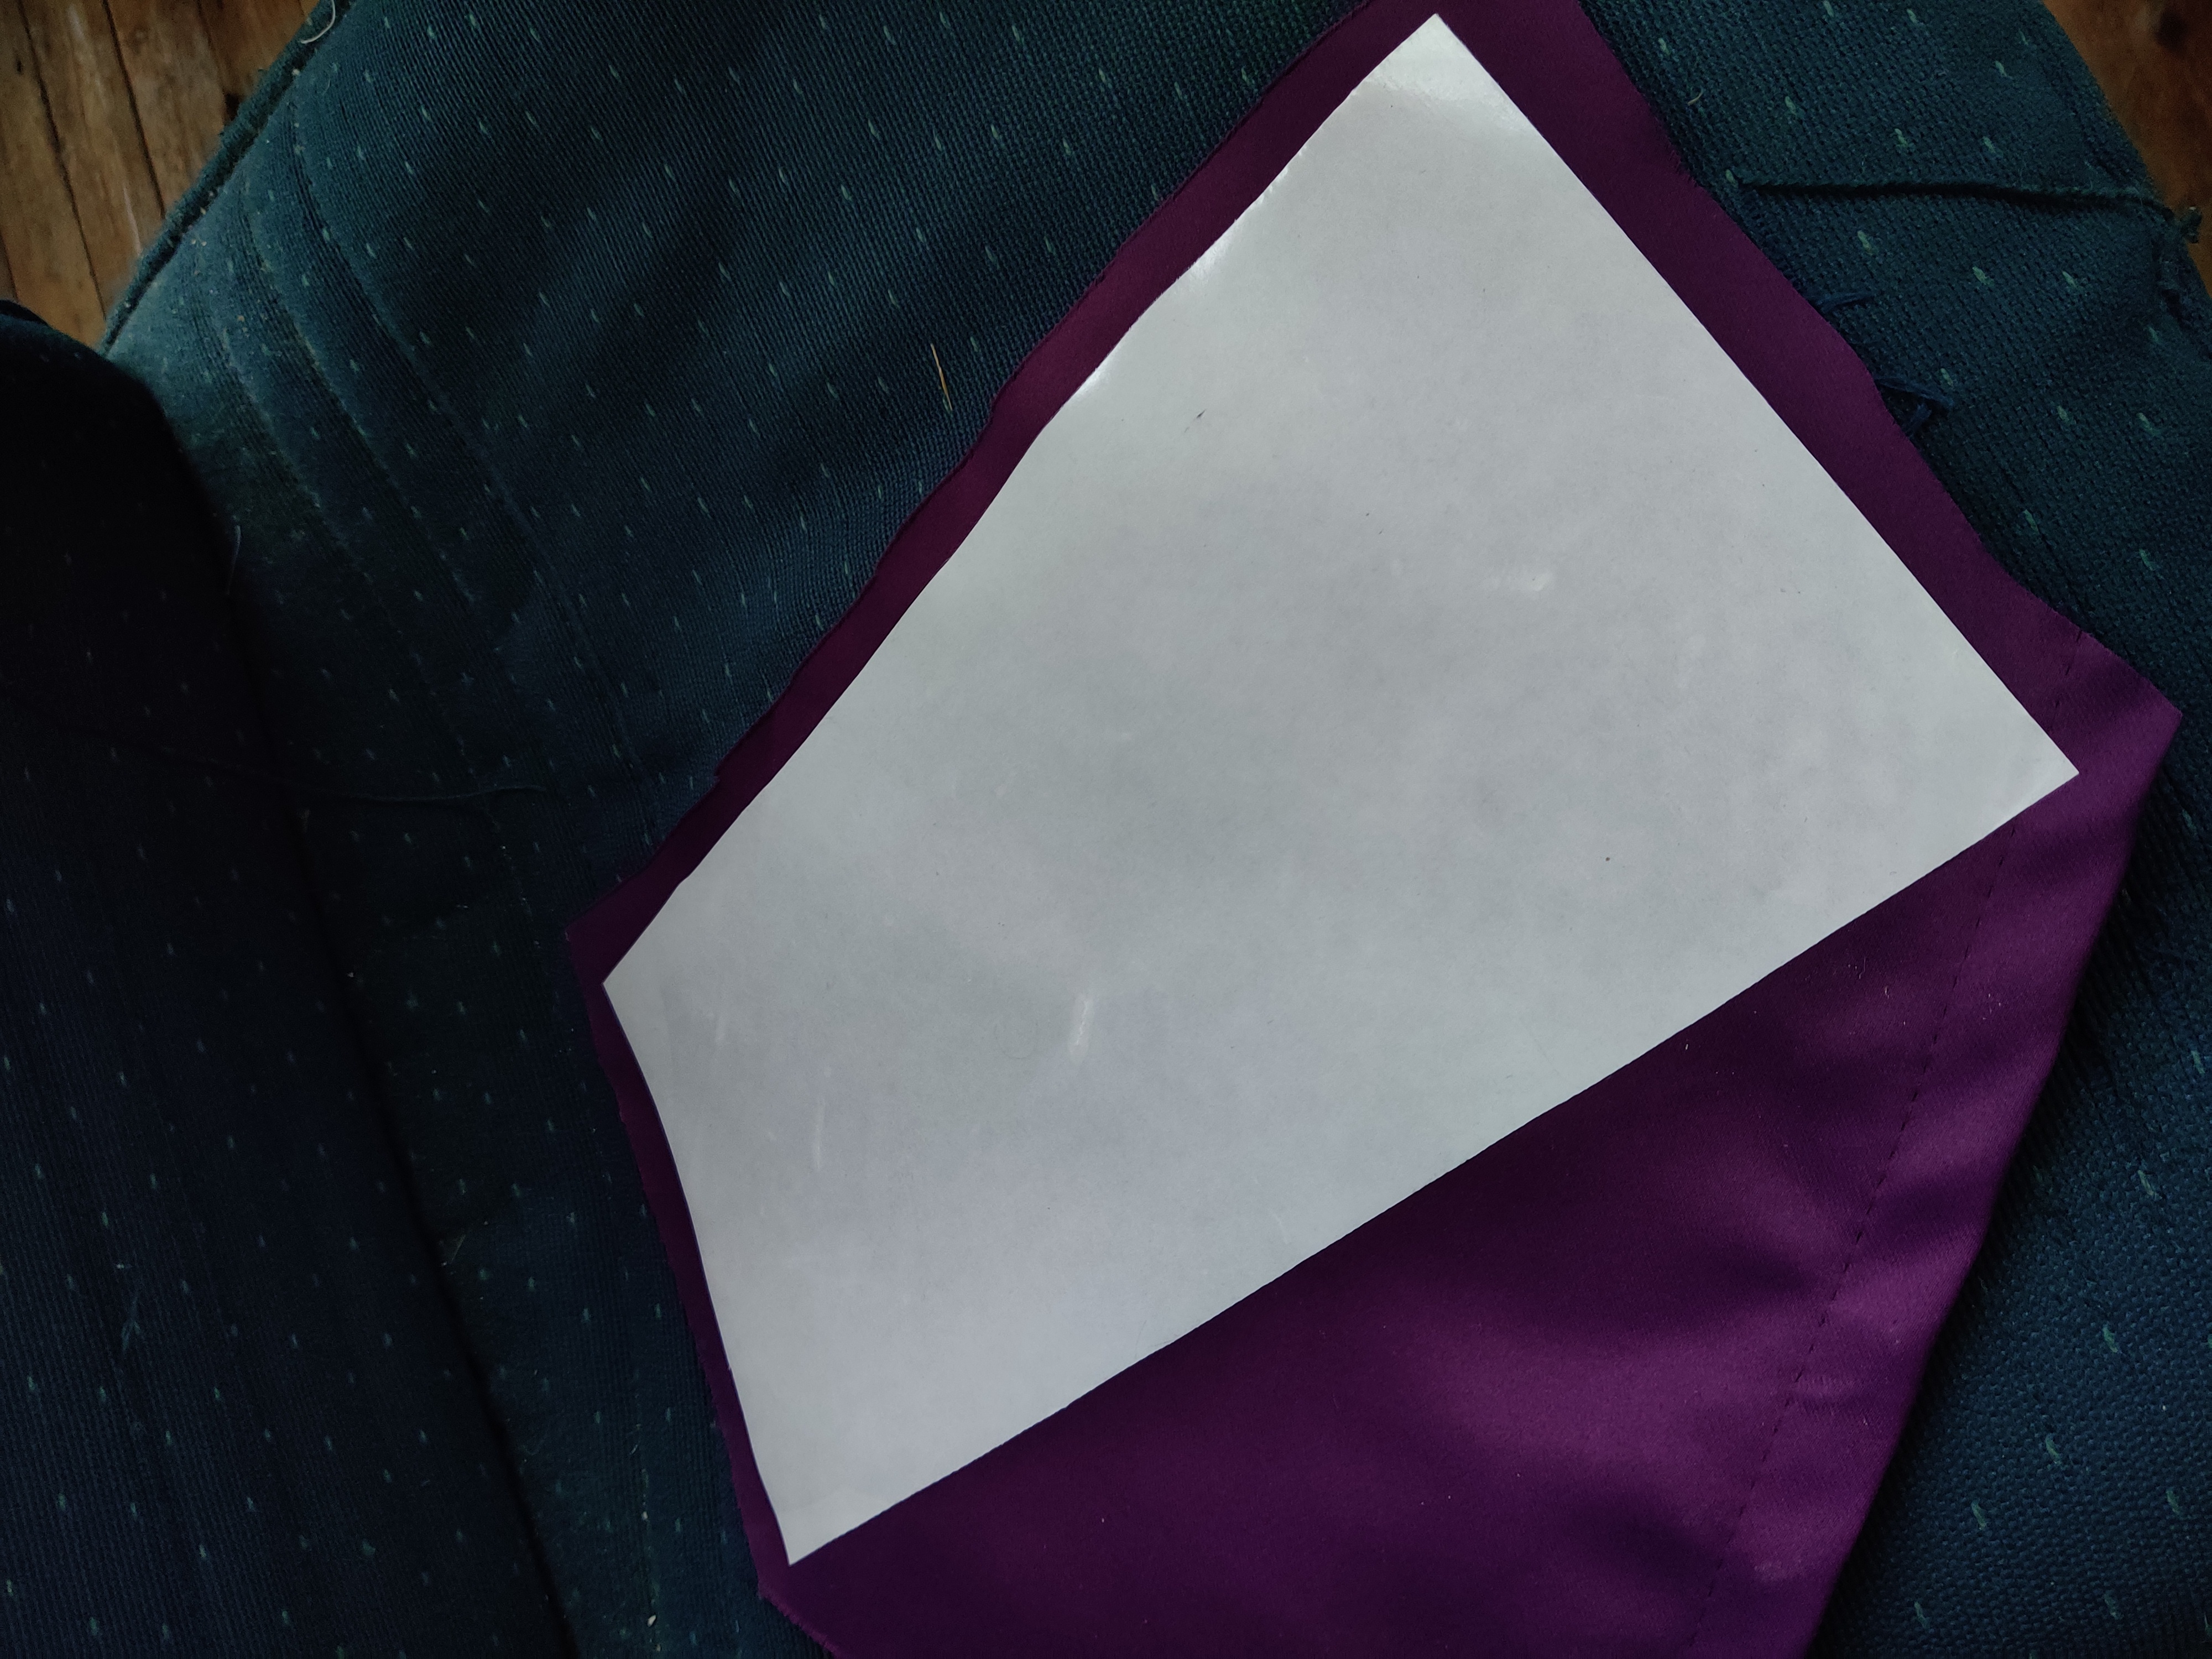
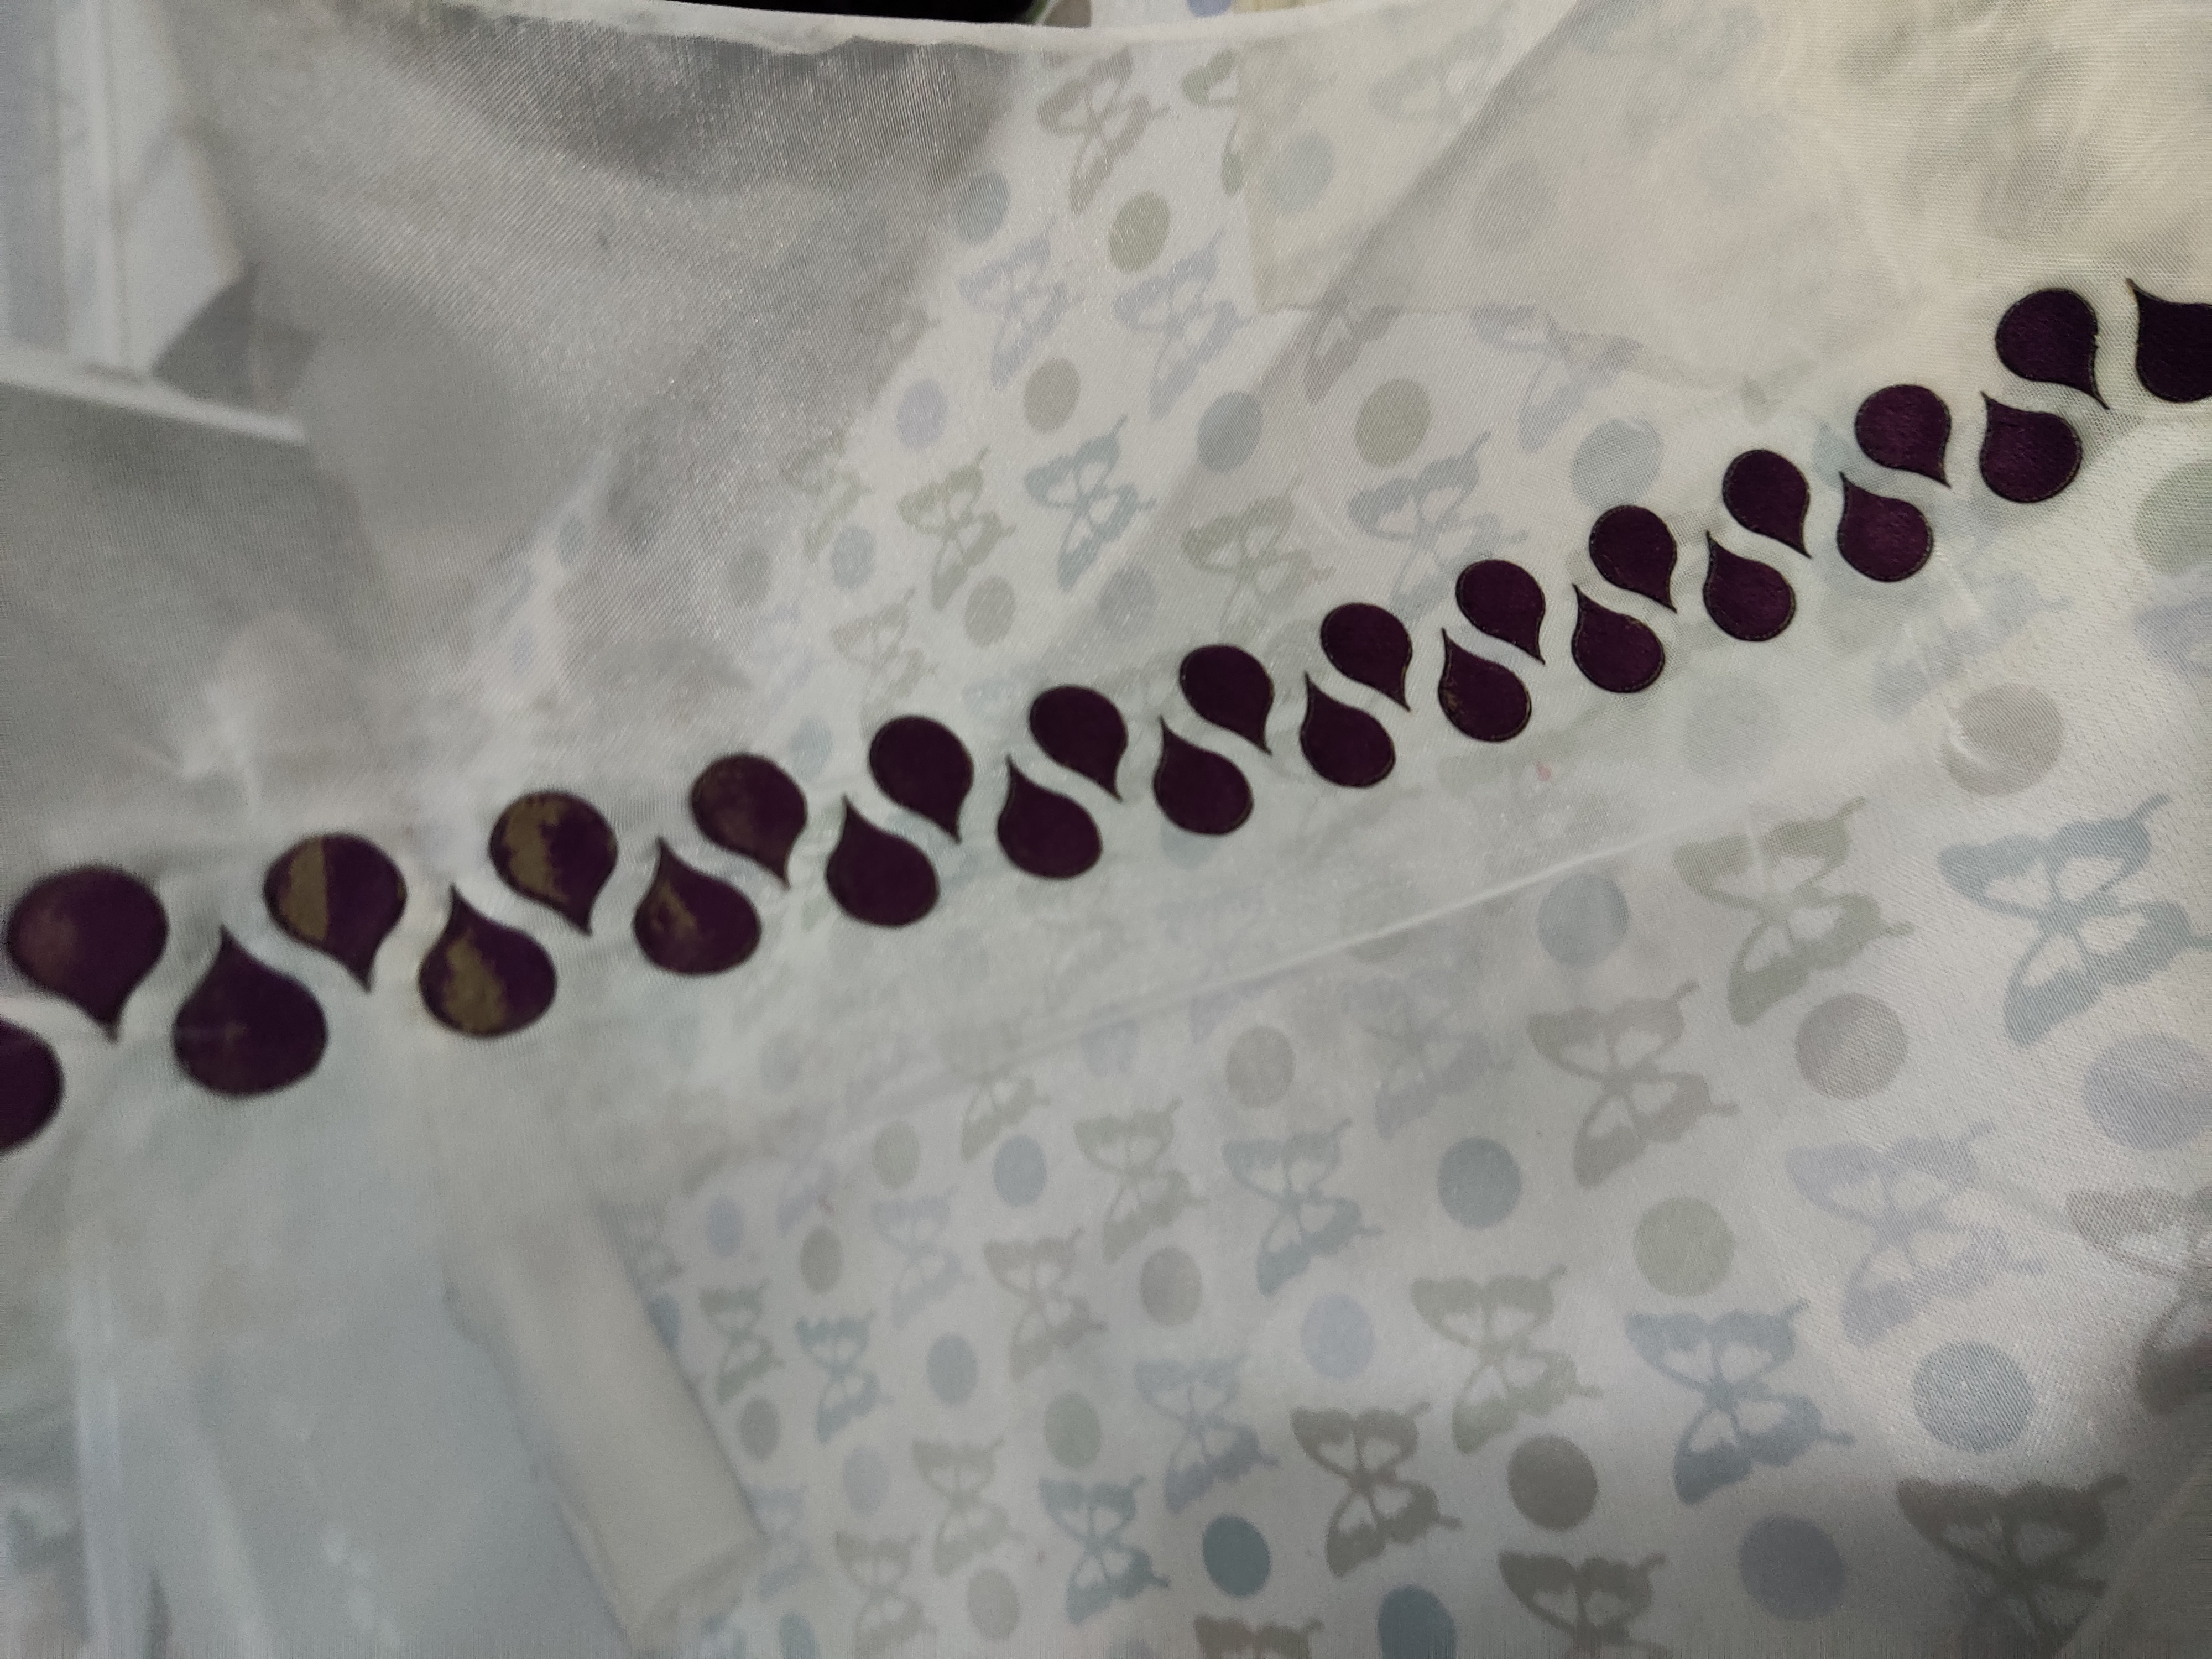
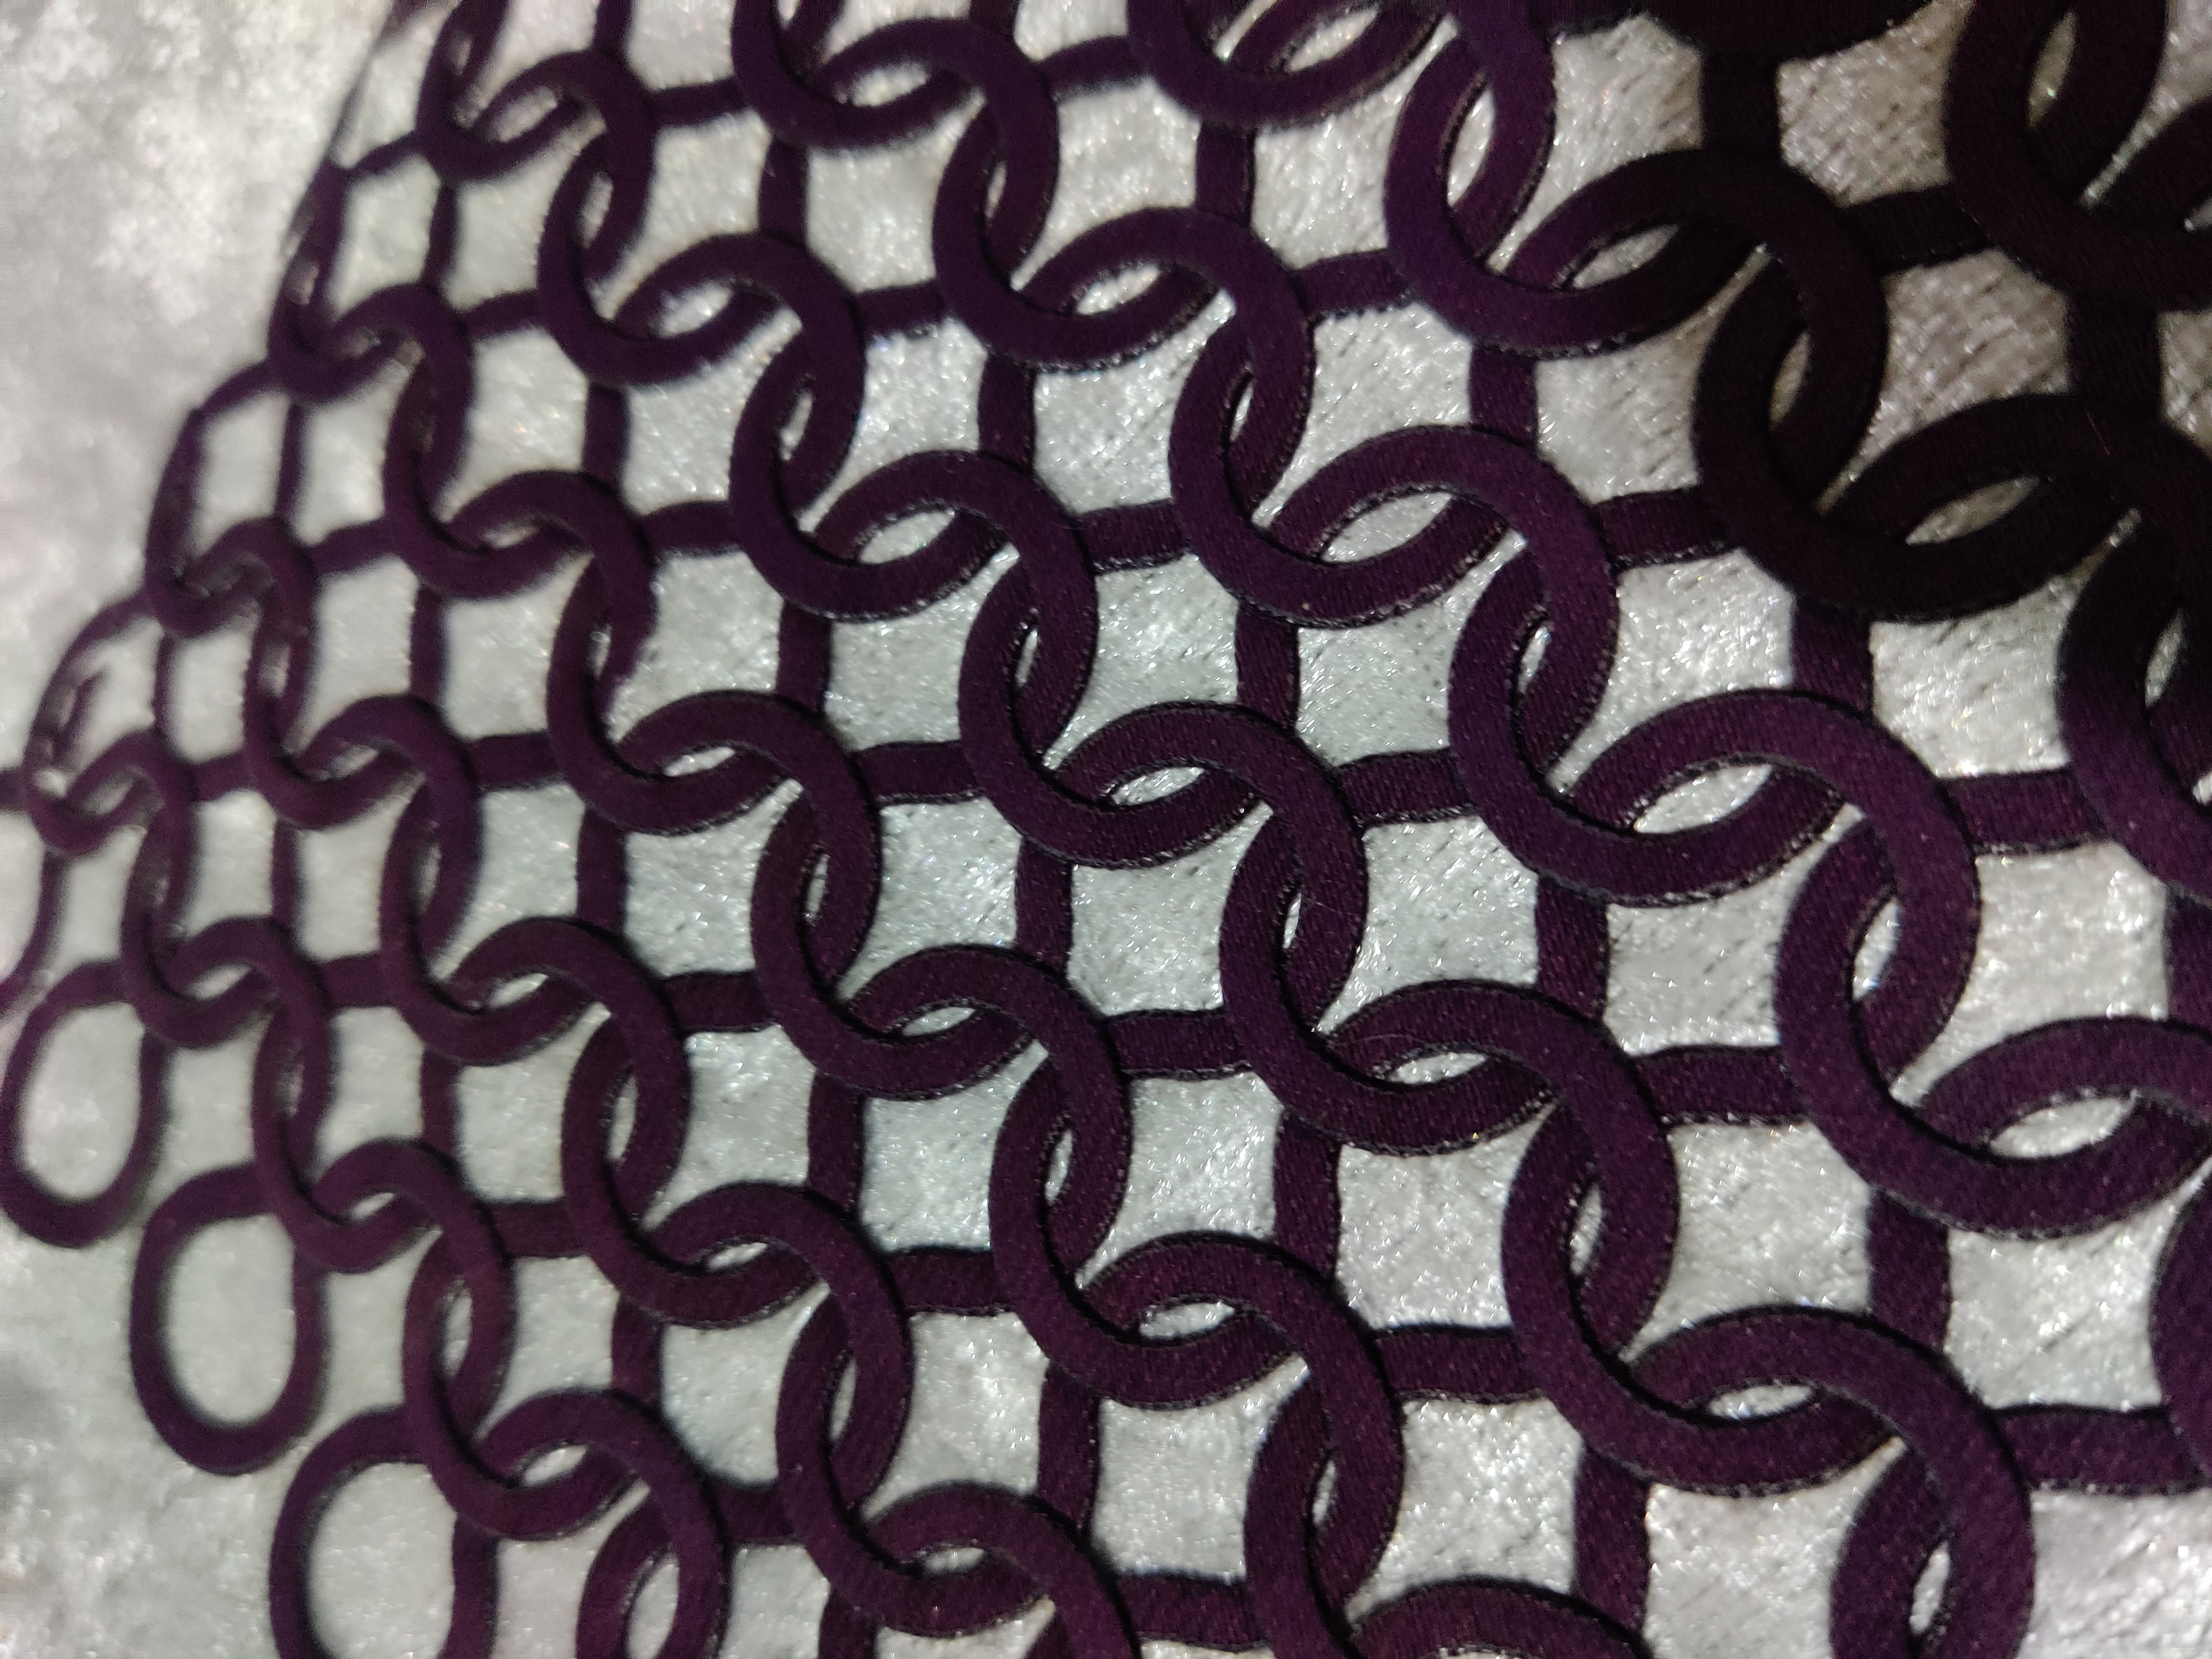
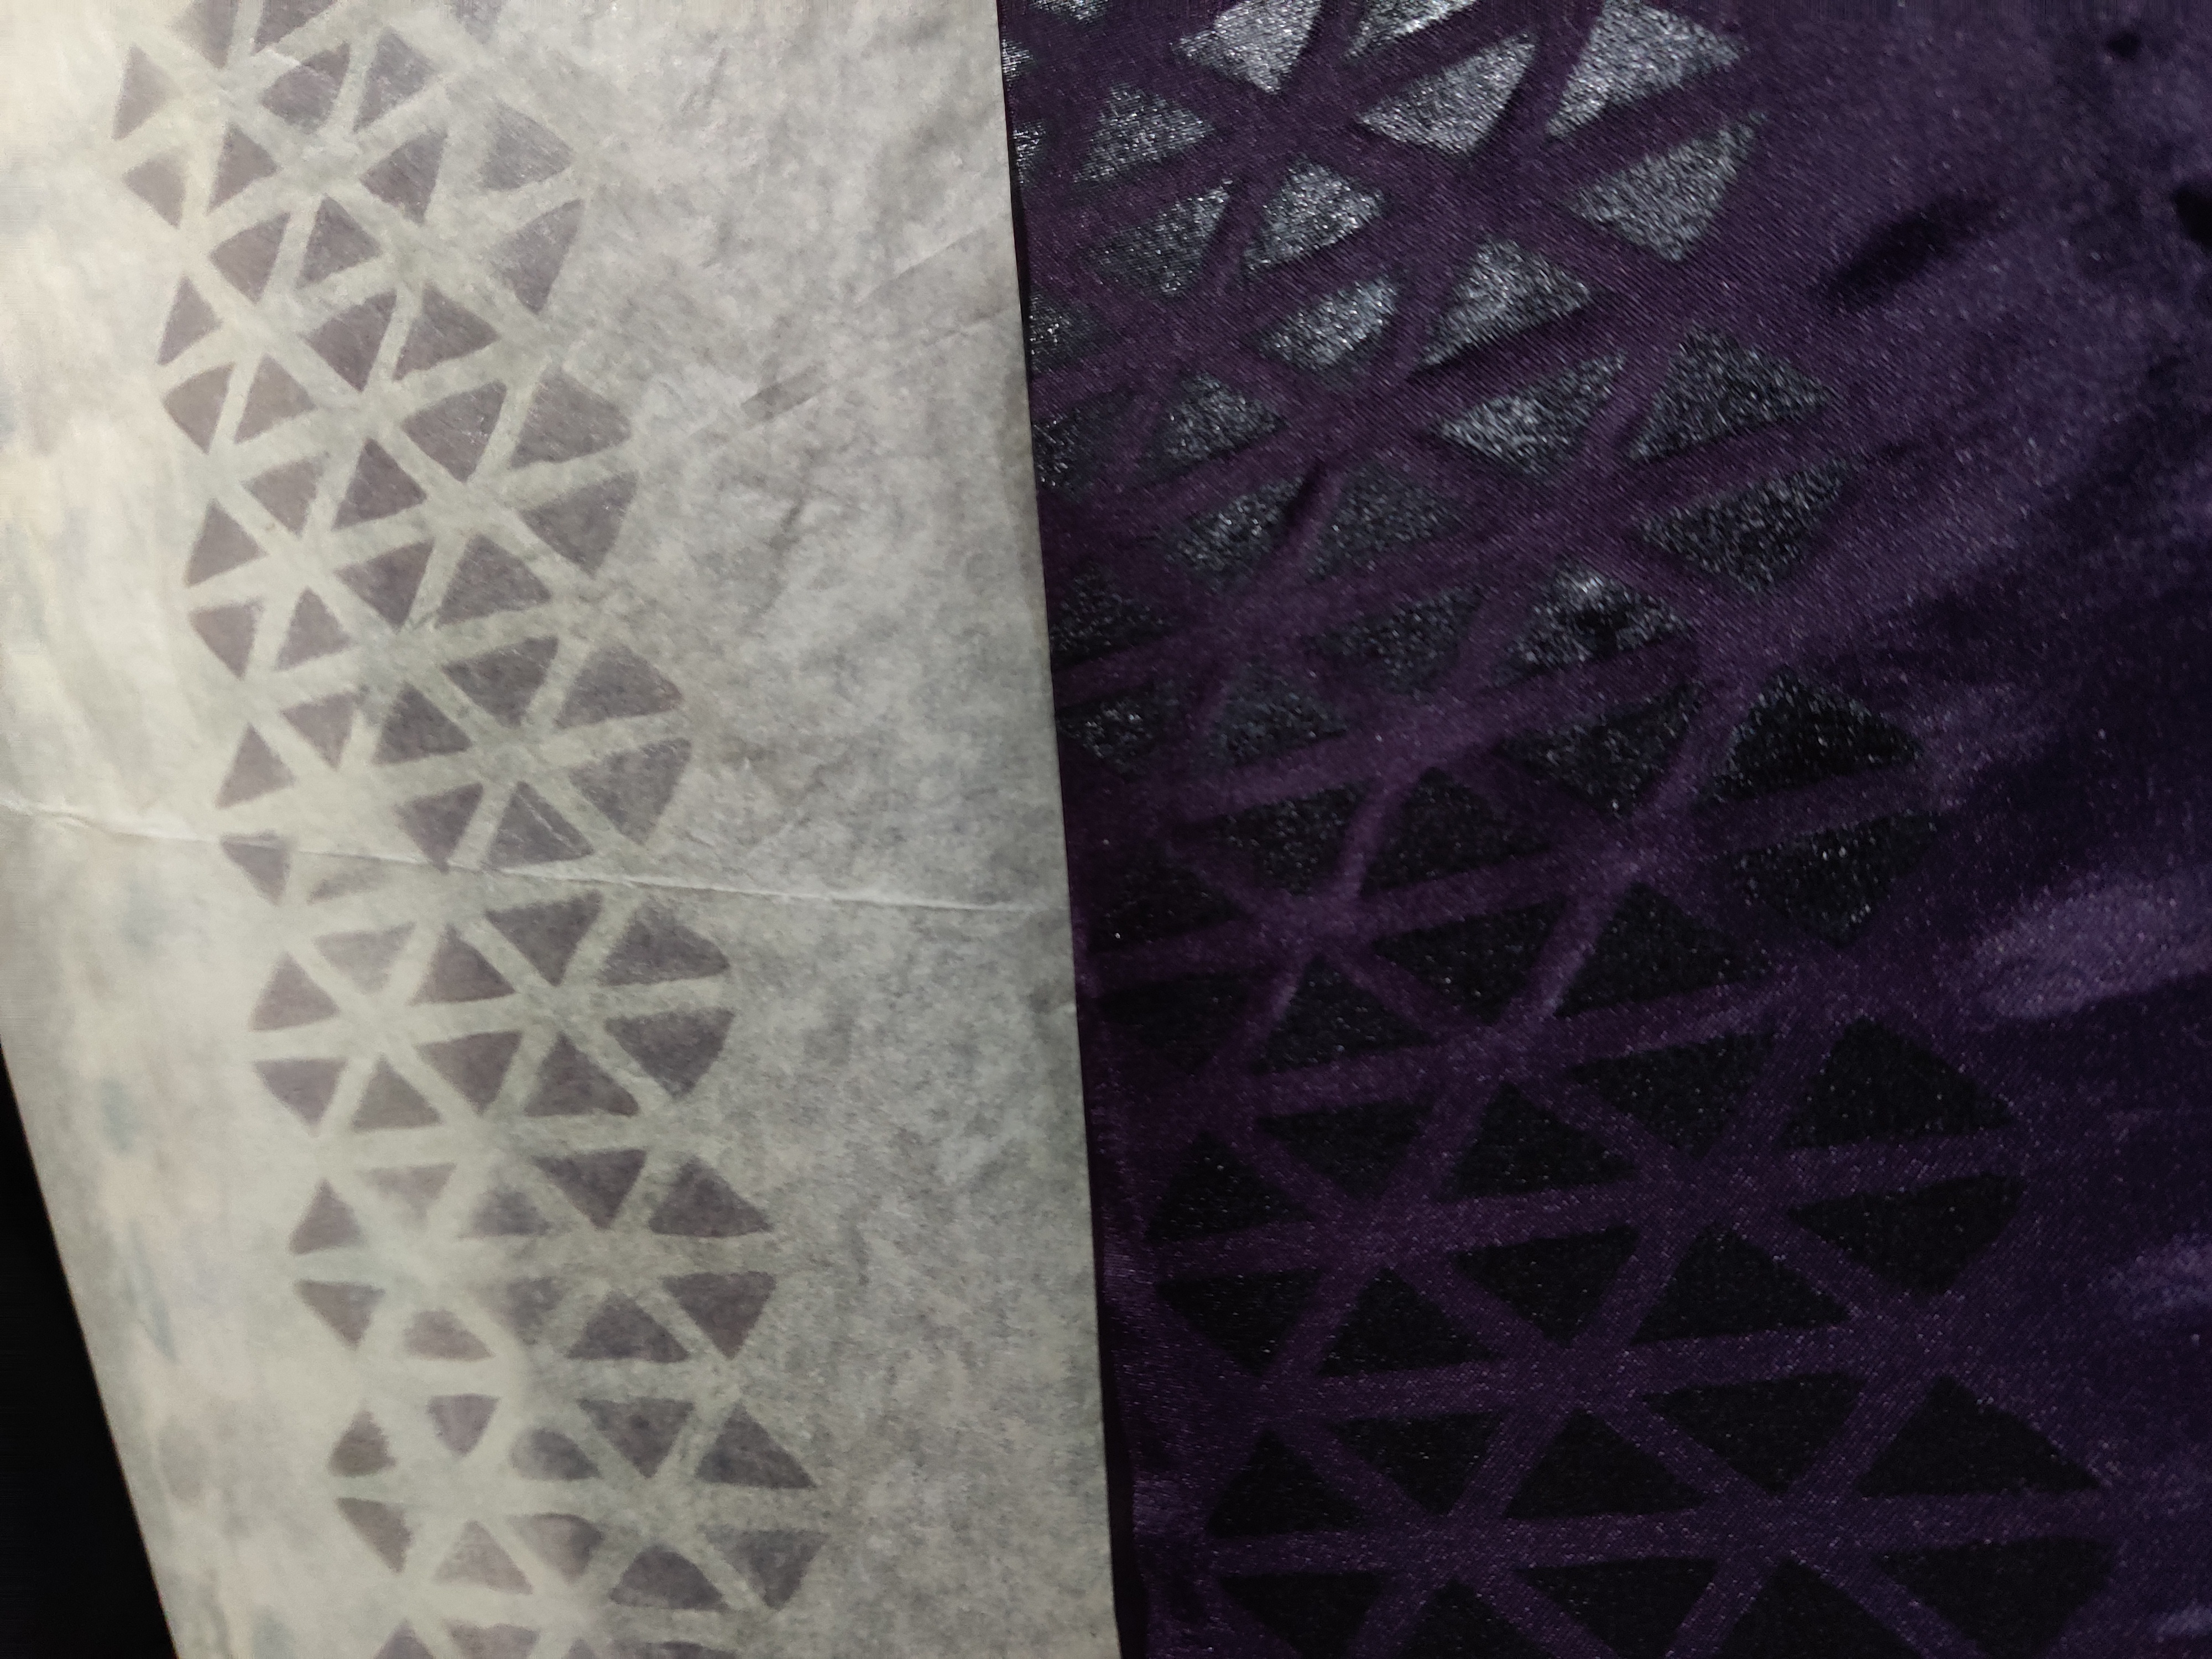
I cut out a piece of glue sheet, then ironed it onto the back of some thick satin curtain fabric brought in by Karen, who I’m working with on another project. As Karen was laser cutting some chain maille, we decided to use that as a test:
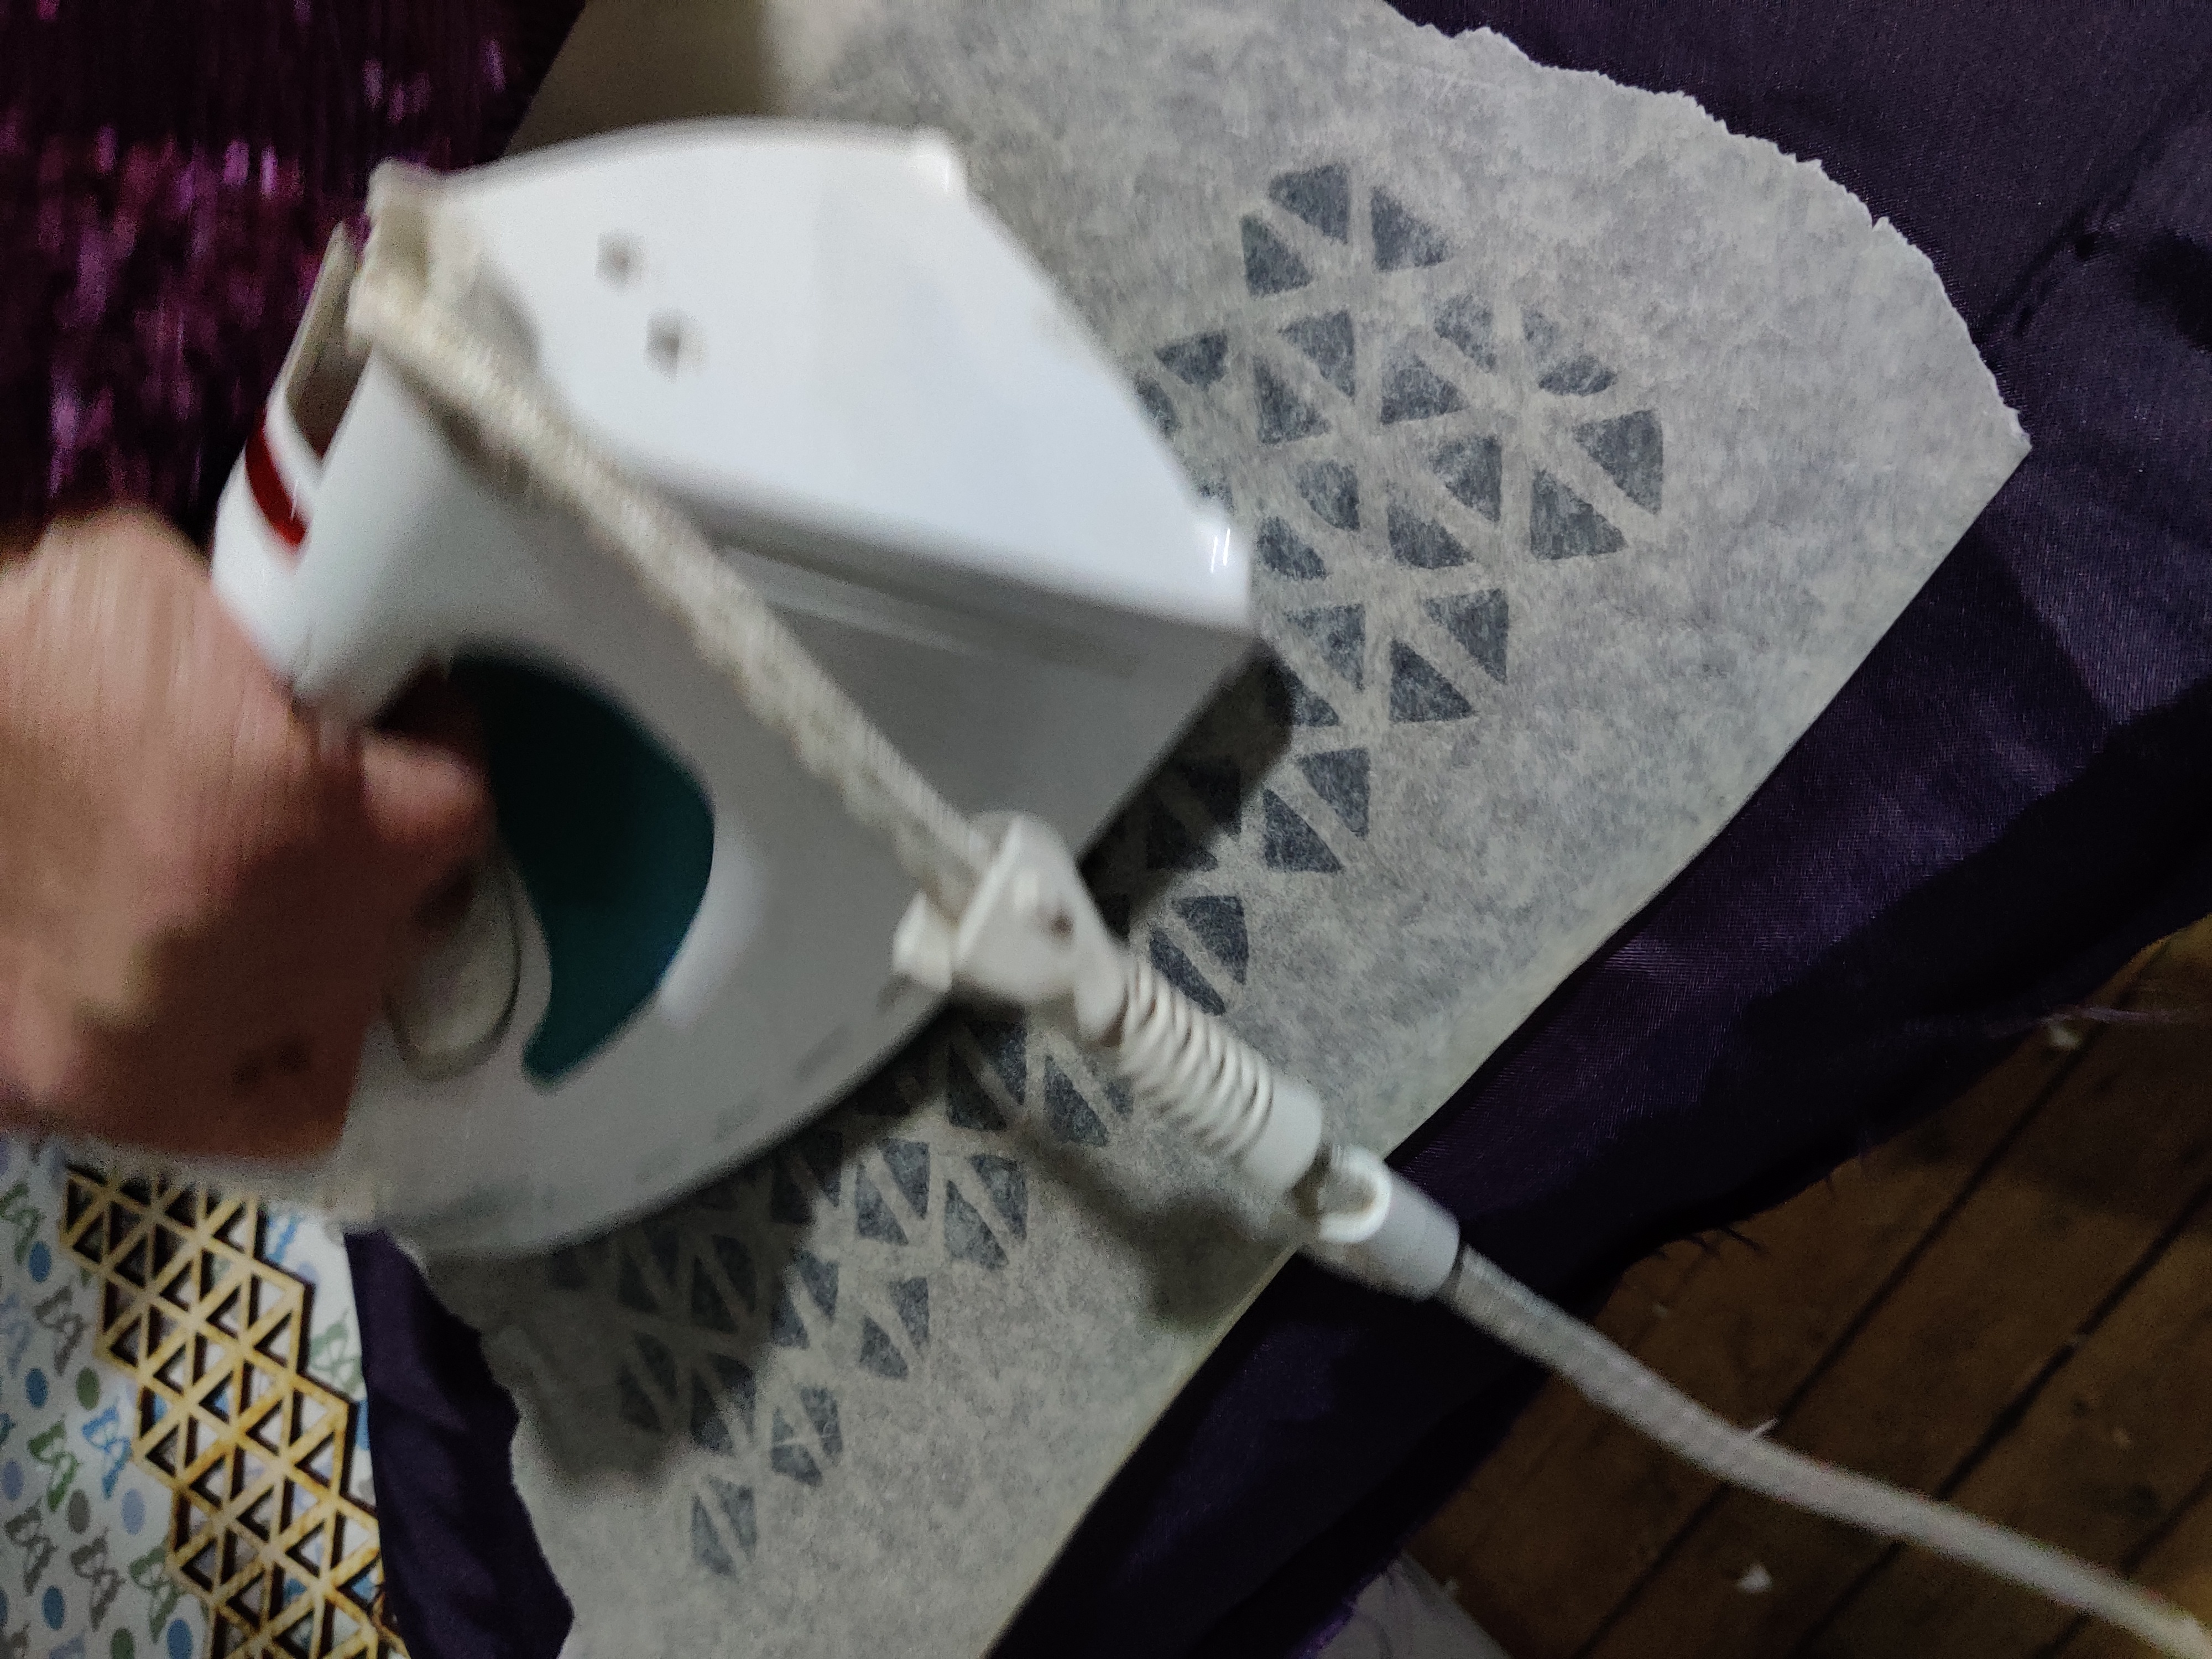
After laser cutting, you need to remove the backing sheet, and then iron on to a substrate. We used baking paper to stop the glue sticking to the iron - the baking paper stuck to the fabric though, so not the best:

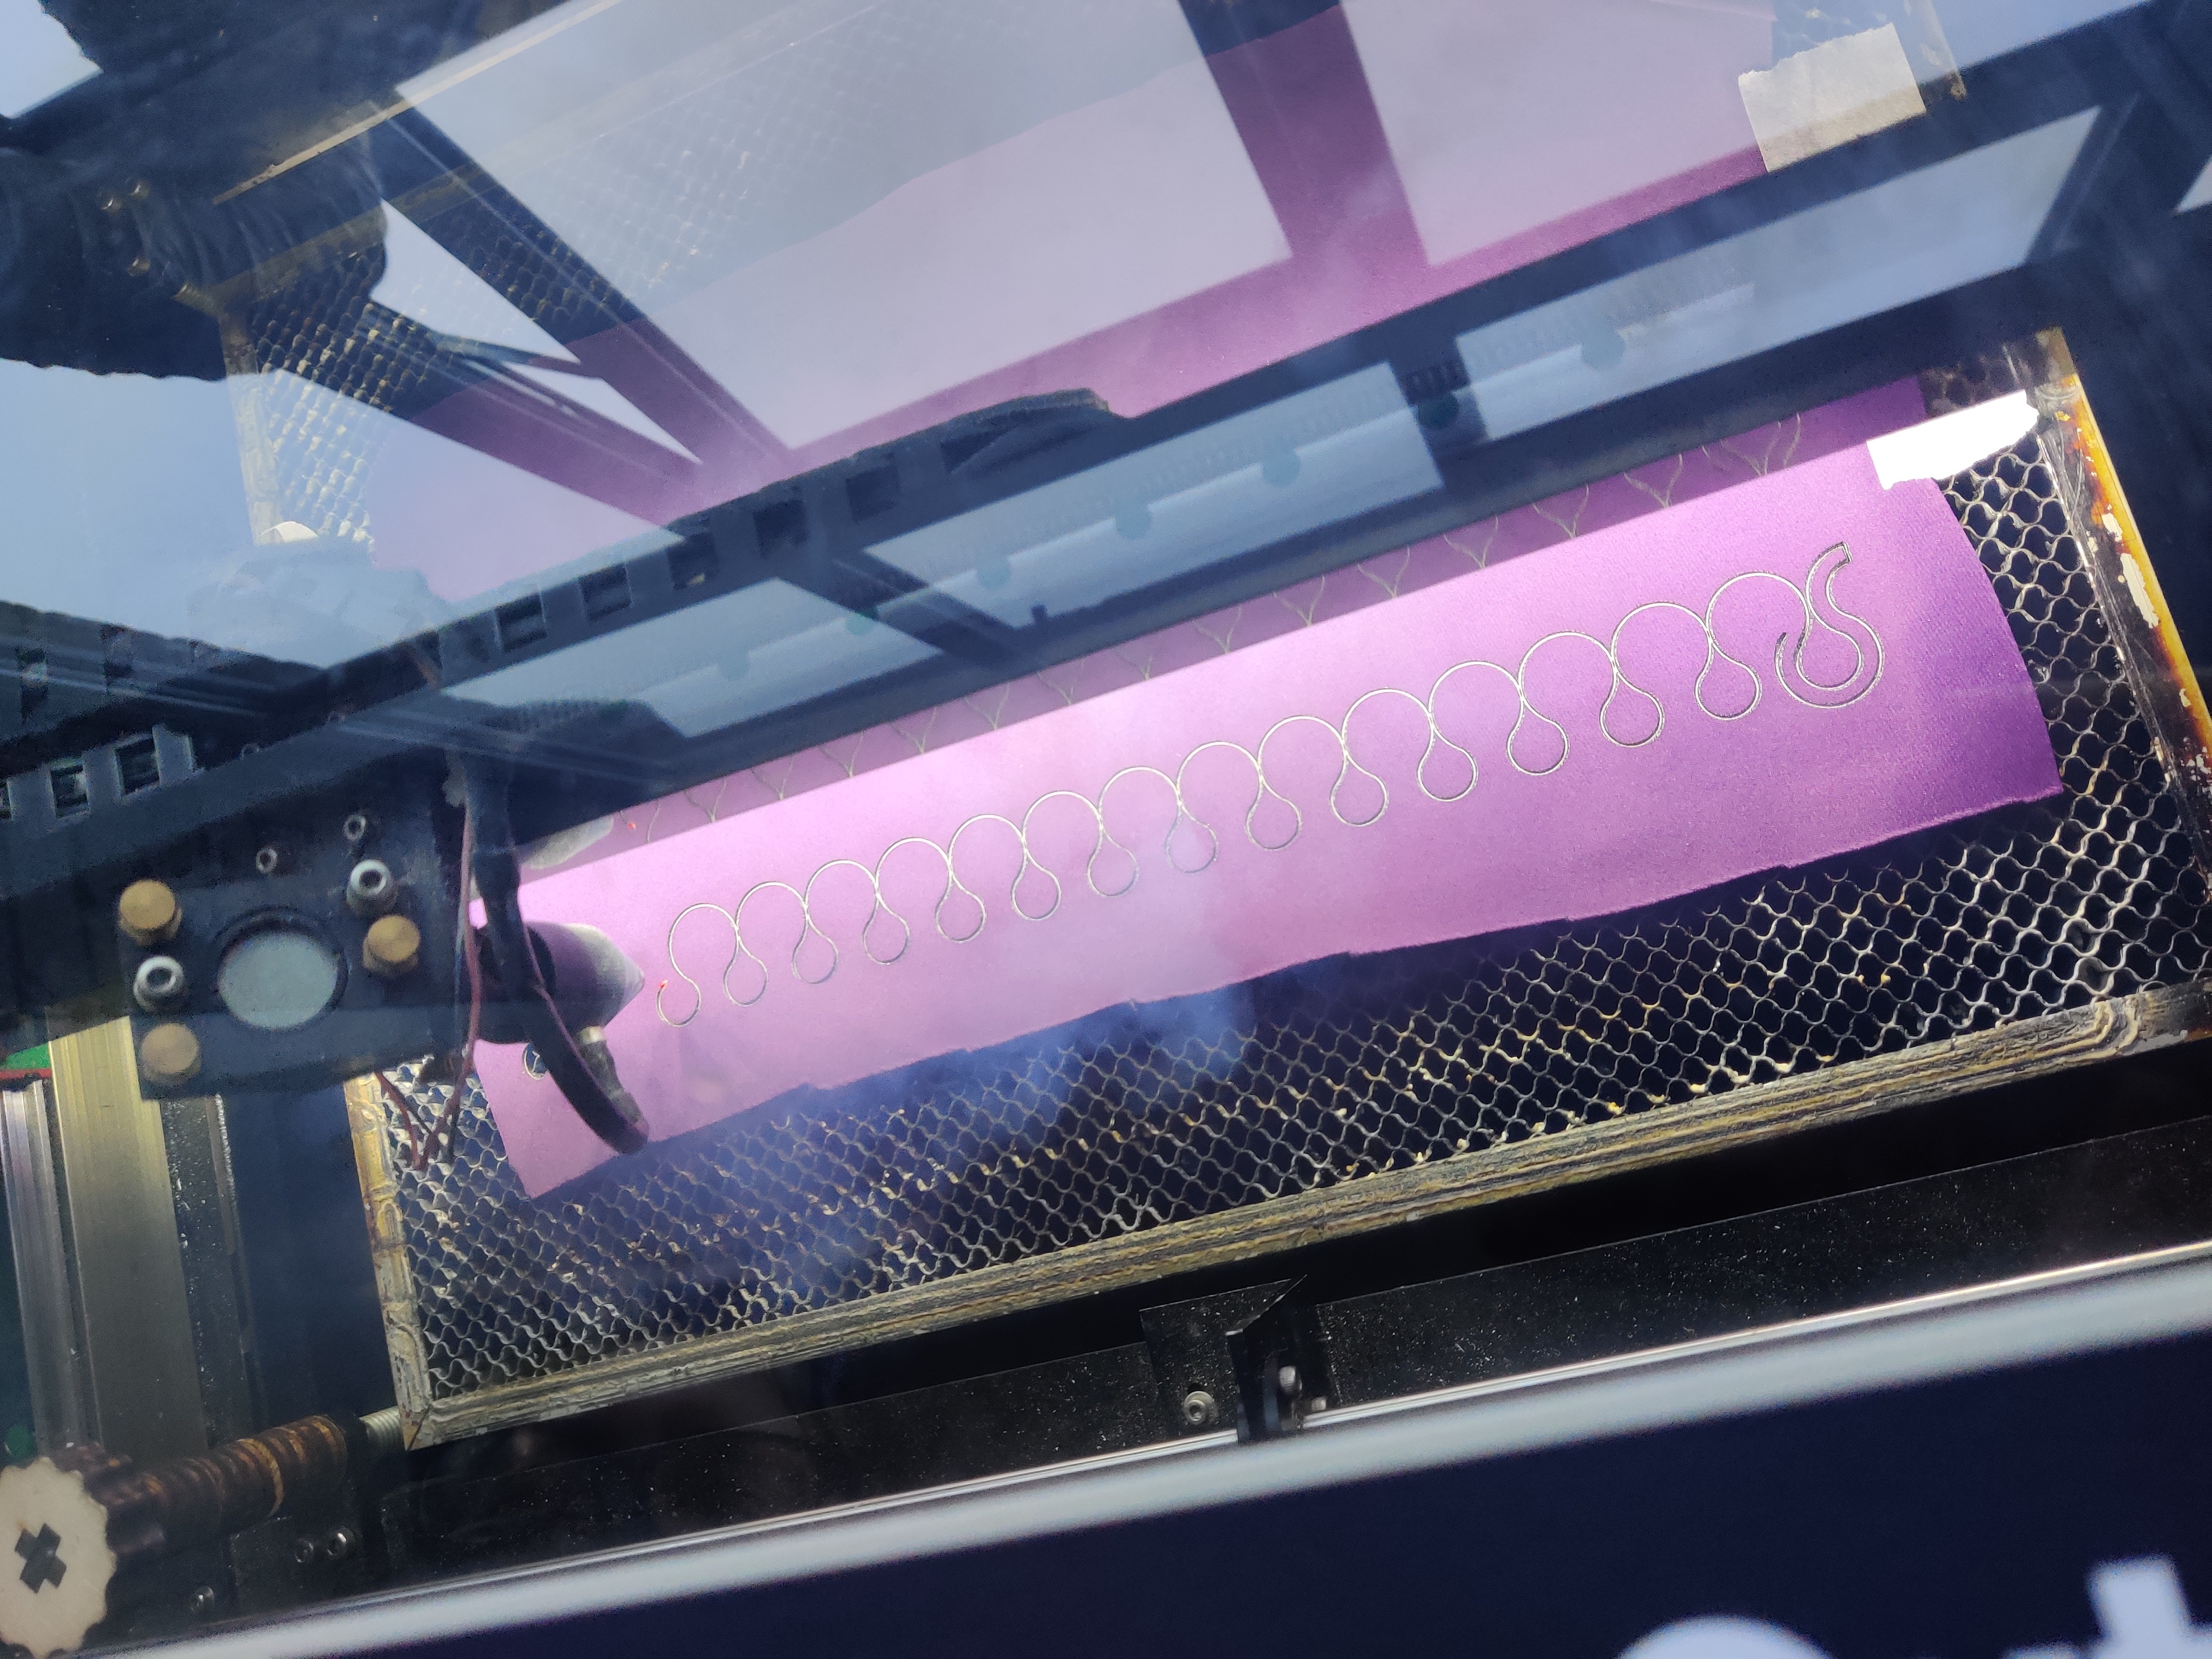
The results were good, both with the left over teardrop shapes, and with the chain maille:
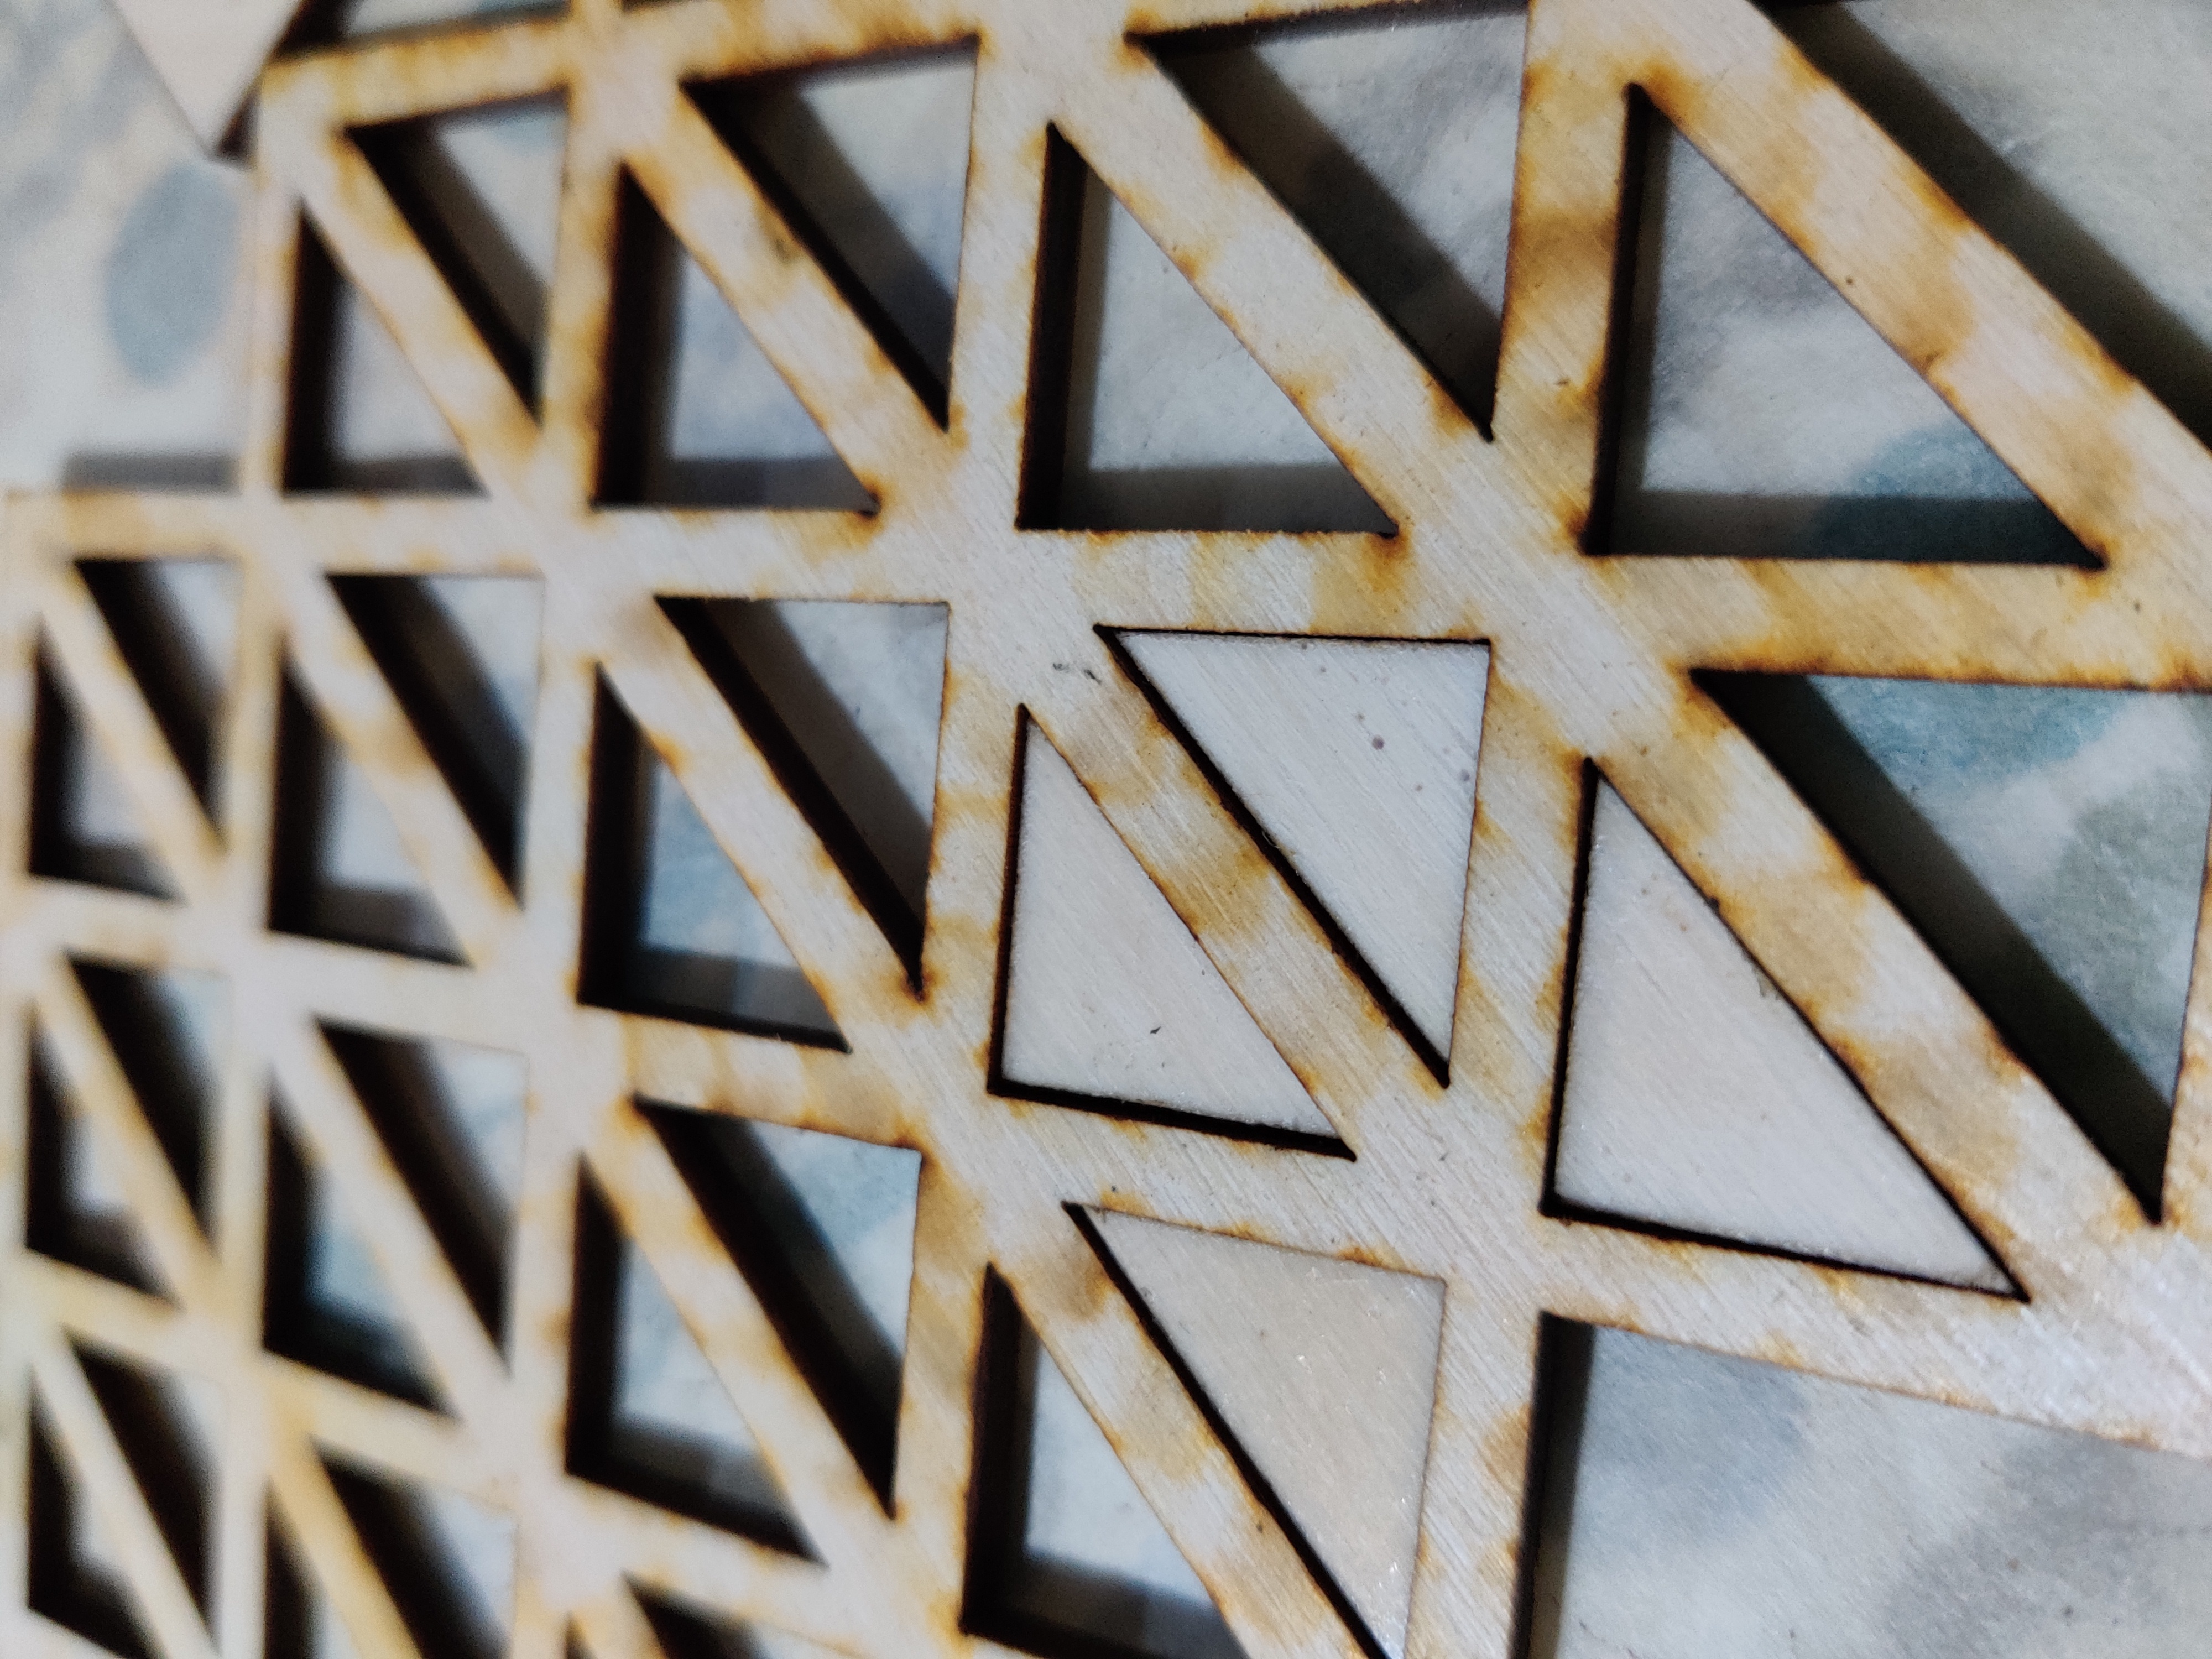
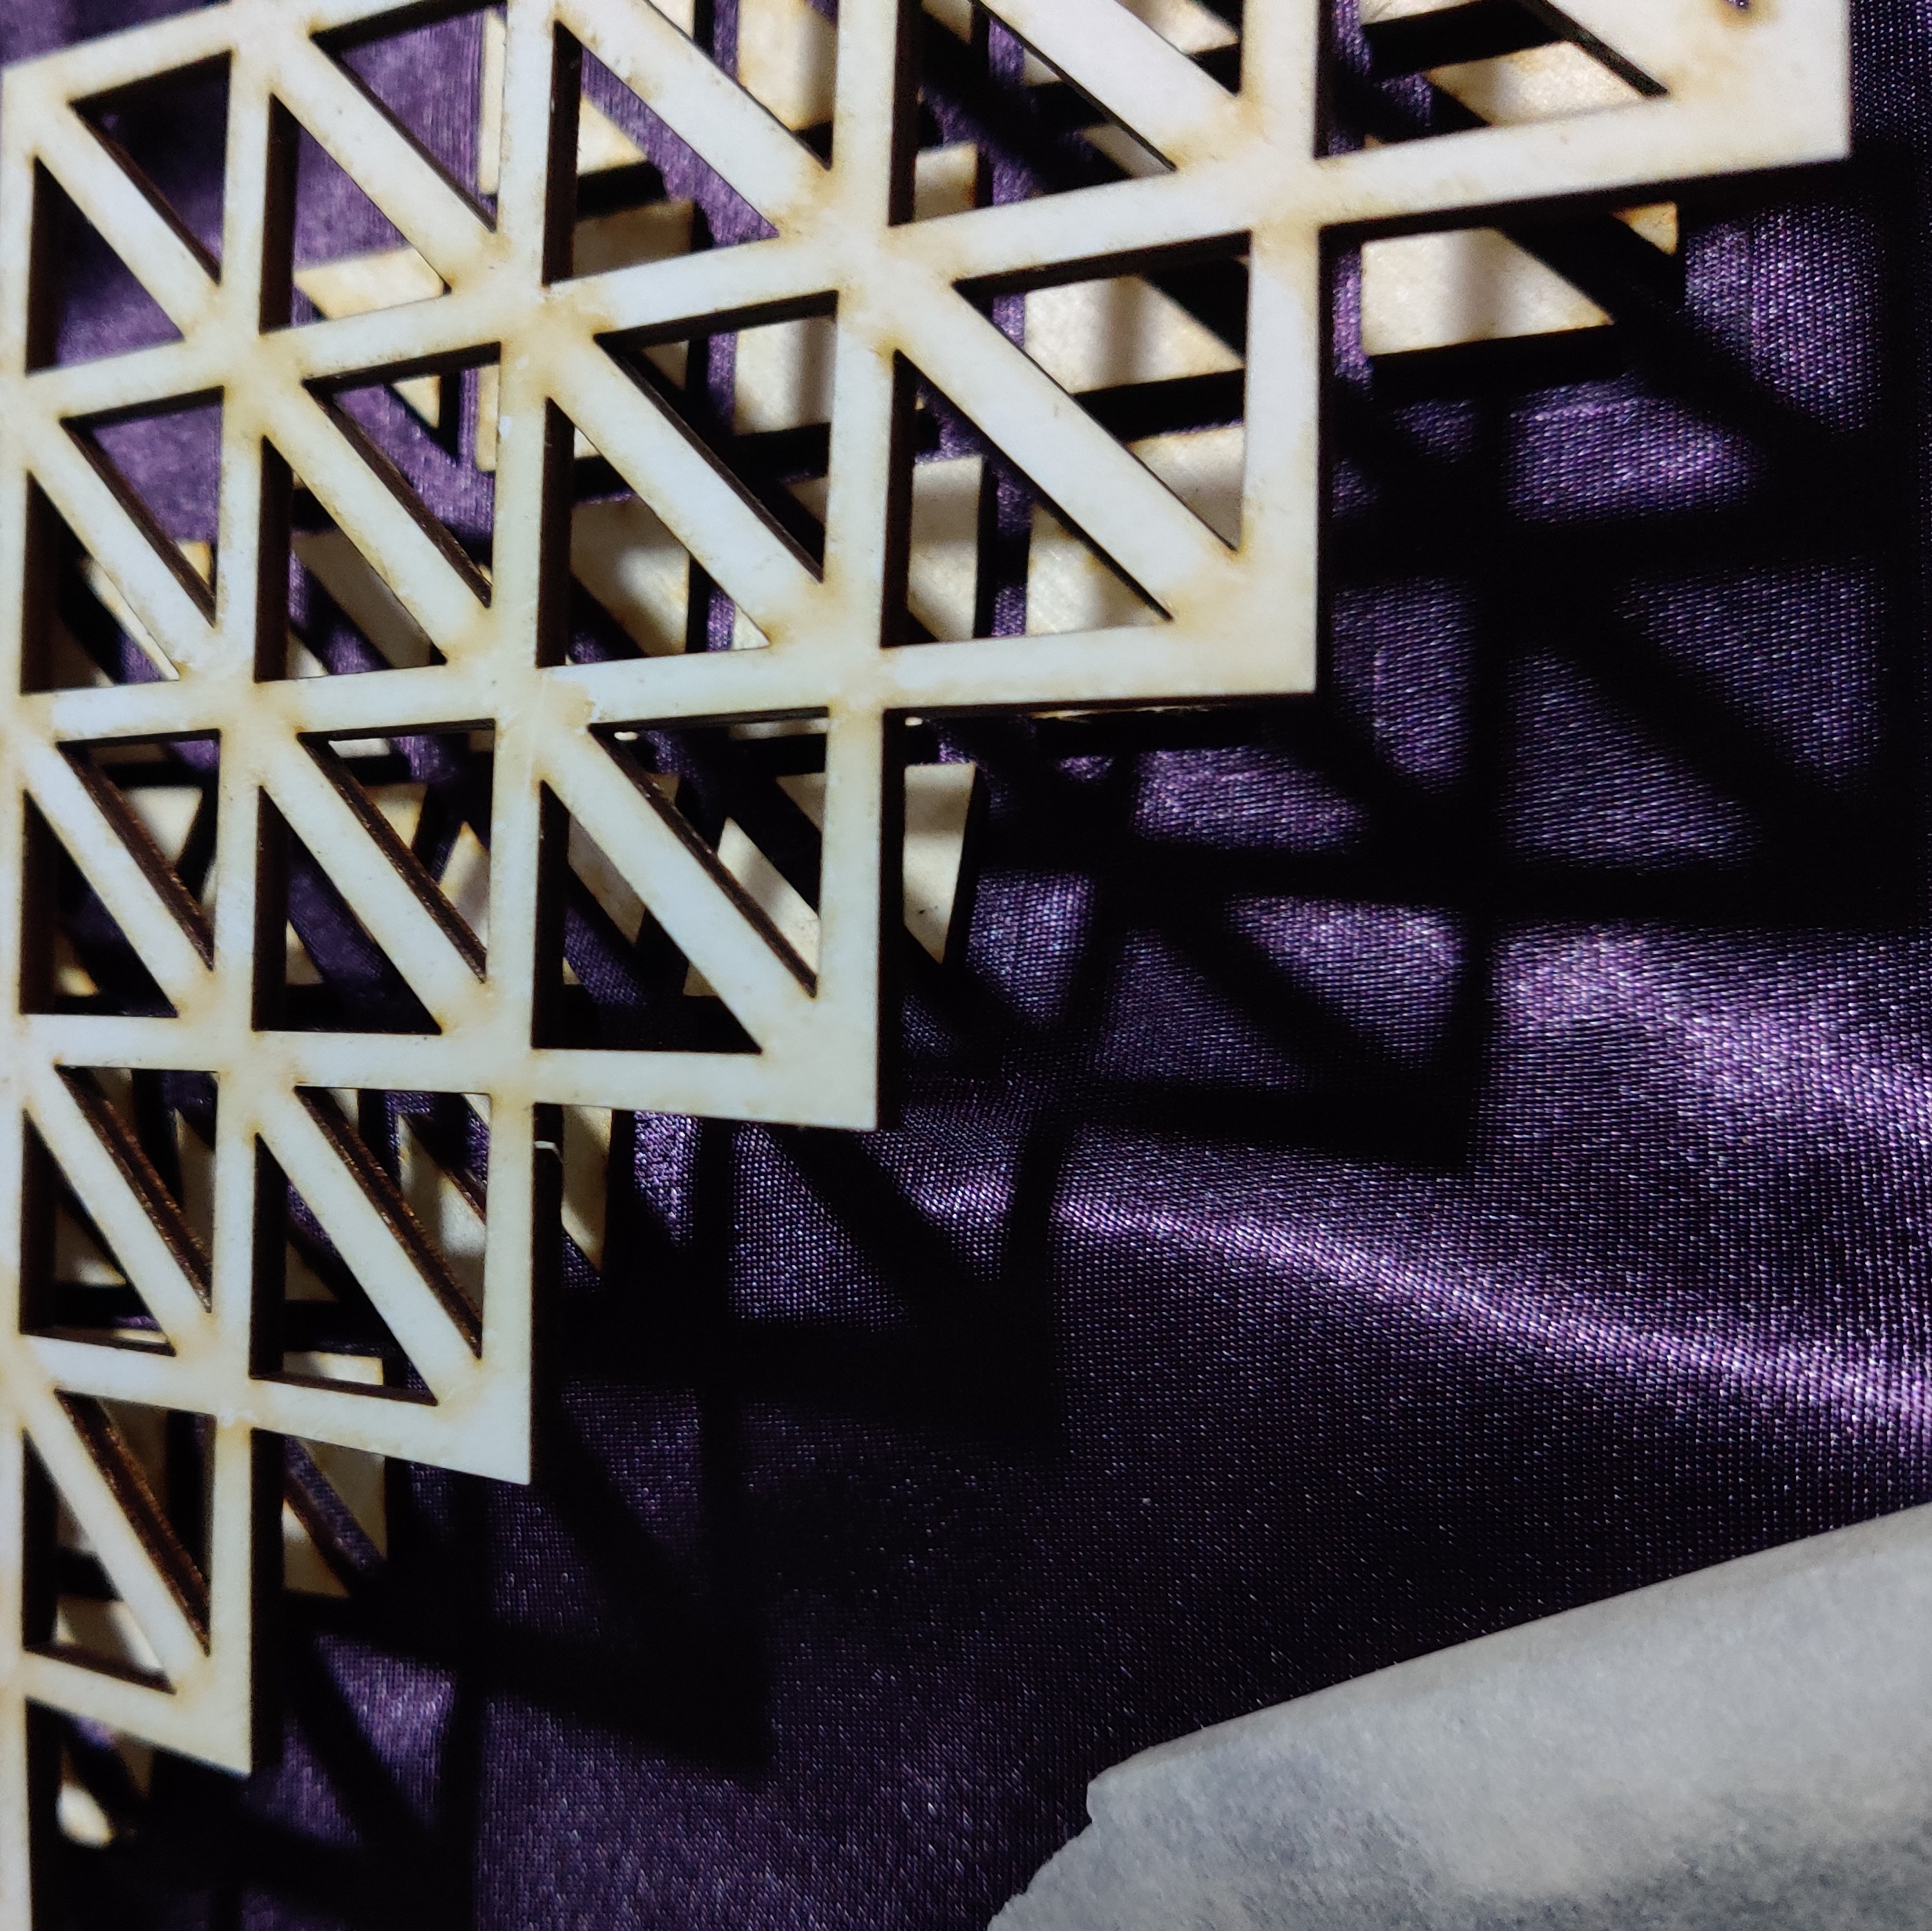
We then tried the folding pattern on 3mm ply. After laser cutting the ply we replaced the triangles with the glue side up:

Using a fine soft fabric meant that the glue came through to the back. It also tended to spread a bit round the edges:
The ply stuck well, but the output wasn’t really suitable for folding
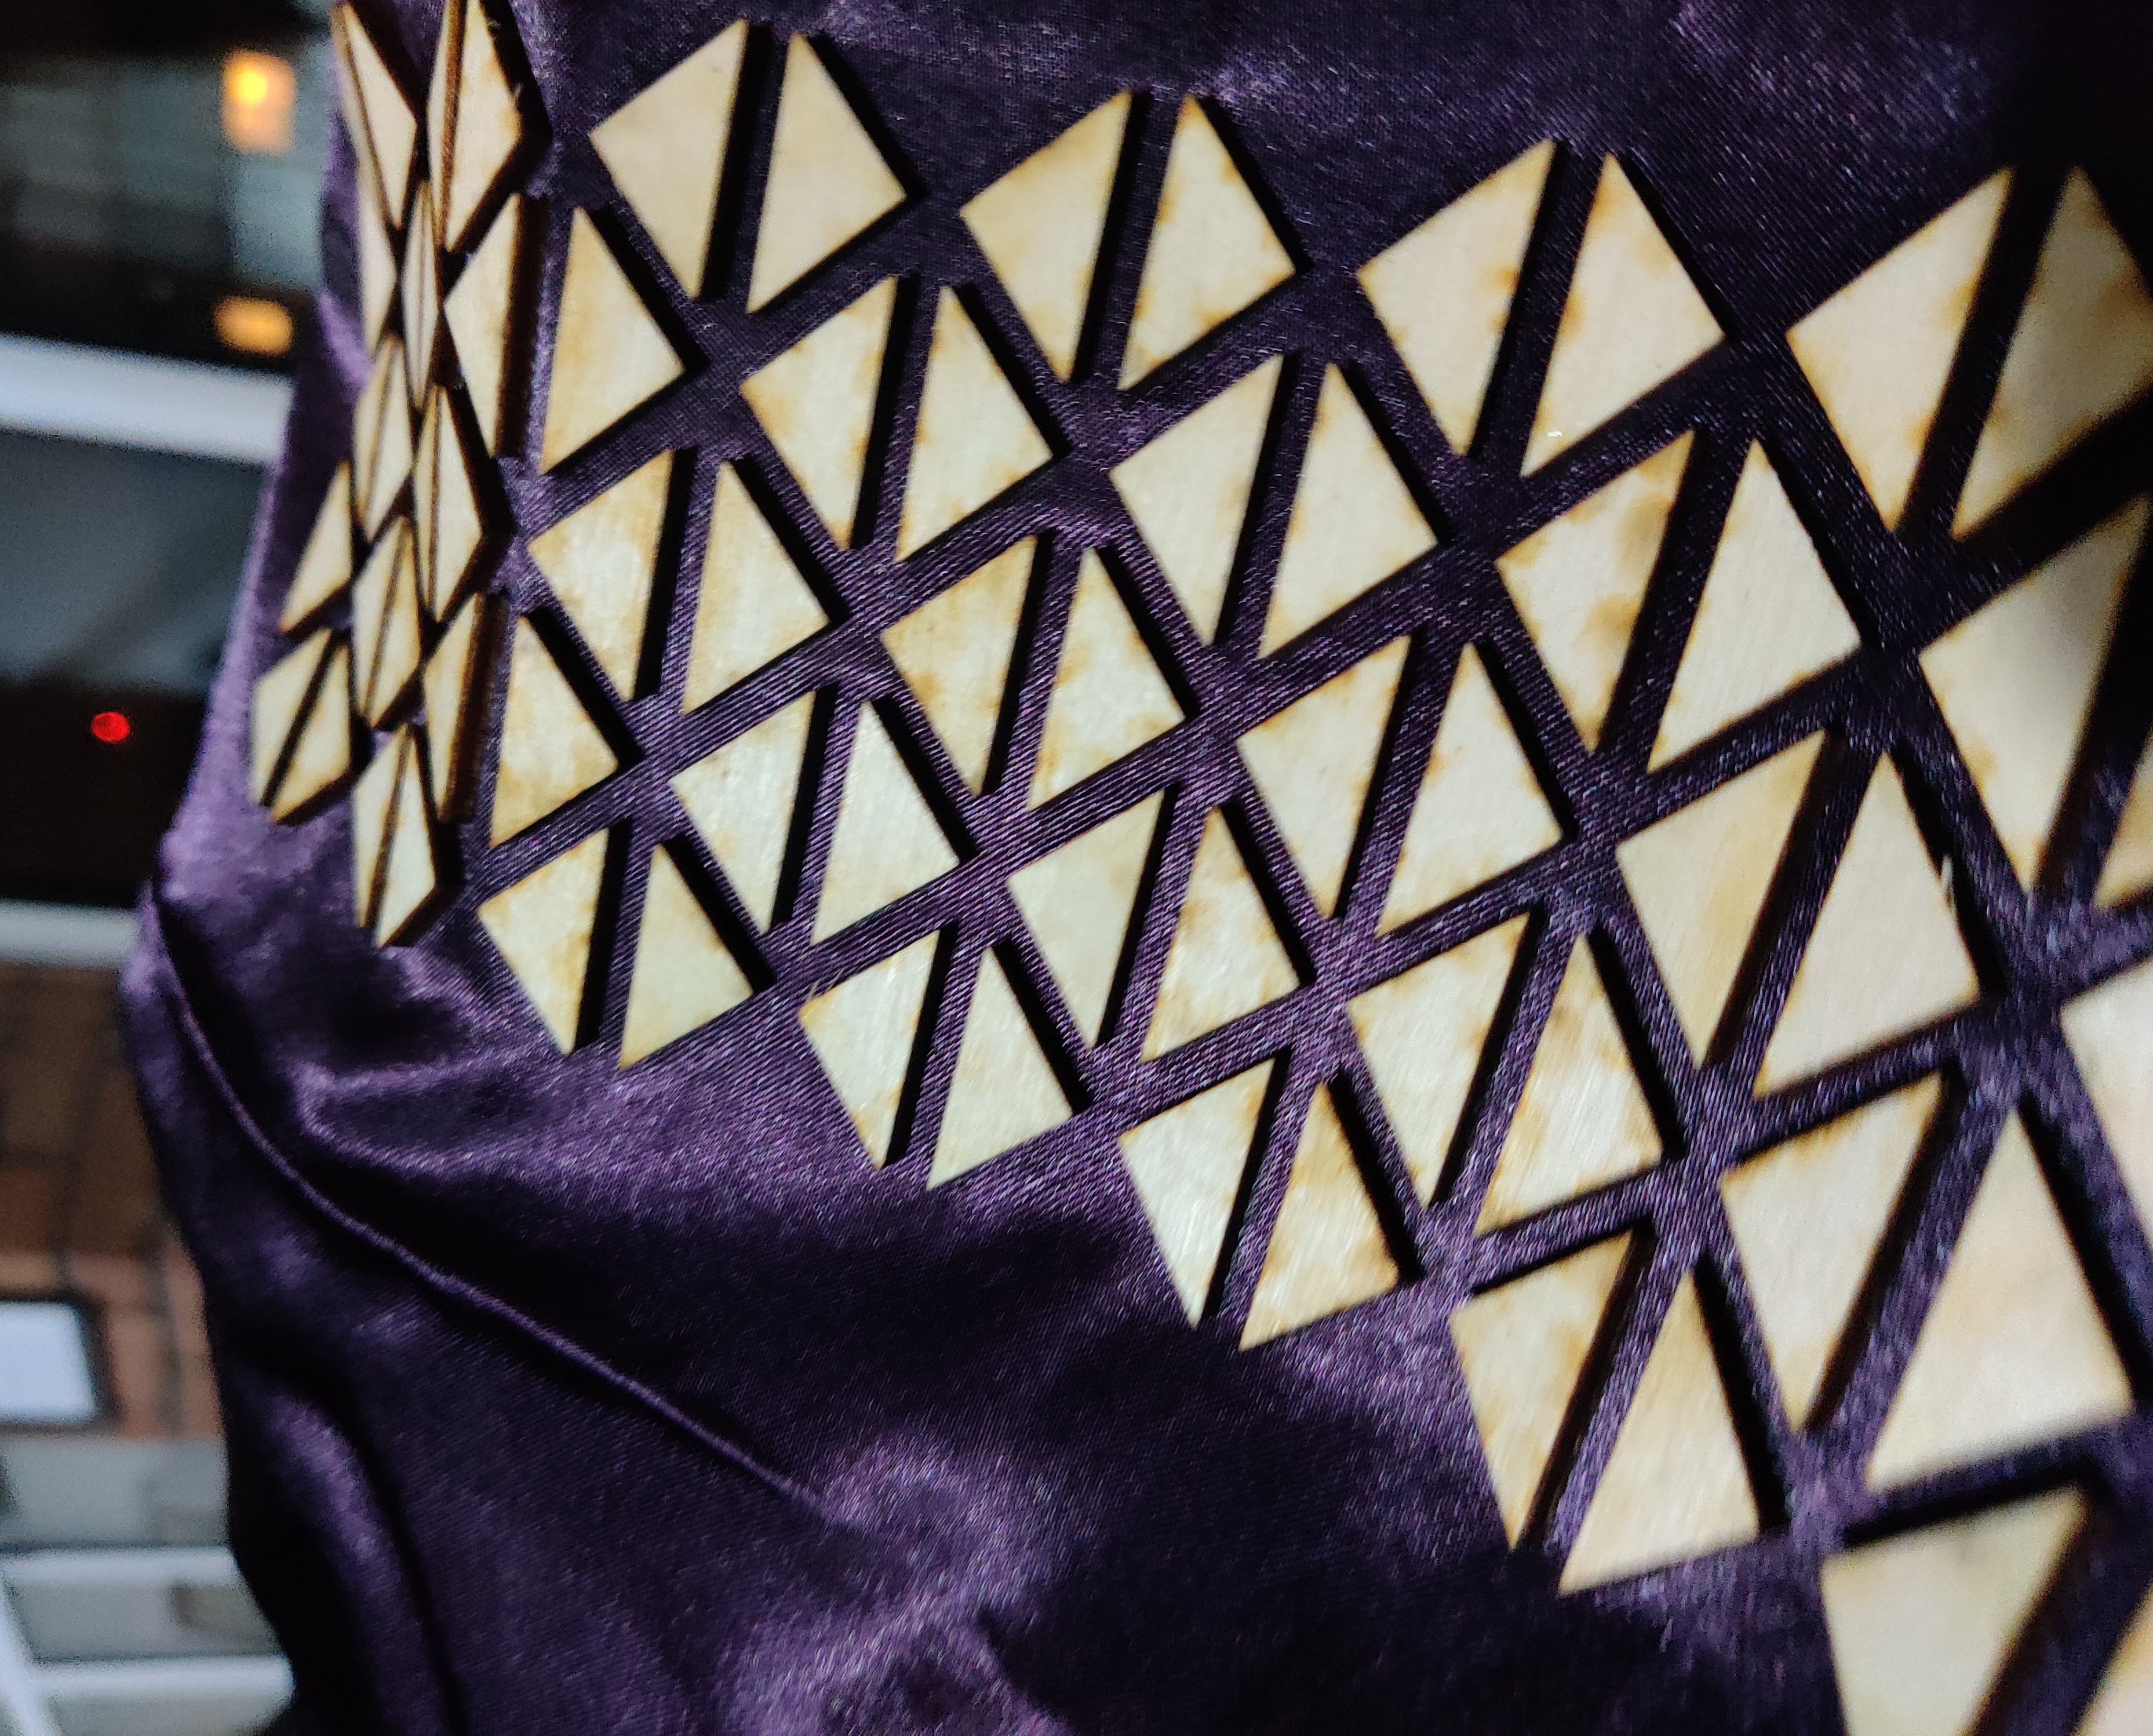
We’ve got a lot of polypropylene at DoES Liverpool, so it seemed worth trying that:
It did fold quite well, but as with embroidery, it would have been better with narrower channels in between the shapes. The polypropylene stuck well to begin with, but after a few days of being flexed it began to come away from the fabric. It might be better to use something more flexible if it’s designed to be moved:
We also ironed the waste polypropylene on to some gauze; the glue spread badly because the fabric couldn’t absorb it, and the baking paper stuck. I washed this in an attempt to remove the soot from the laser cutter (it didn’t) and the glue seemed unaffected:
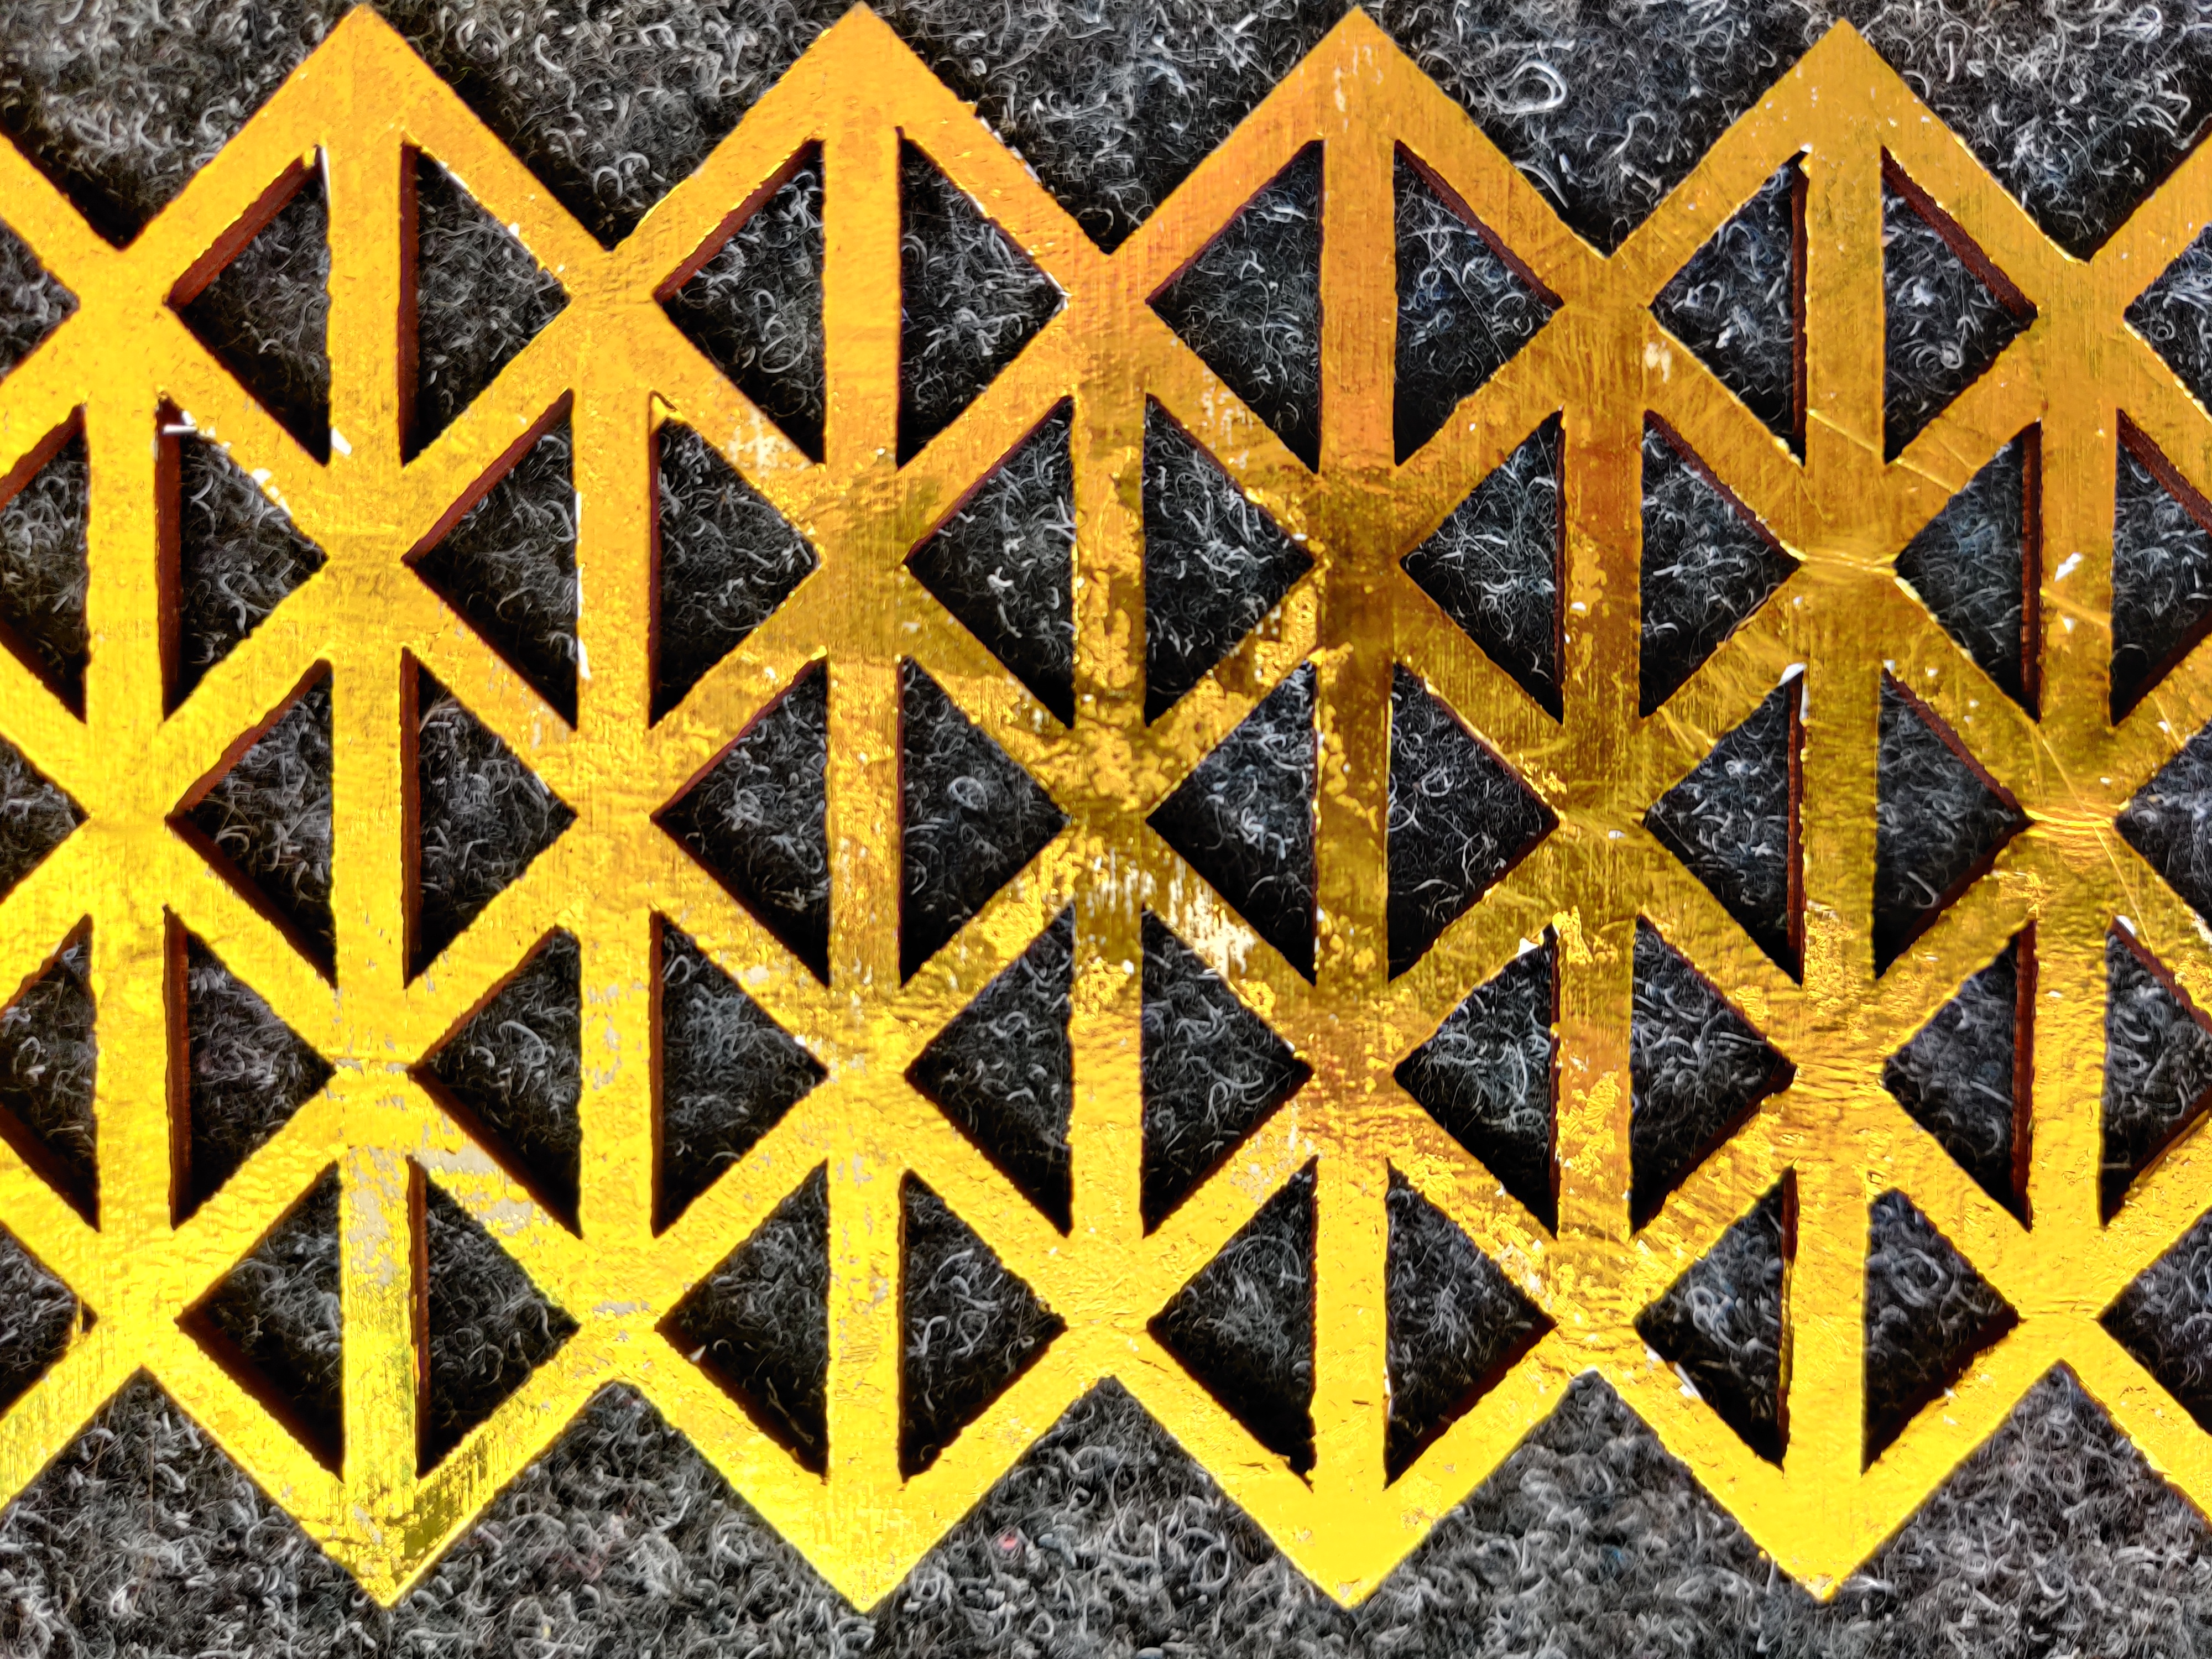
And finally, we ironed some foil sheets onto the waste ply - this would have probably worked better if we’d waited for the glue to set, but still a pretty nice distressed effect after a couple of sheets:
Not quite sure where this is going, but maybe my next step will be to try some more flexible materials with the glue method and articulating some of the folding structures.