
I’ve found myself doing a lot of 3D printing lately, partly due to the 3D printer course I’m currently taking, but mostly to the fast and reliable Bambu A1 mini 3D printer that Chris Thompson bought for the space on Black Friday last year - thanks Chris!
Some of what I’ve been printing has been parts for finished pieces, but I’ve also been experimenting with 3D printed tools, particularly for linoprinting and cord making. This post focuses on linoprinting - I’ll share more about the cord-making experiments in Part 2.
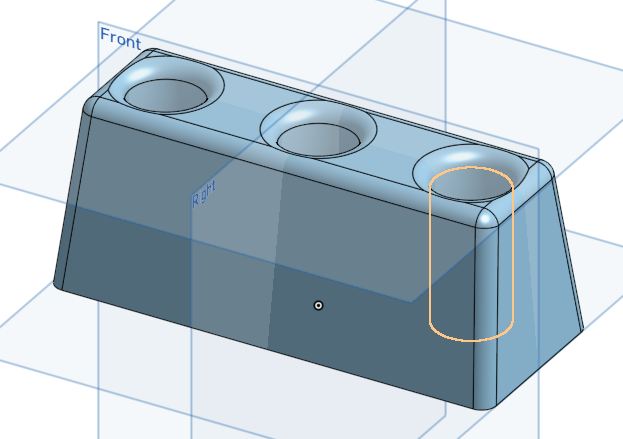
I started by looking for a brayer holder, and found this one by Pete Proedoehl. The overall idea was great, but the proportions and weight weren’t quite right for the brayers I wanted to store, so I adapted the design in Onshape. I’m using this at the moment and will probably tweak it a bit further once I’ve used it for a while.
While browsing, I also came across these registration pins from the same designer. Registration pins are typically used to ensure that different colour layers in a multicolour print - whether reduction or multiblock - align accurately.
Metal registration pins similar to this are fairly expensive, so it felt like a perfect opportunity to see how well 3D-printed versions would perform.
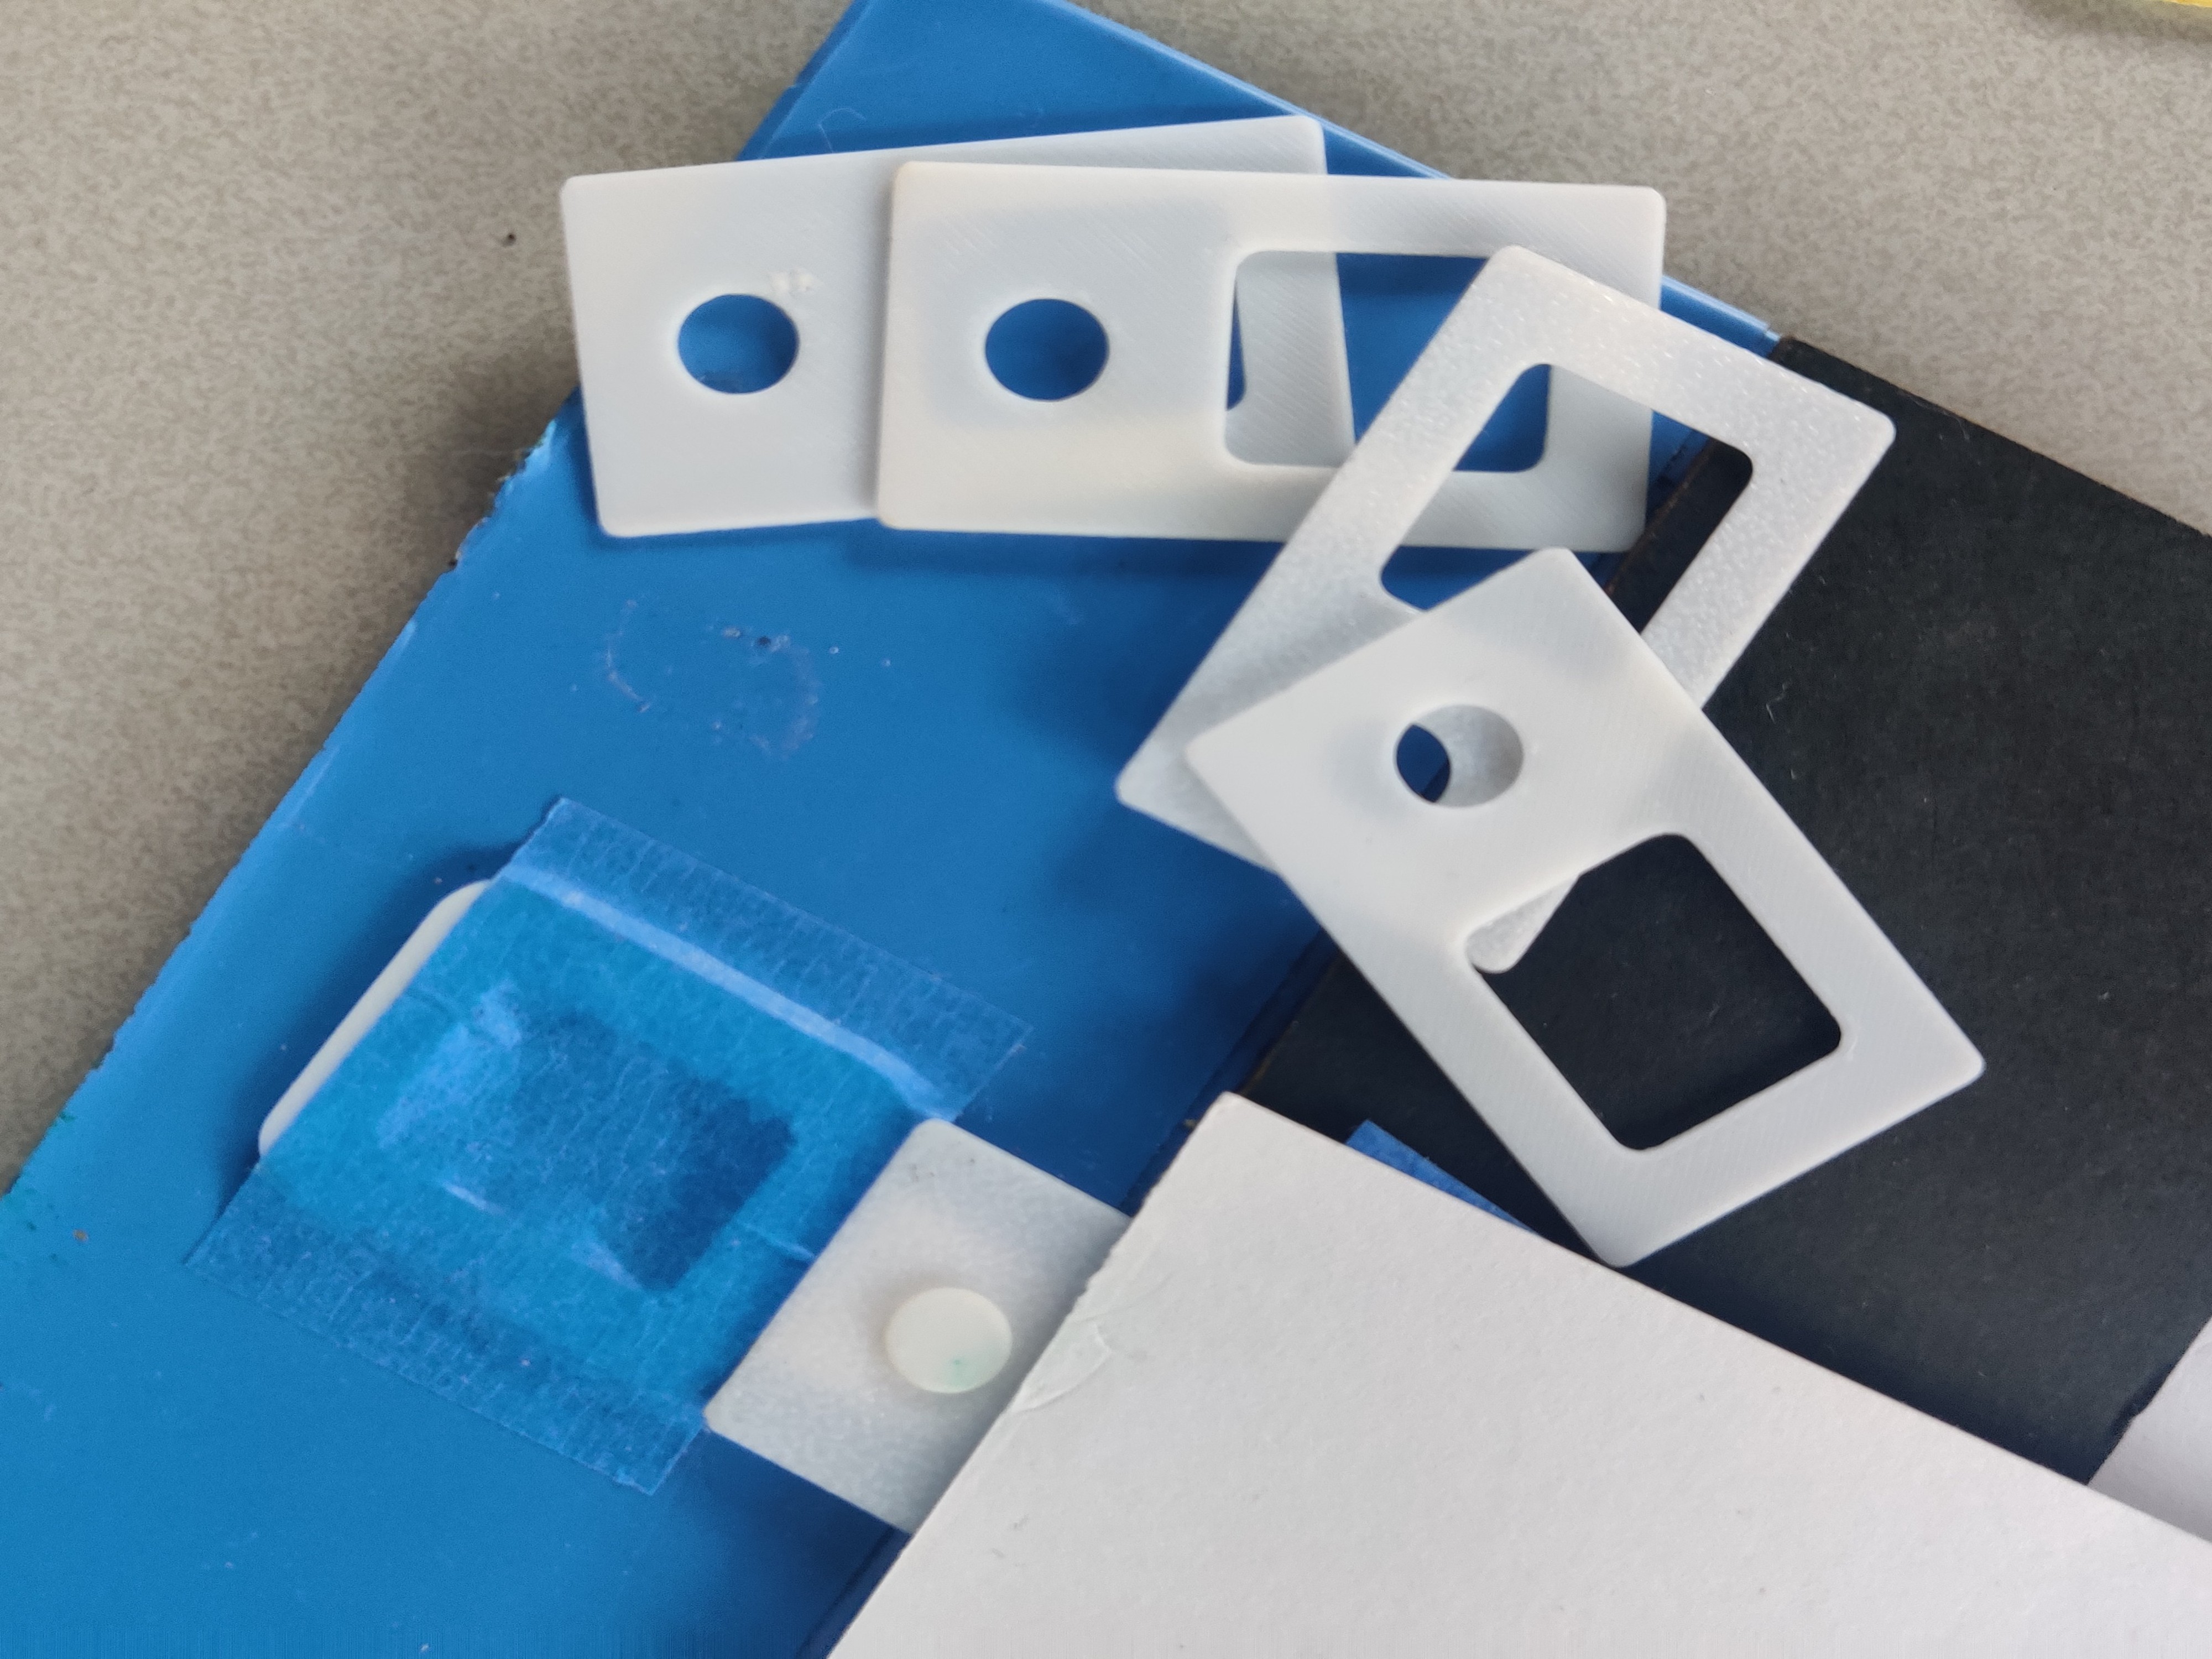
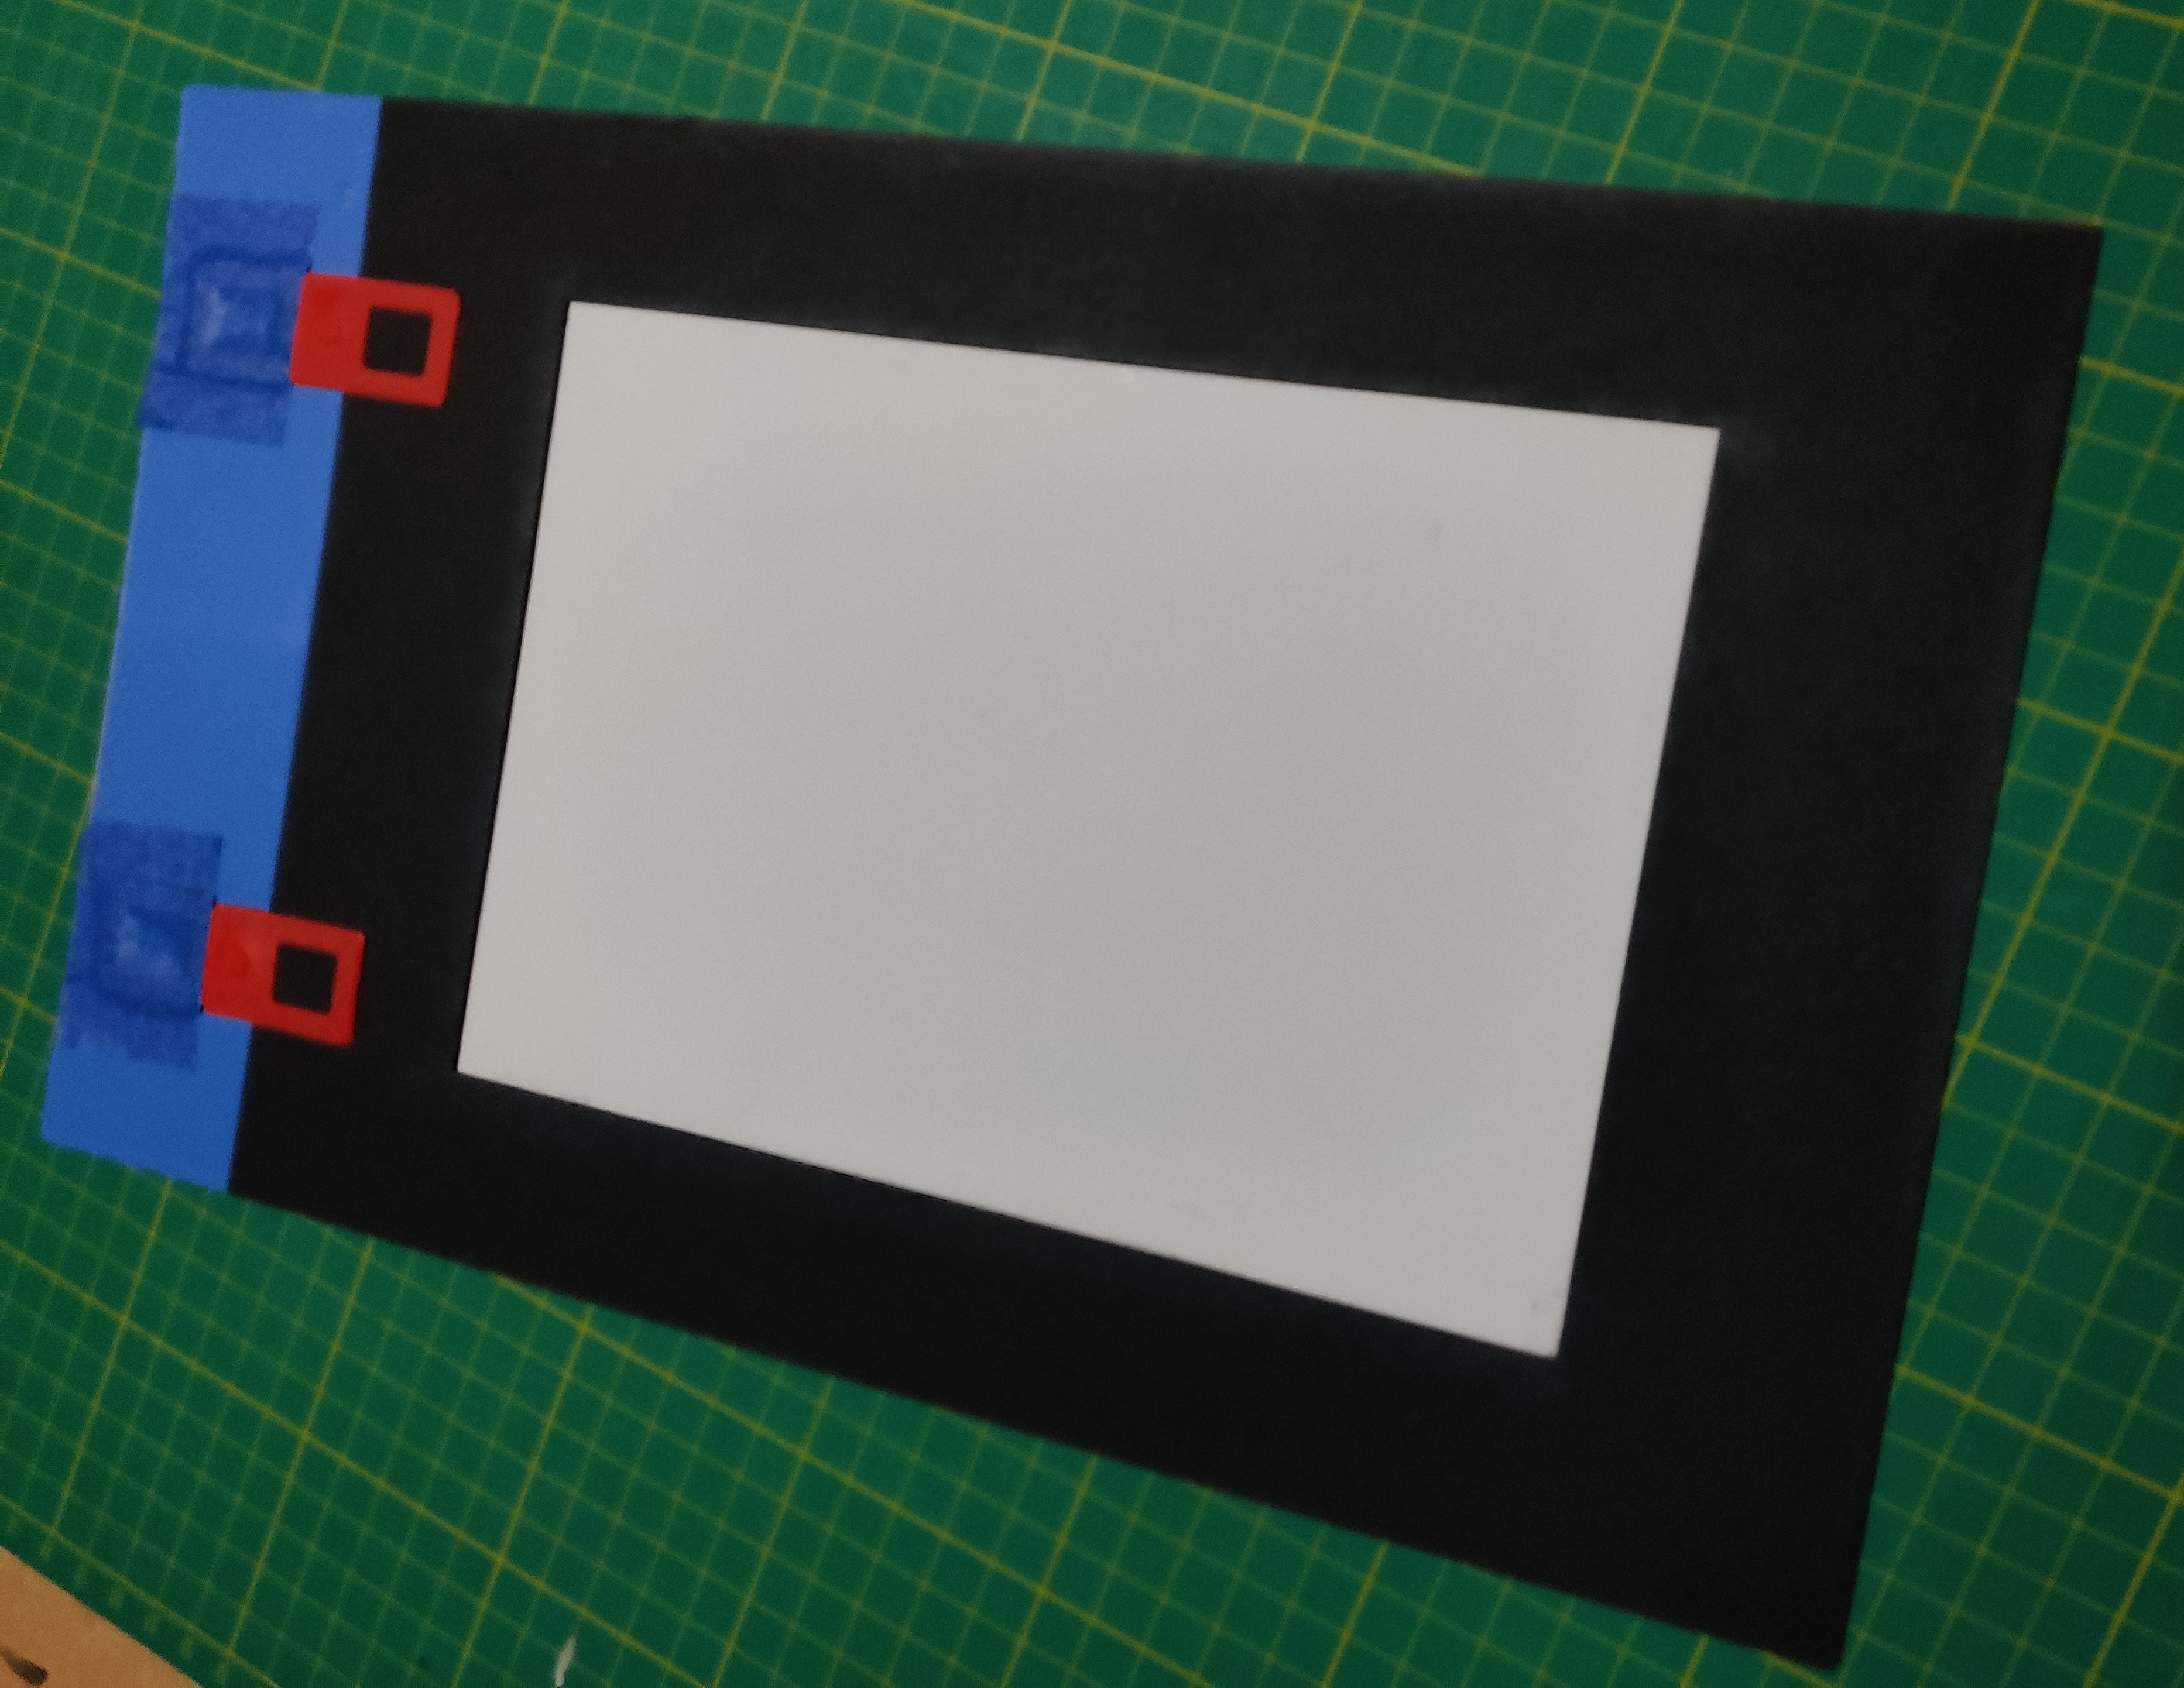
I laser cut some frames similar to the ones I normally use and taped the printed registration pins to them to create a quick test setup.
Having now found two useful 3D print designs by Pete Proedoehl, I took a look at his blog, which goes all the way back to 1997 and covers a wide range of maker projects, including both 2D and 3D printing. There’s a post about the registration pins here, along with two posts about using a 3D printer to produce relief-style plates:
Using a 3D printer in this way really appealed to me - especially as a quick method for testing the registration pins in practice.
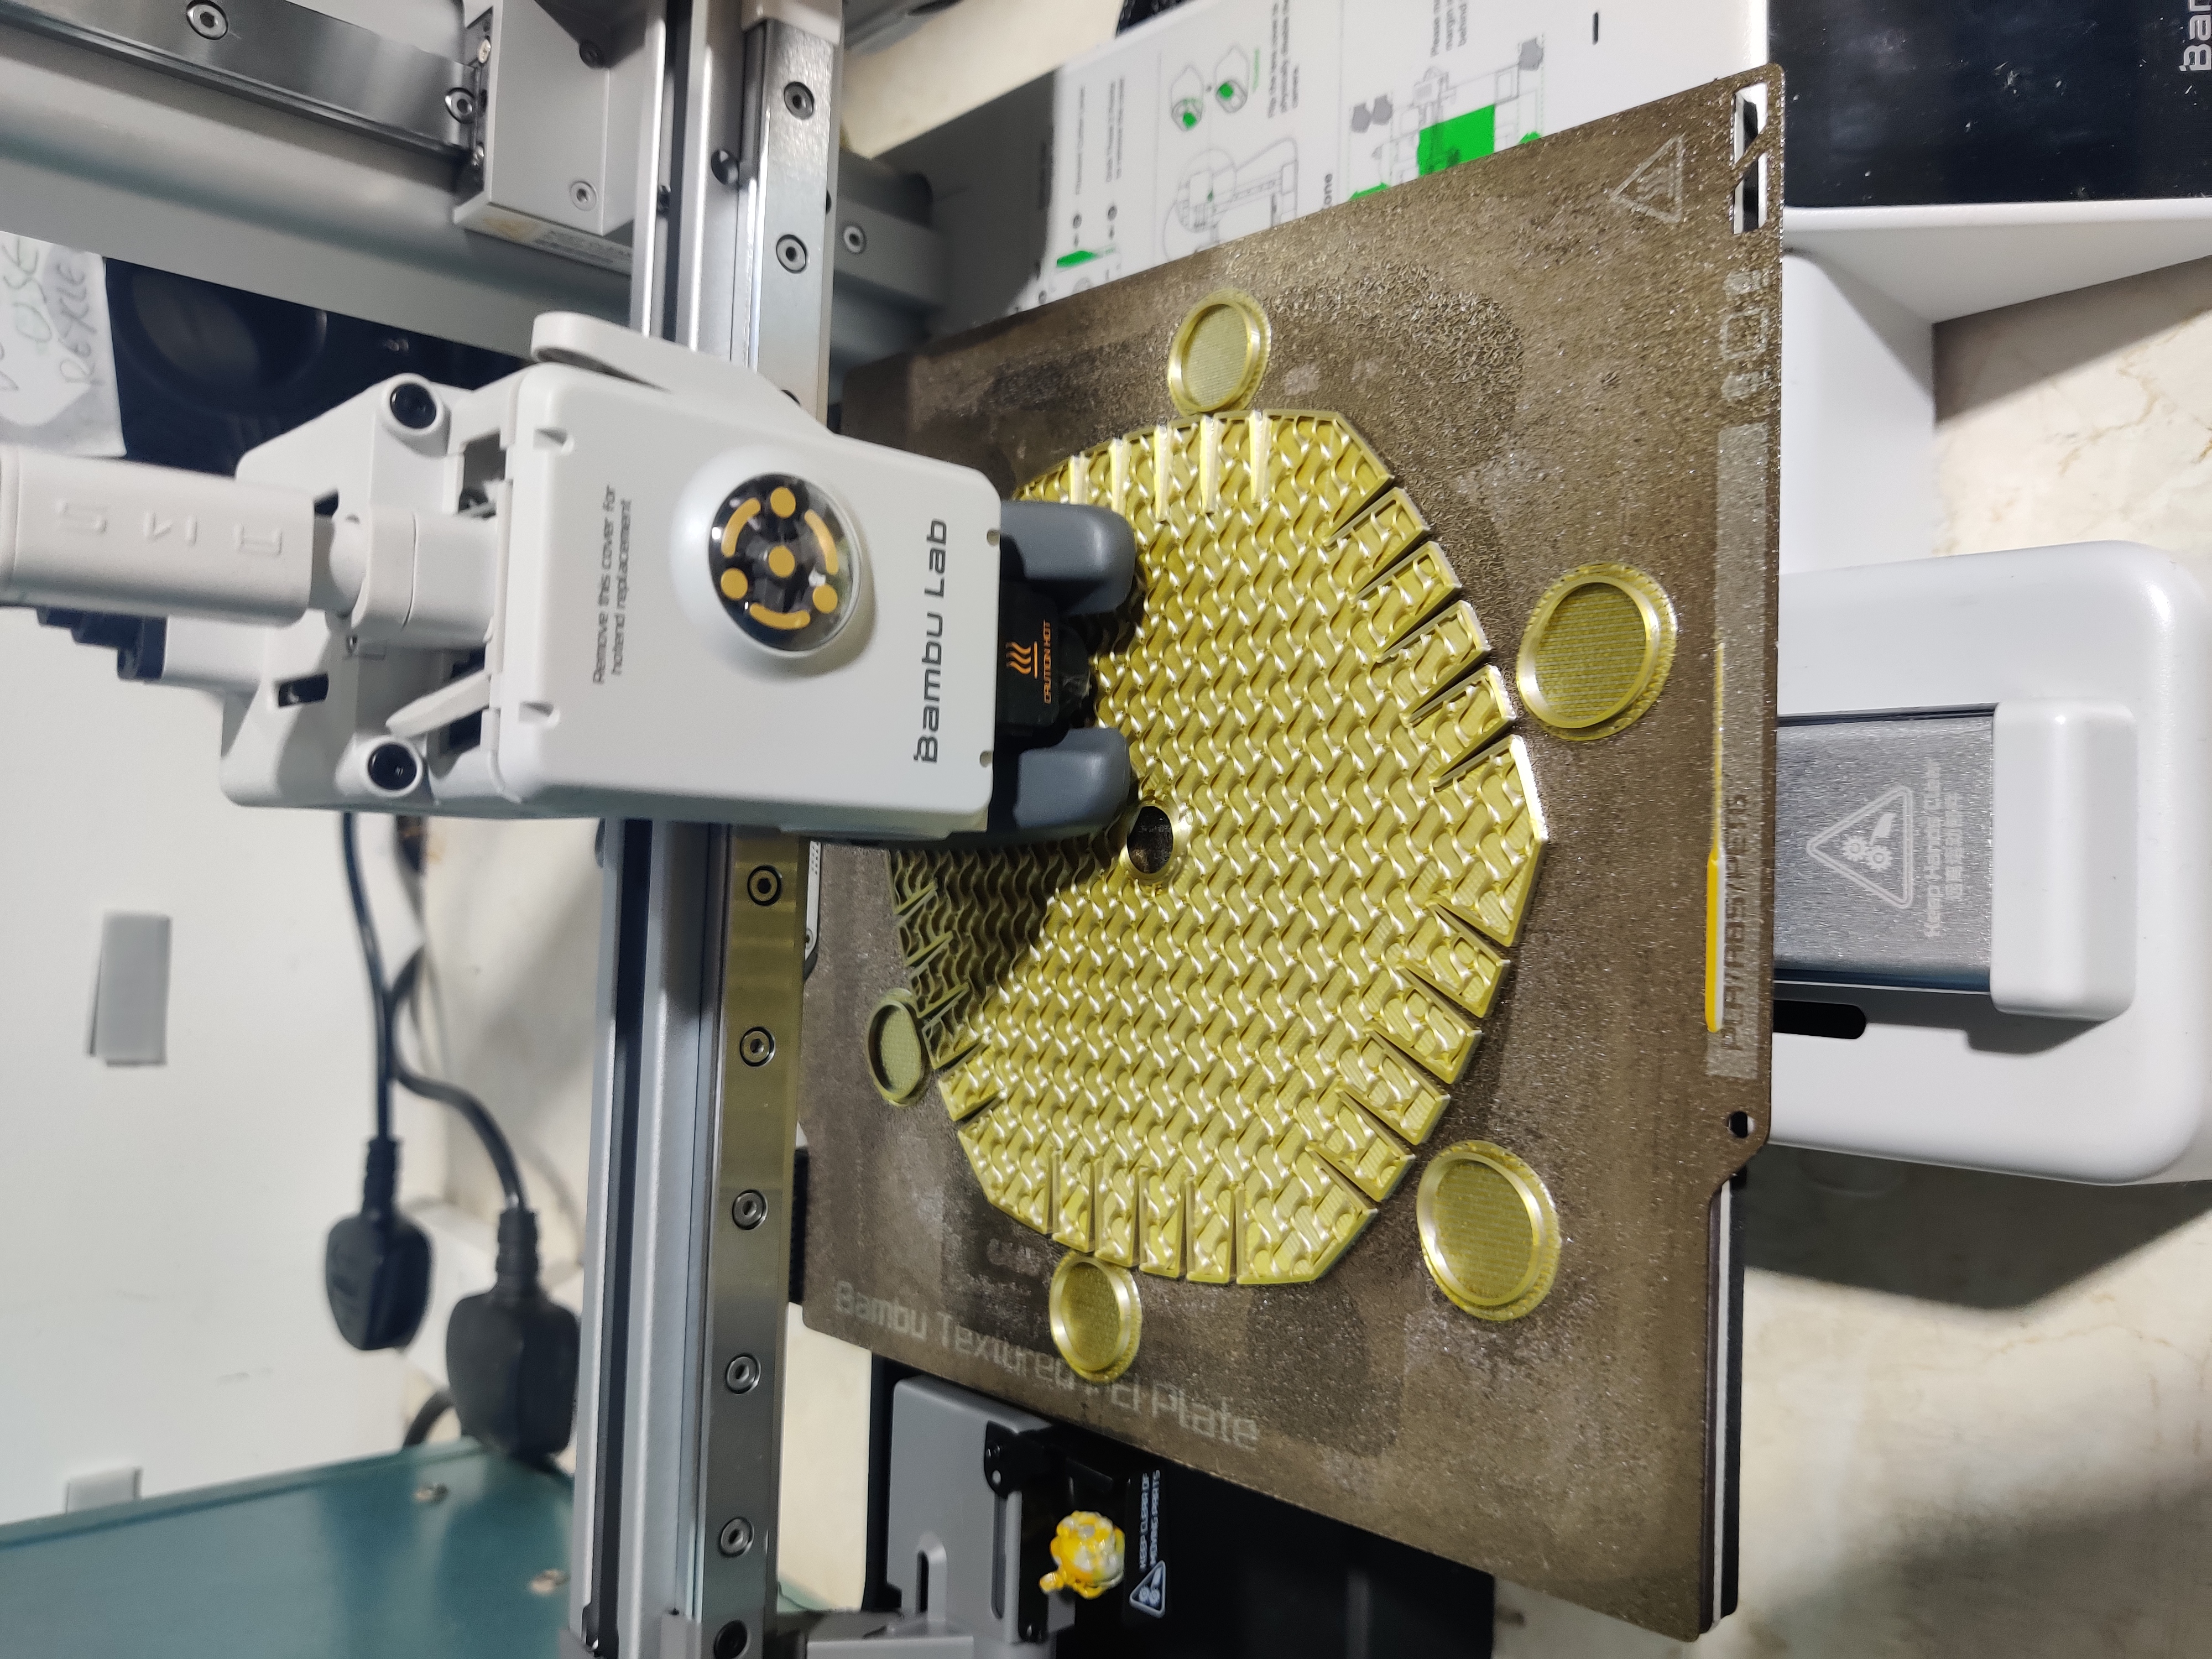
As it was just before Xmas, I quickly created an SVG file for a simple design that could potentially be printed onto a bauble. I printed plates for three layers, used the ironing function in Bambu Studio to smooth the top surfaces, and lightly sanded them afterwards to improve the finish.
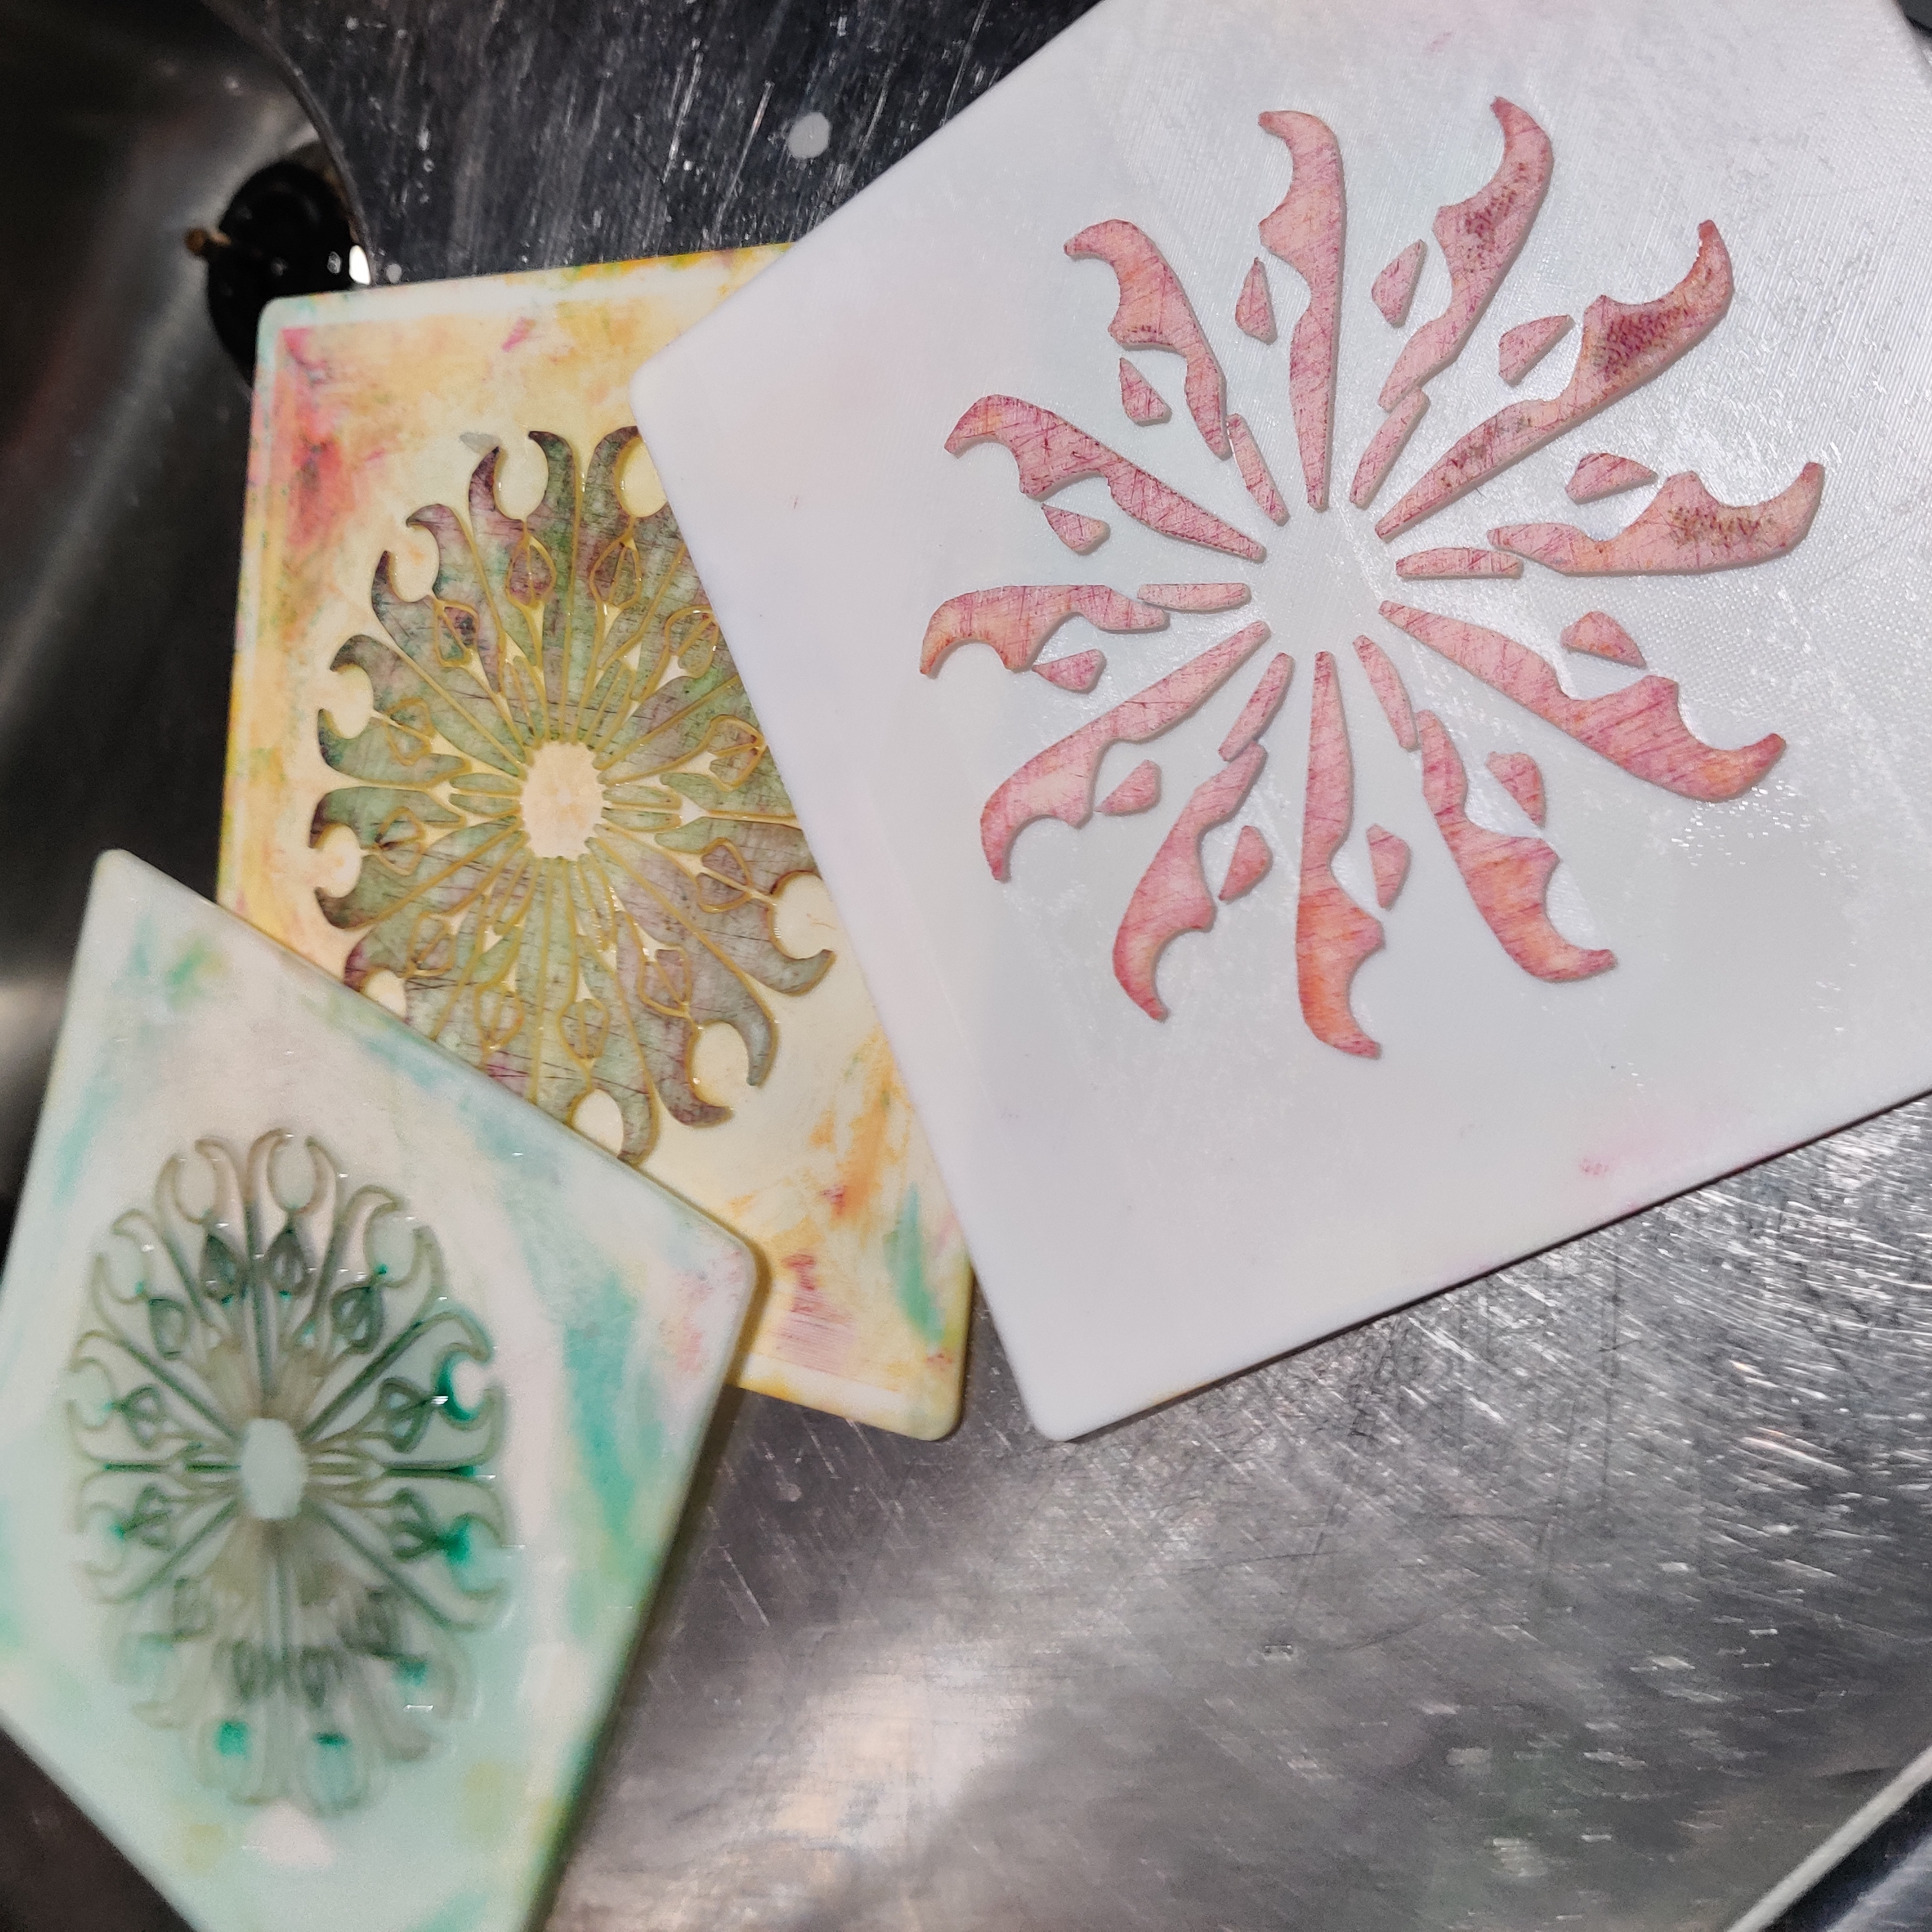
Unfortunately, I’d misaligned one of the plates during preparation, so the layers didn’t line up properly - even with the registration pins. Here’s one of the better attempts, aligned by eye as carefully as I could manage:
Not bad, considering I was using some fairly random inks from Søstrene Grene and the printing cupboard at DoES Liverpool - but not really a good test.
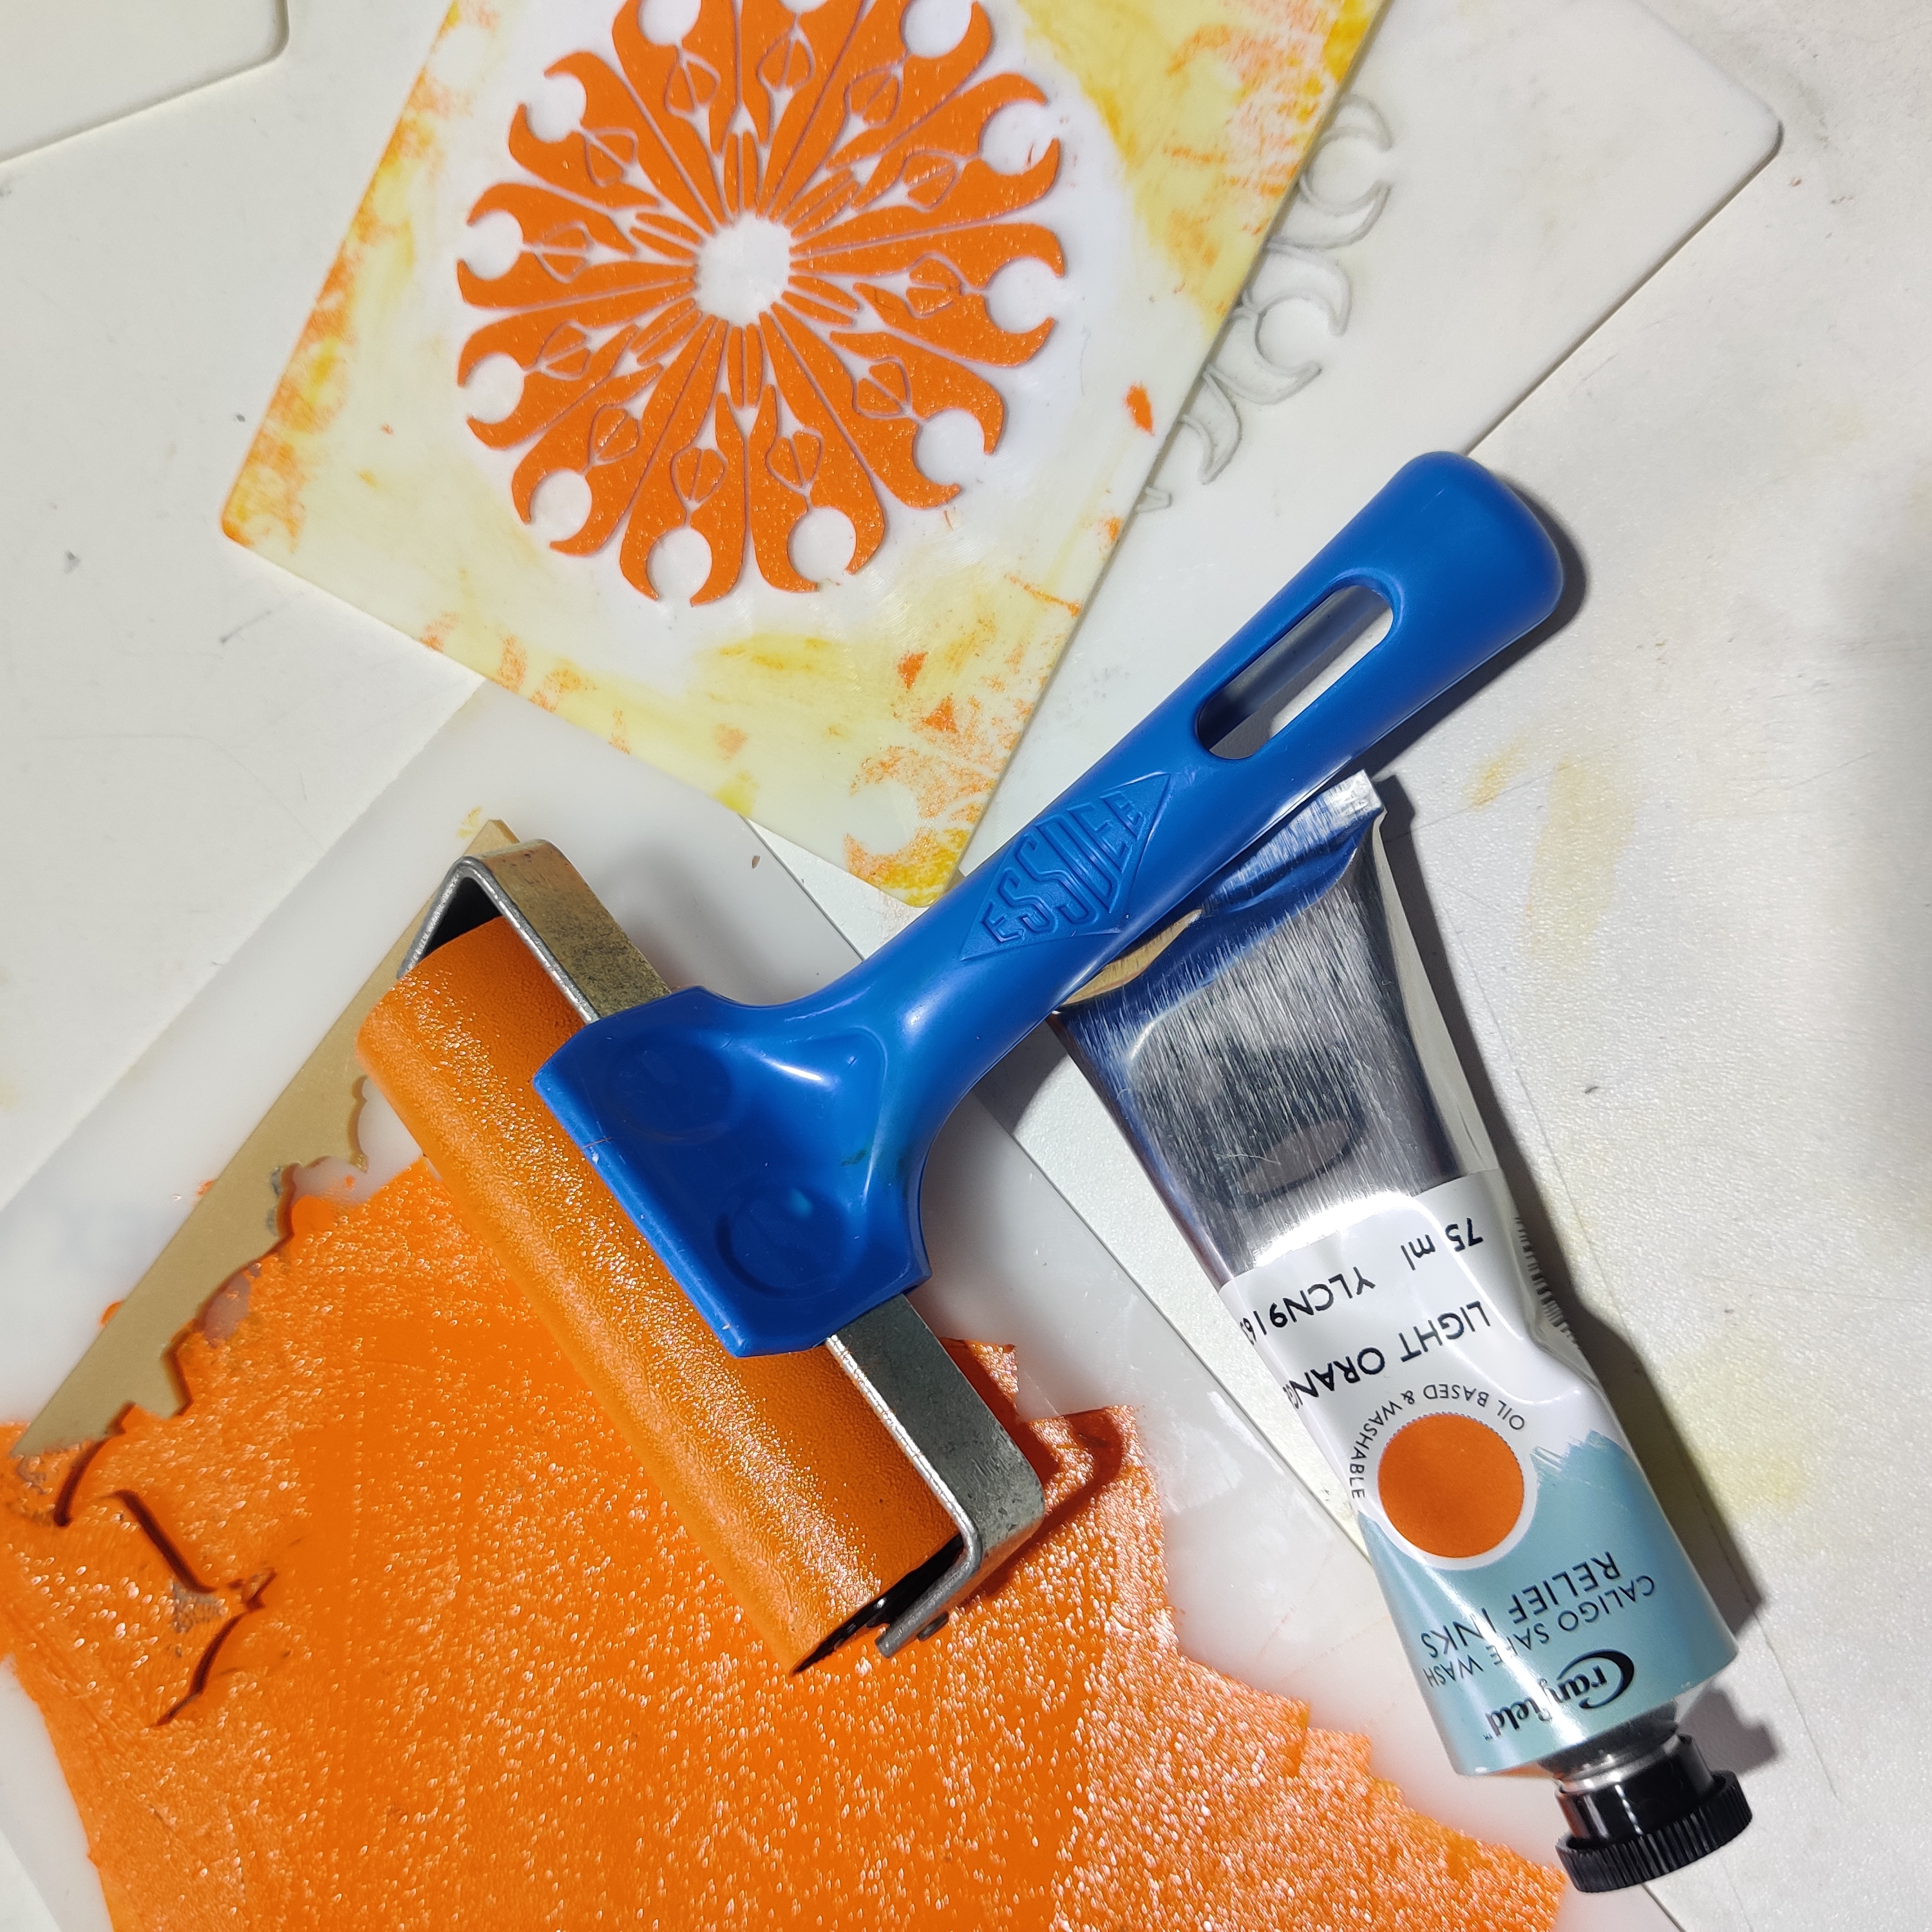
I then took a trip into town and bought some Calligo Safe Wash inks from Vicki at Cass Art in what I hoped were suitably festive colours: Light Orange, Rubin Red, and Phthalo Green. The project then went on hold while I looked after Xmas guests and worked on a paid project (more on that in a separate post).
Fast forward to mid February, and I was finally able to complete a proper test. The Calligo inks were excellent - strong, vibrant colours and beautifully smooth to roll out. They did take slightly longer to dry and were a bit more involved to clean up than the water-based inks I usually use, but the print quality made it worthwhile.
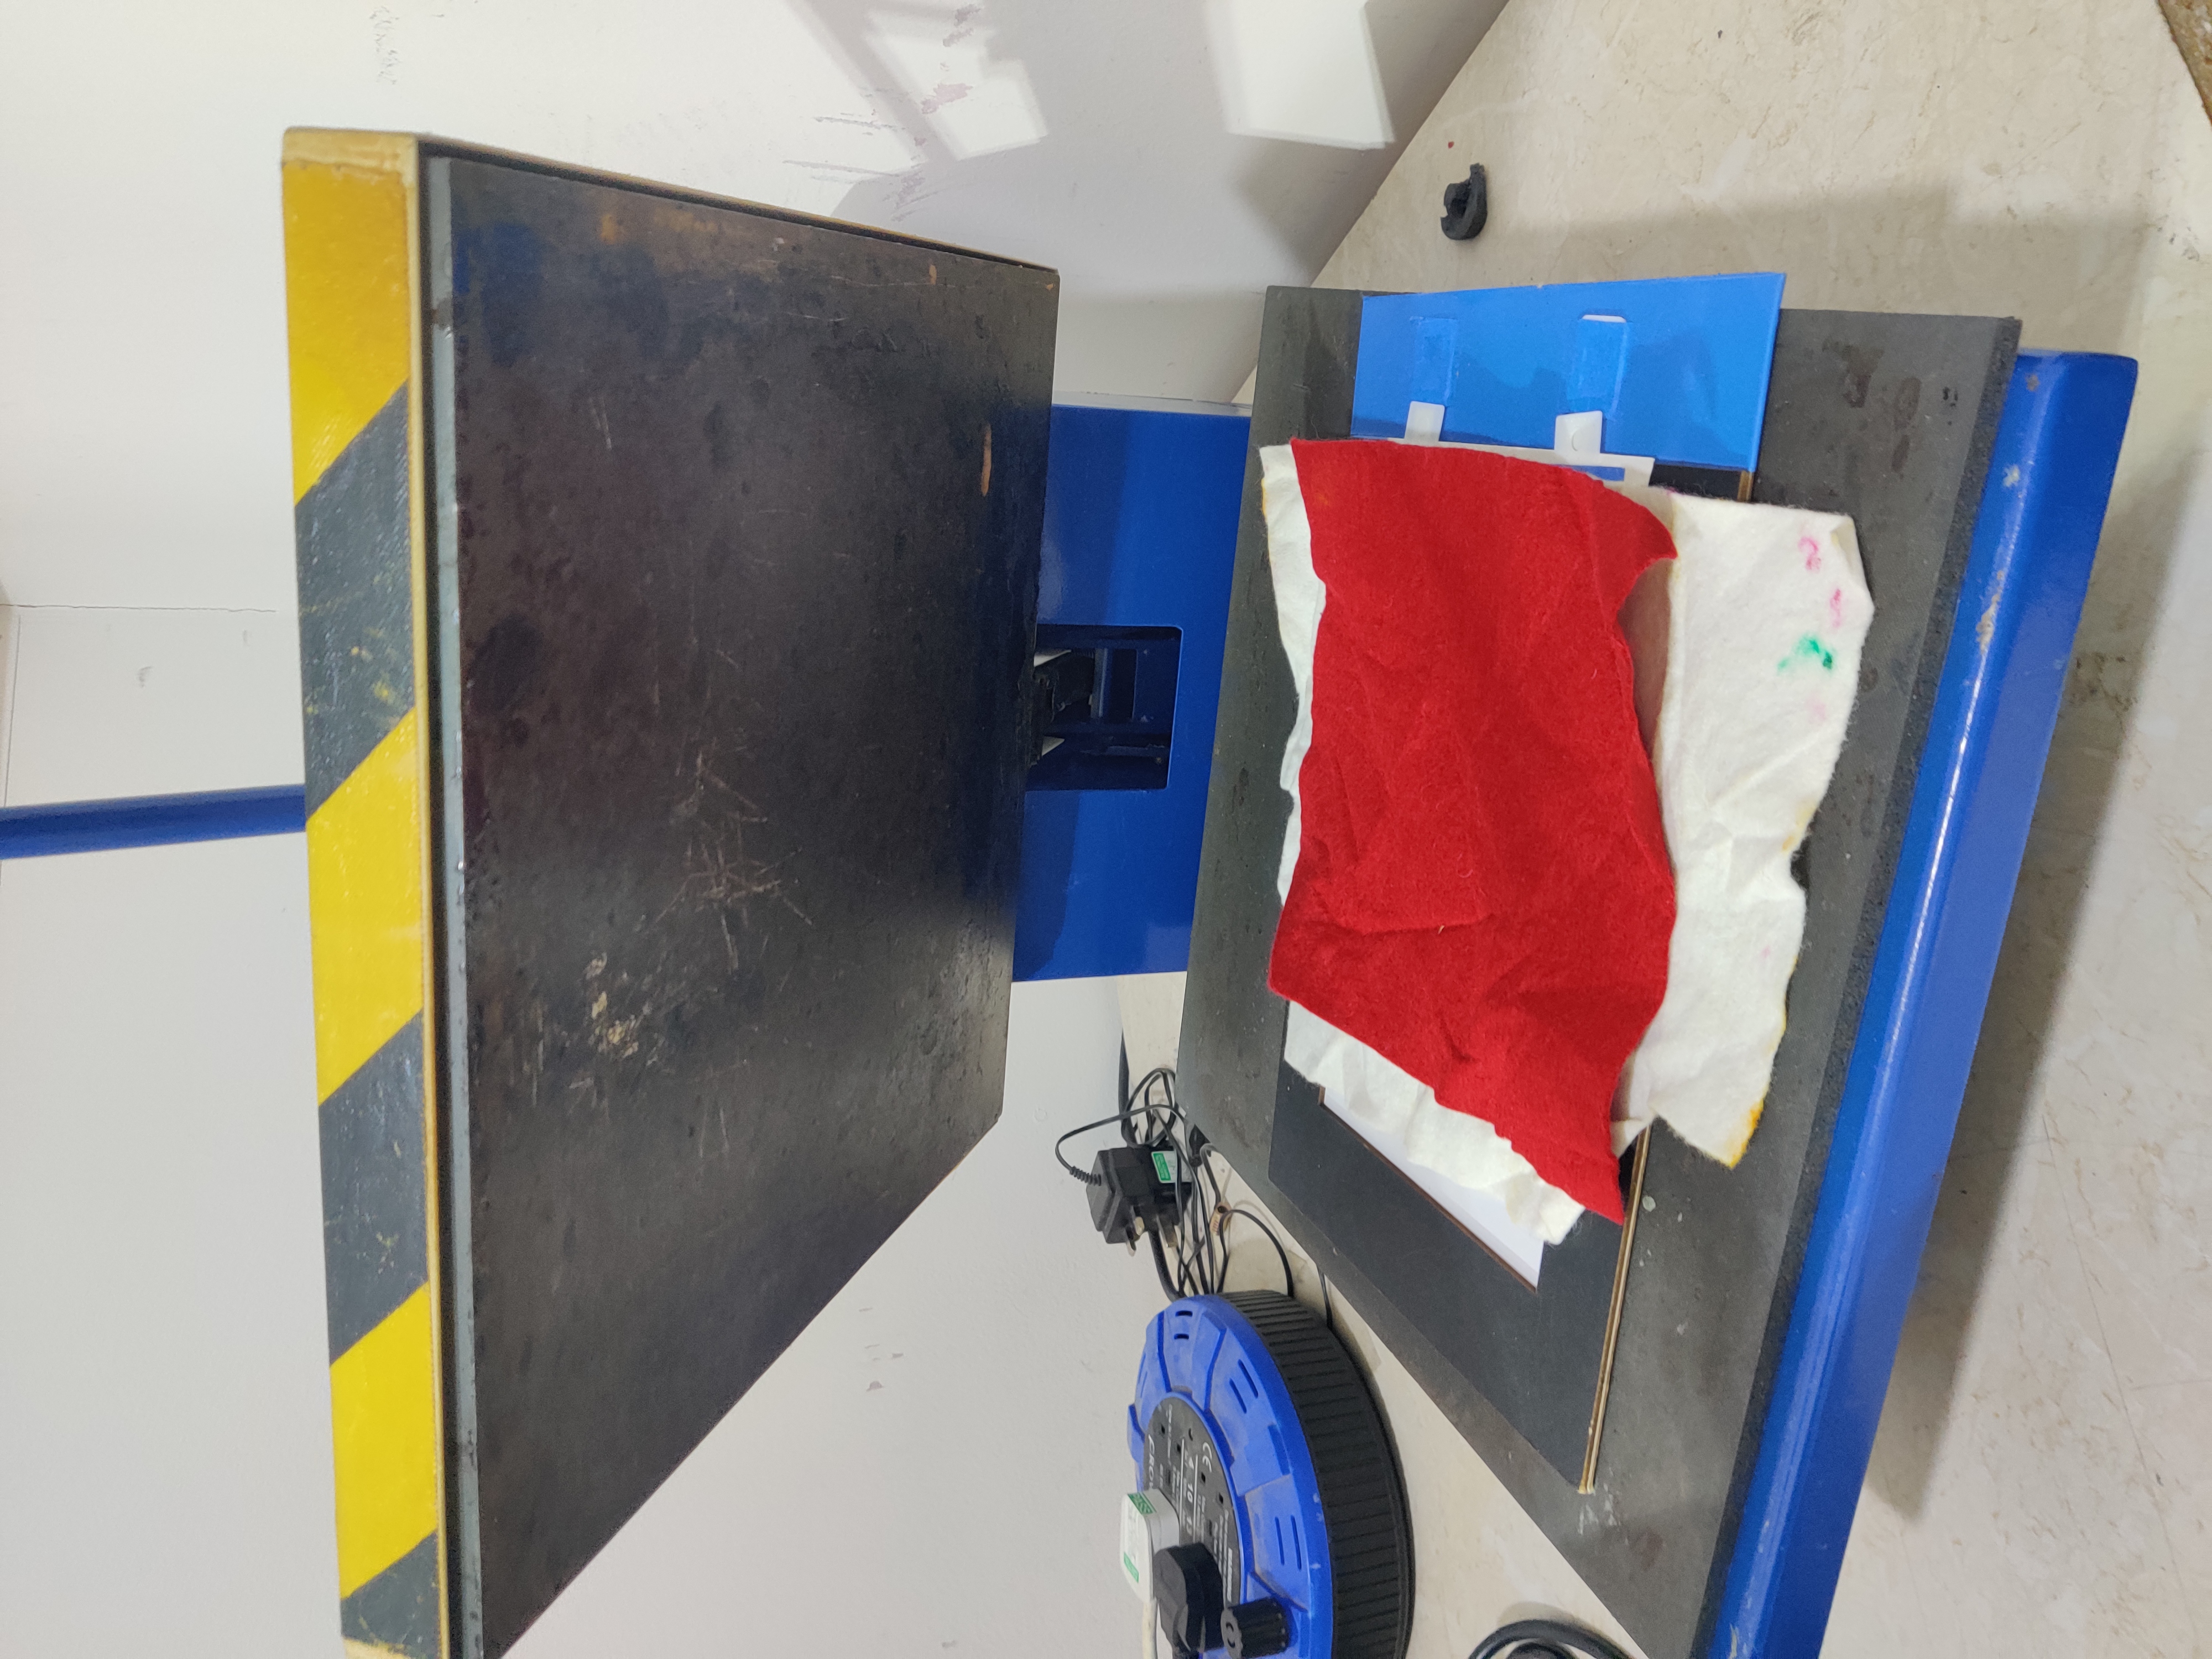
I printed each layer one at a time, leaving roughly two days between layers to allow them to dry. To apply pressure, I used the heatpress at DoES Liverpool, an improvised solution but one which gives more consistent results than hand burnishing.
I also experimented with printing onto T-shirt material - following the instructions on the Cranfield website. I’m definitely planning to explore this further.
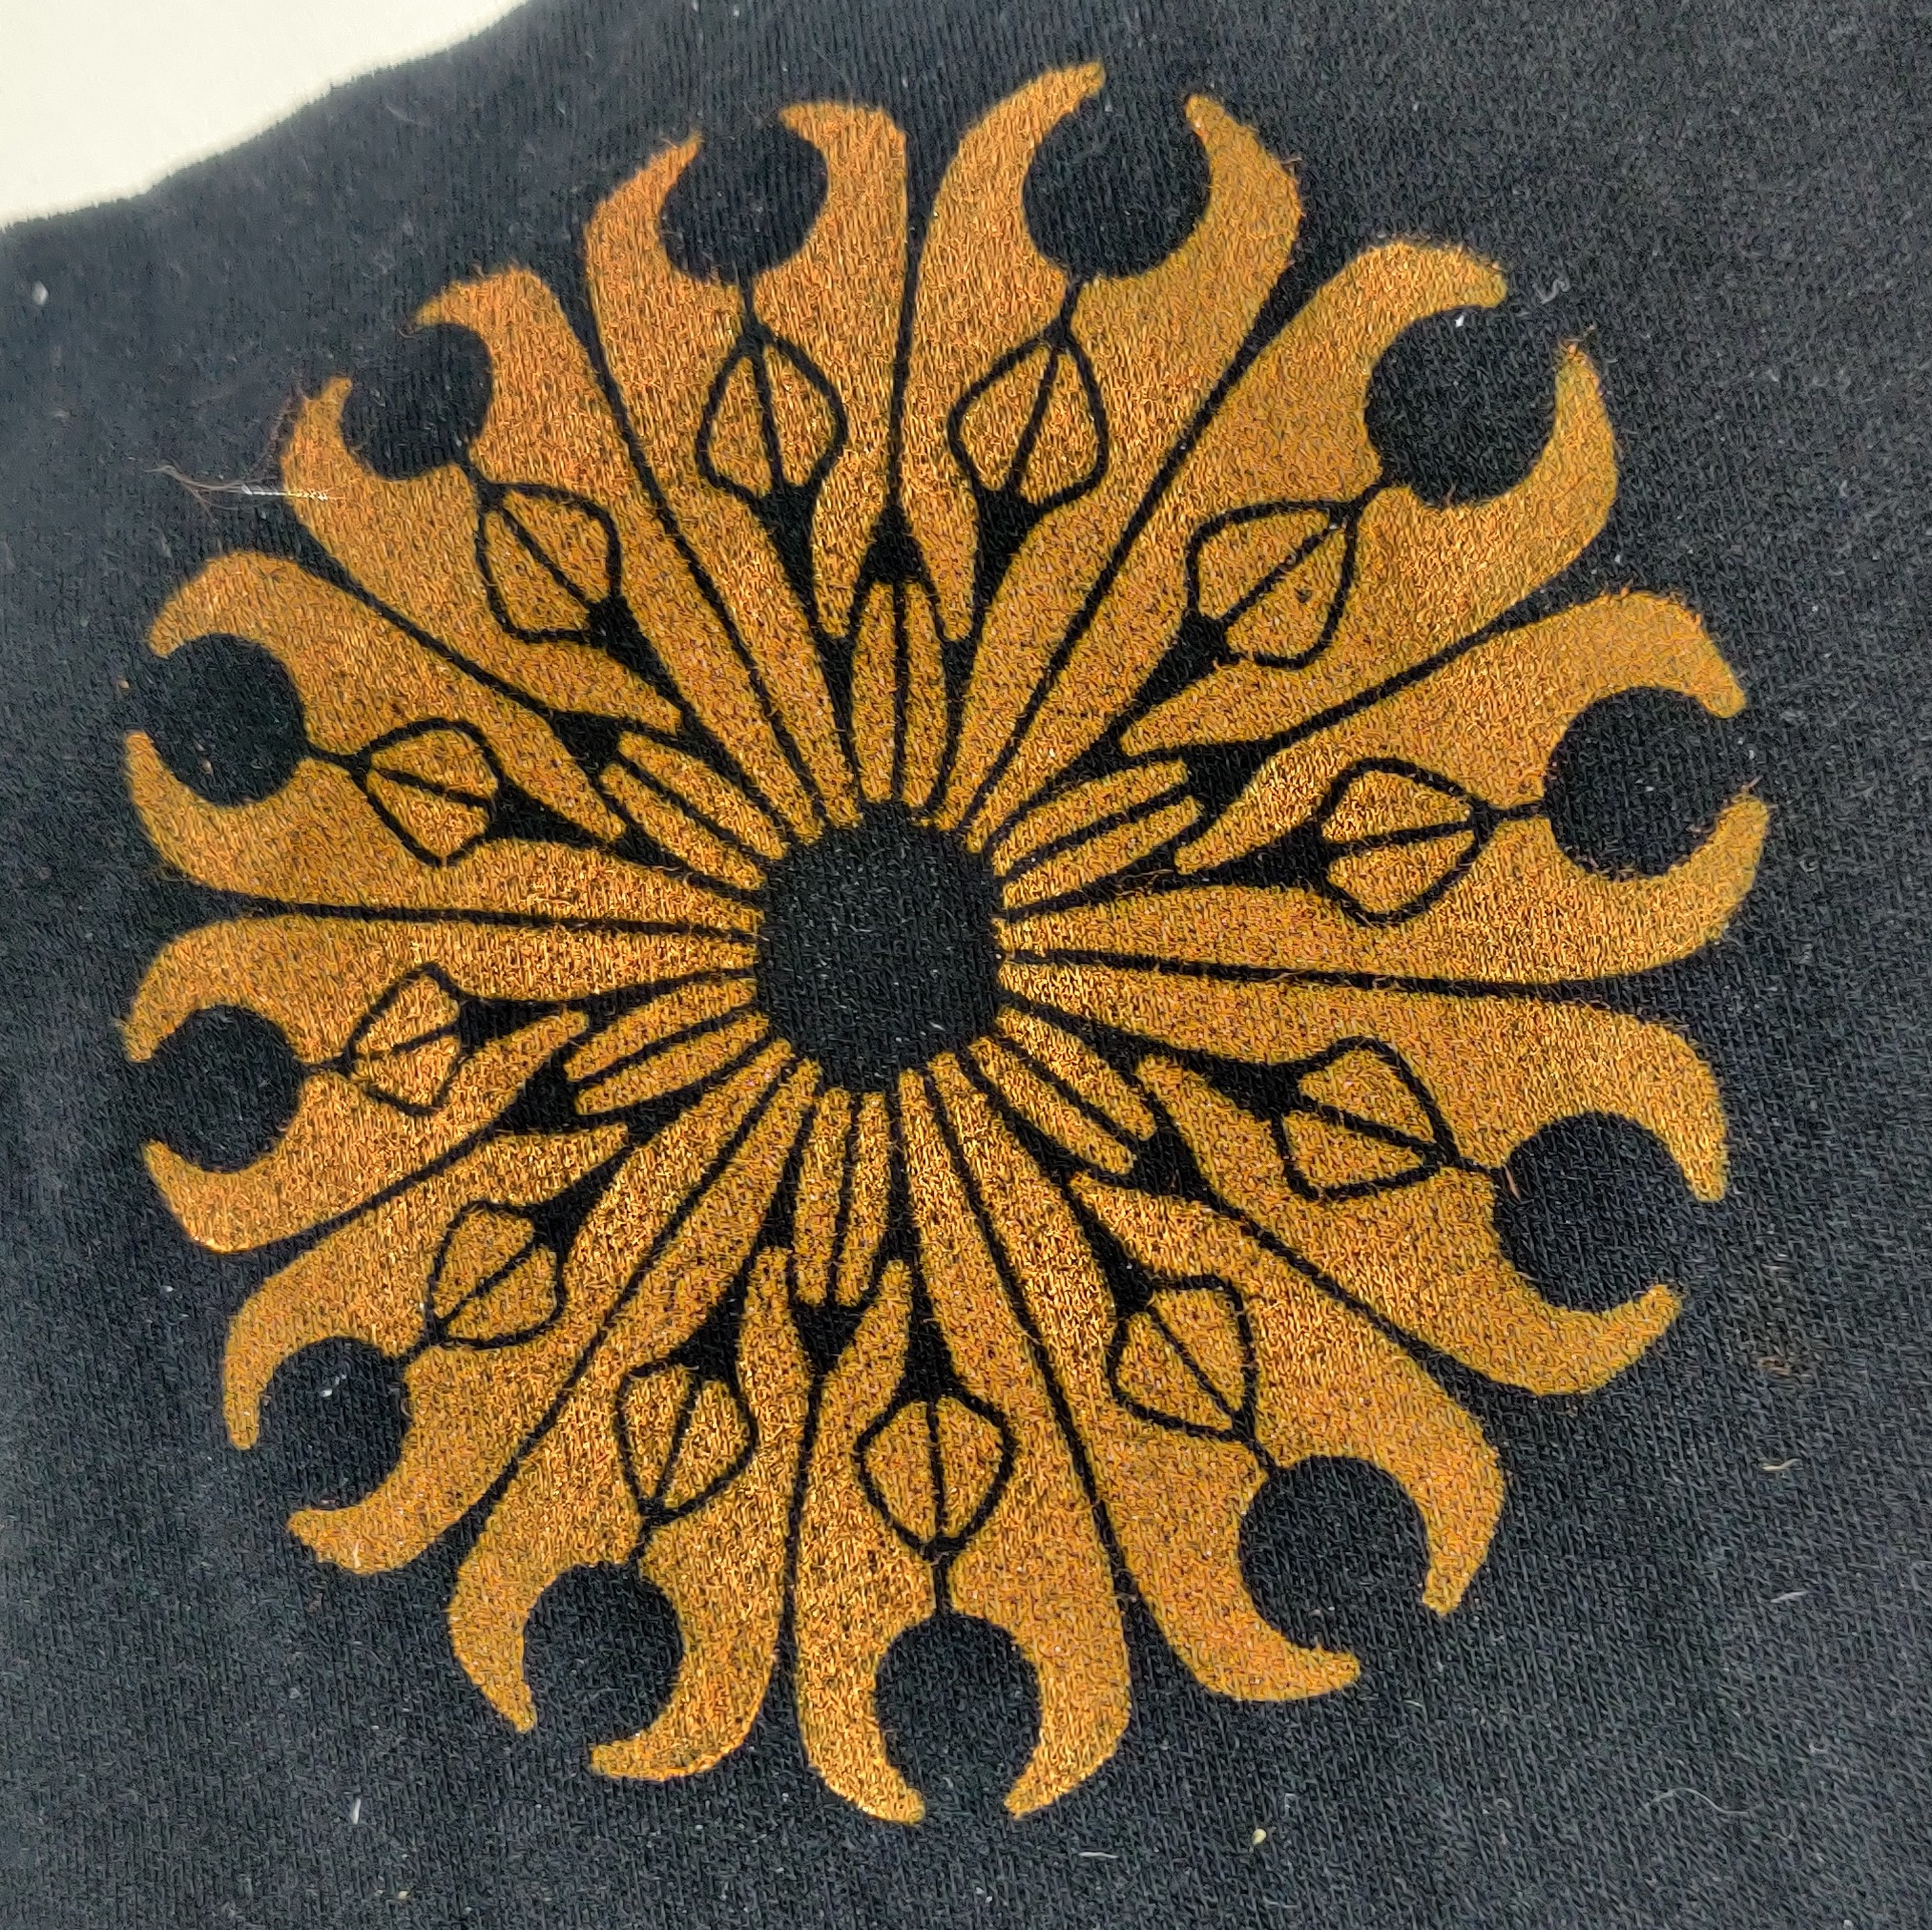
Even with the registration pins, some prints were still slightly misaligned. Next time, I’ll add an arrow to the plates to make sure they’re always oriented the same way up. I may also take advantage of the 3D printing process to hold the plates in place in the same way as the paper.
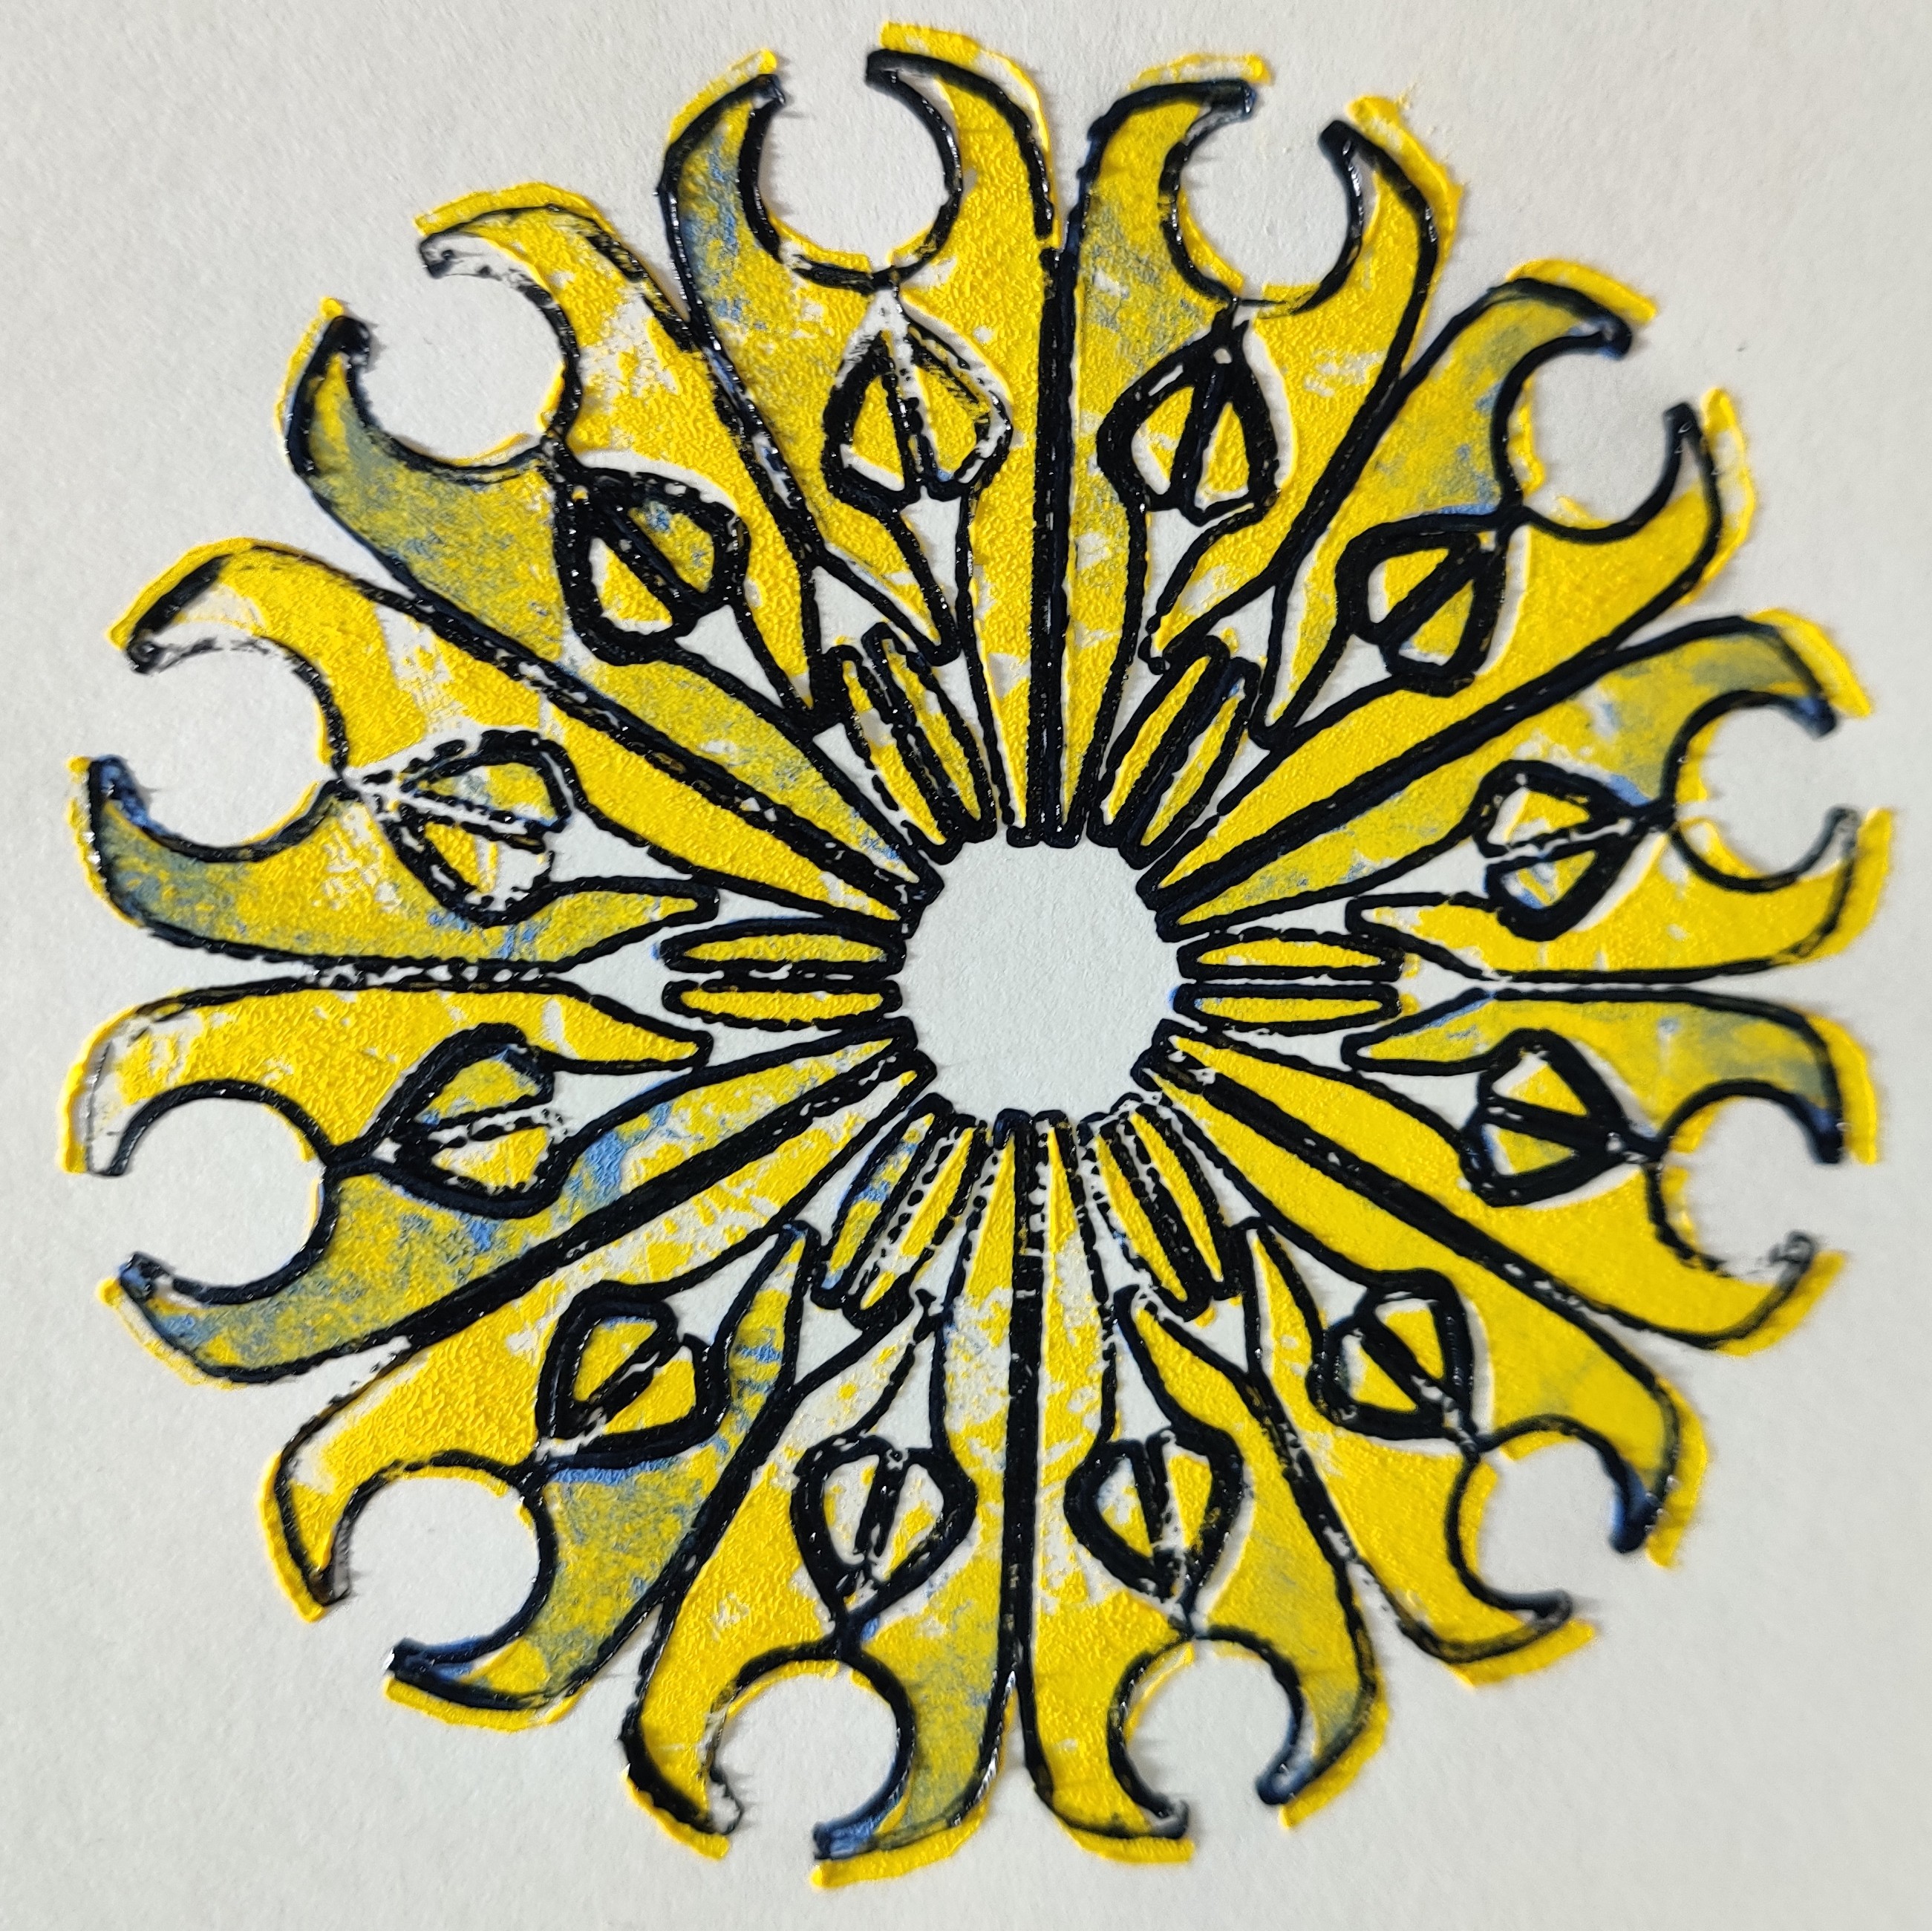
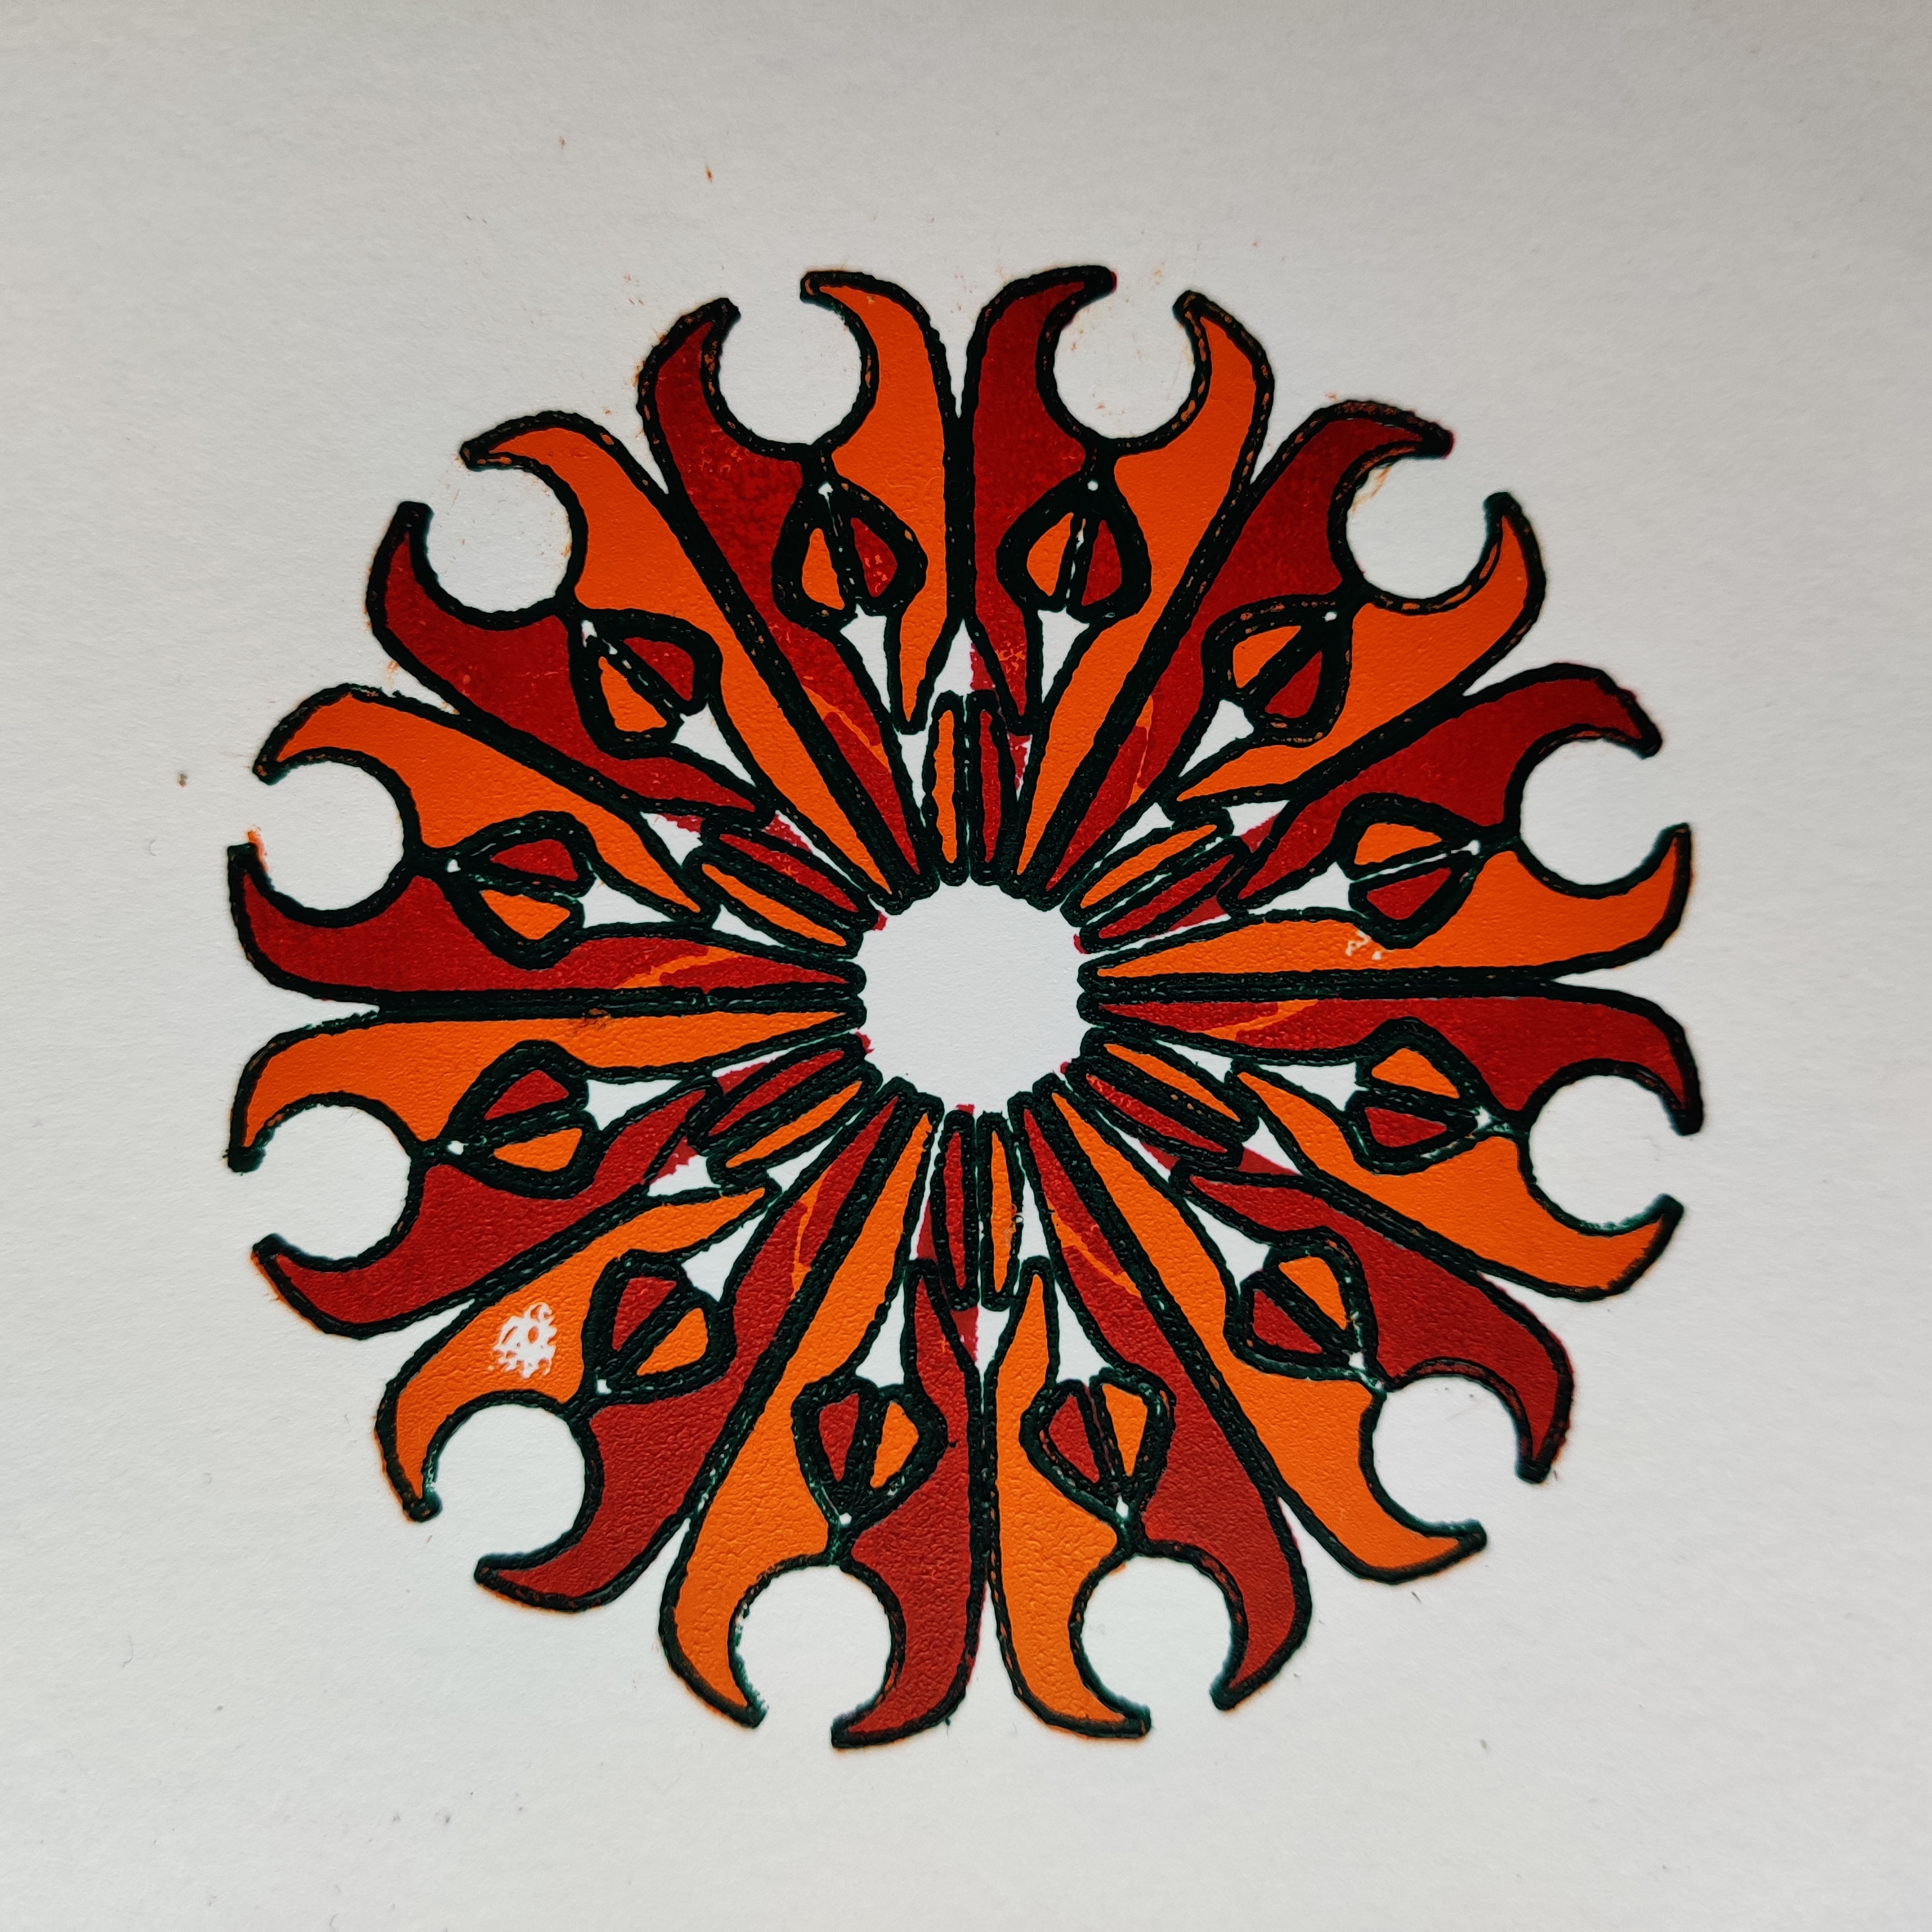
This was my best result, printed on thin card:
And here’s a misaligned print on rice paper, where the textured surface prevented the ink from reaching all the lower areas:
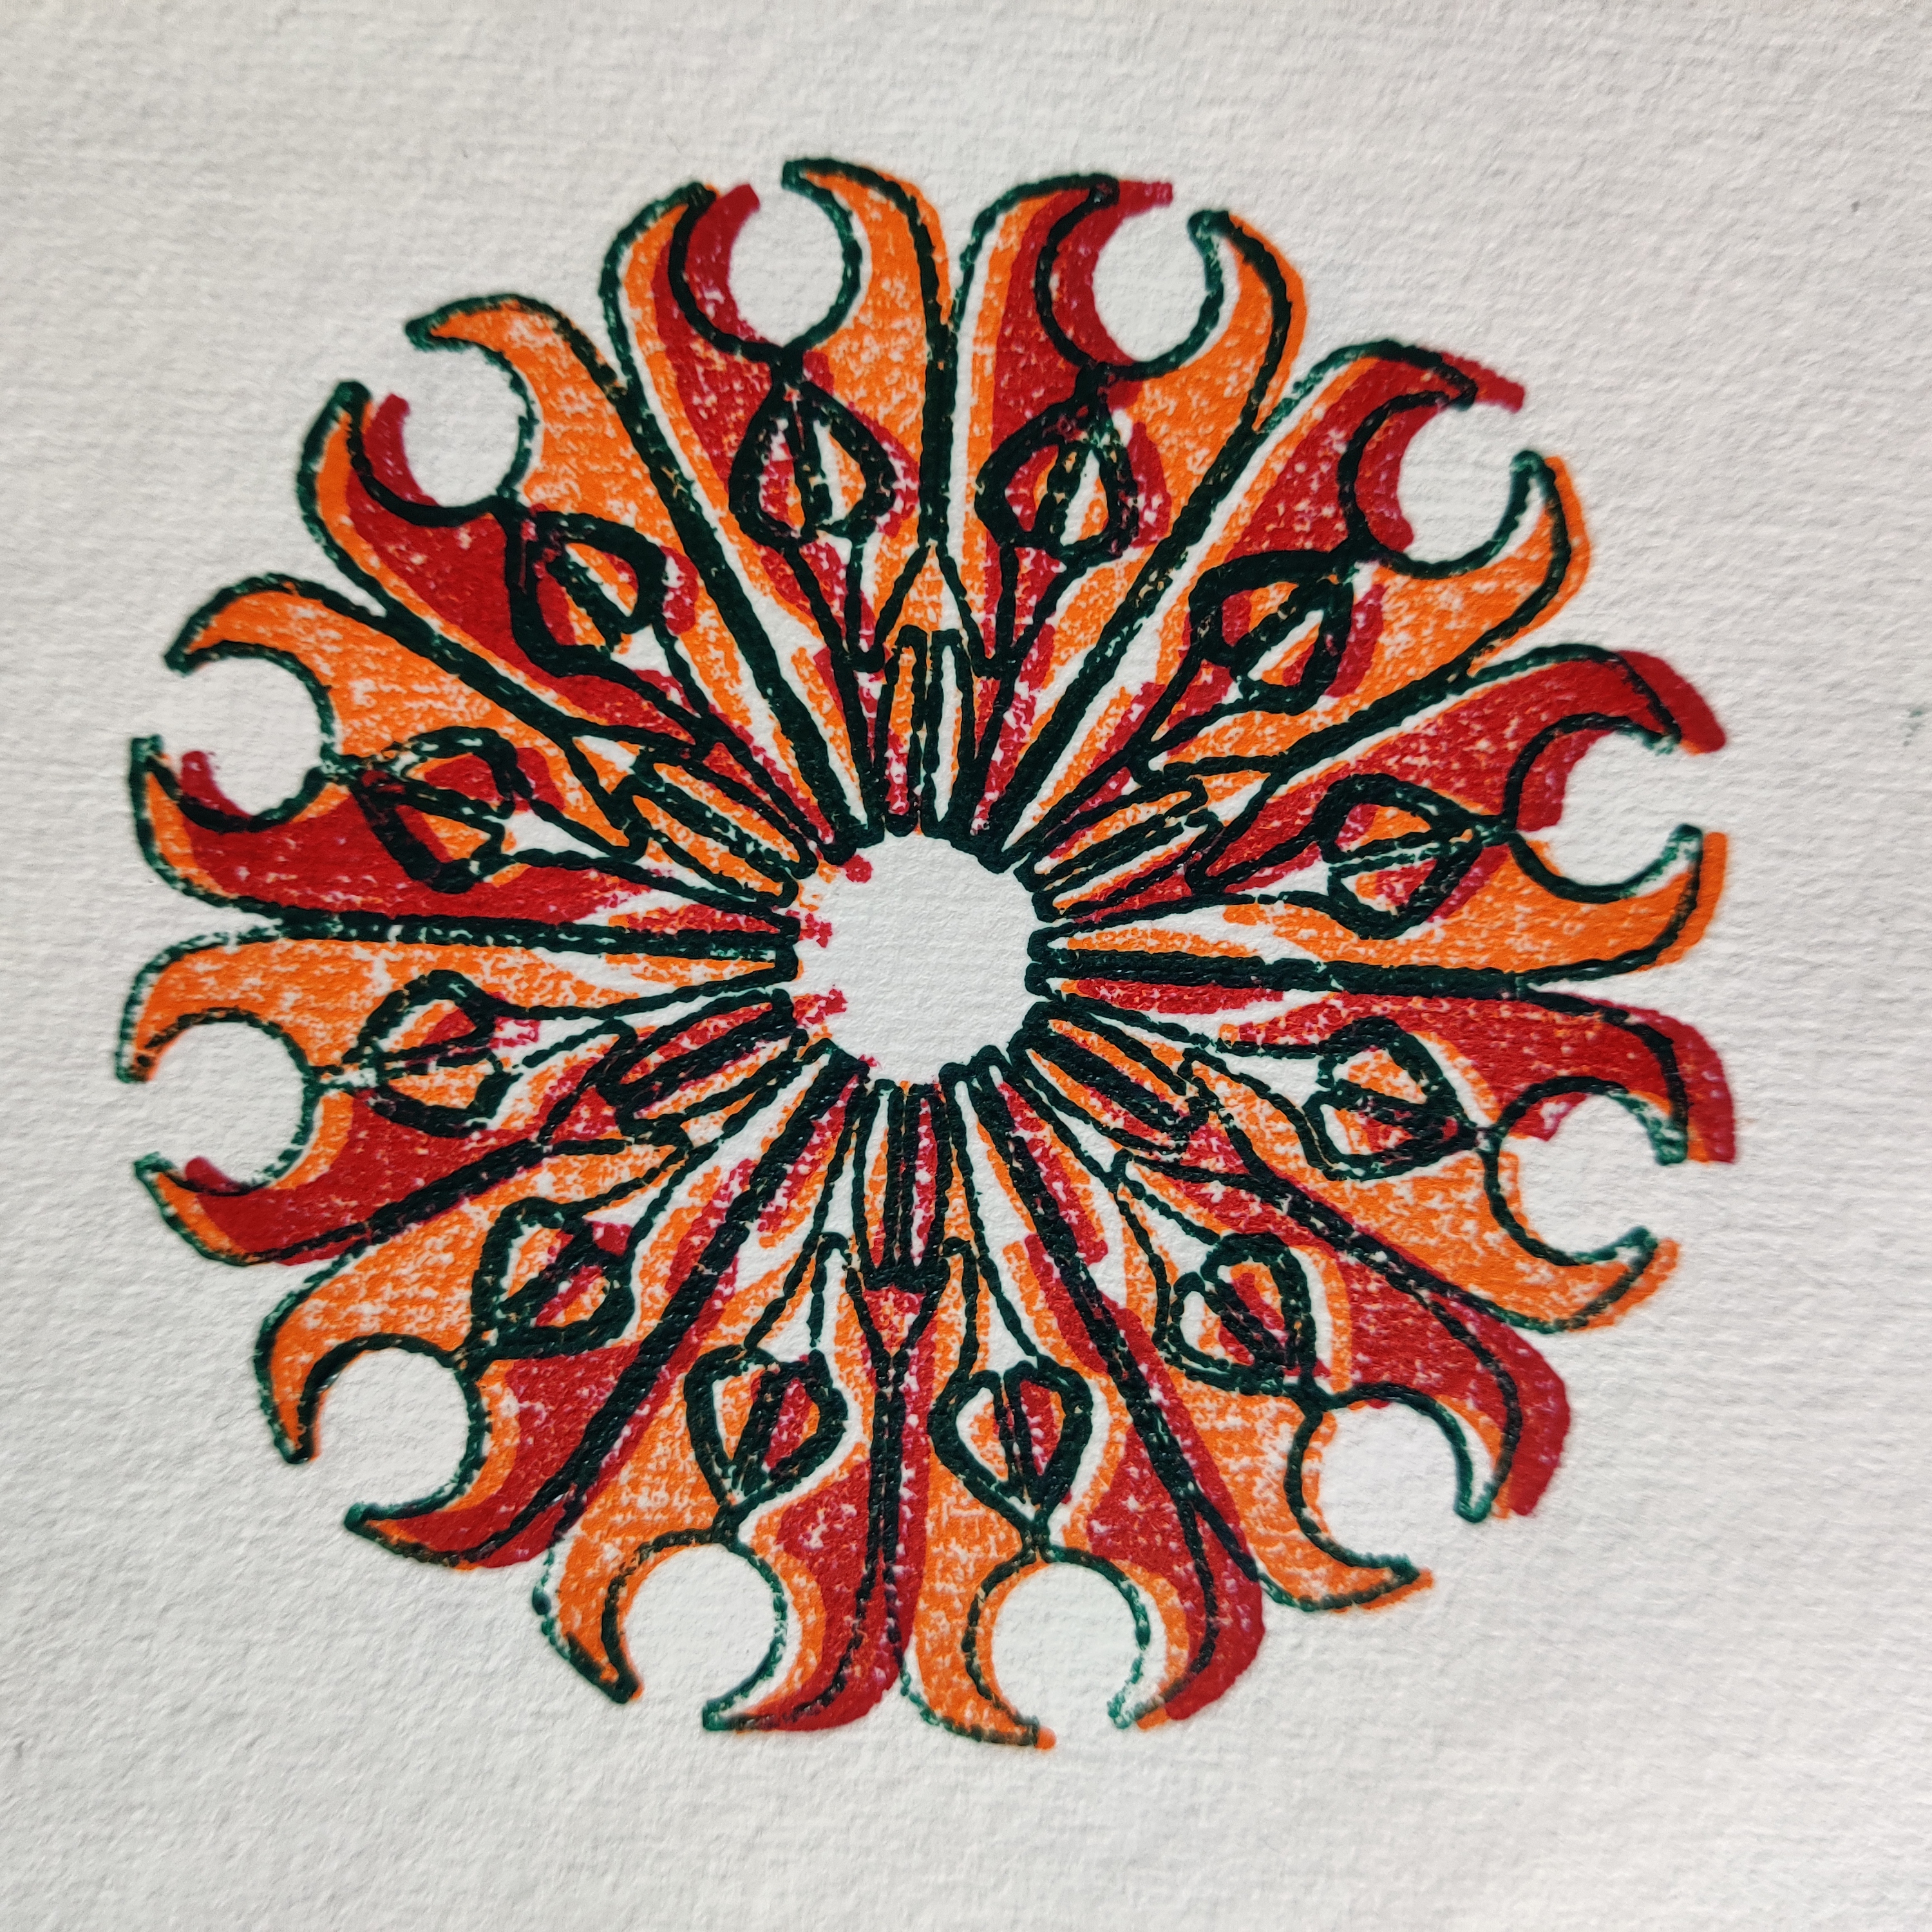
The final (outline) layer looks slightly uneven, probably due to minor surface inconsistencies in the 3D print, even after ironing and sanding. In this case I actually like the effect - it has a slightly medieval, woodcut quality - but I’ll experiment further to see how much I can refine the finish.
Overall, this has been a really fun set of experiments. 3D printing has been around for a long time and people have tried and shared a lot of ideas and print files, which are easy to adapt to your own needs.
I’m looking forward to having another go soon - perhaps with a more complex design, or a simple repeat pattern for a T-shirt.